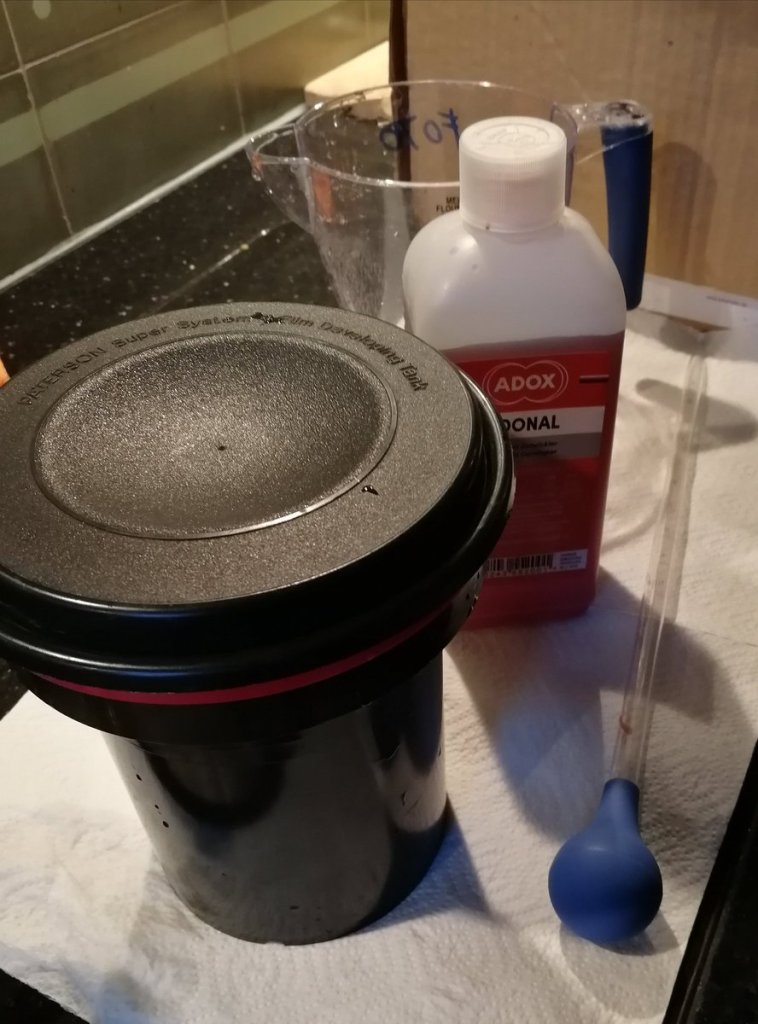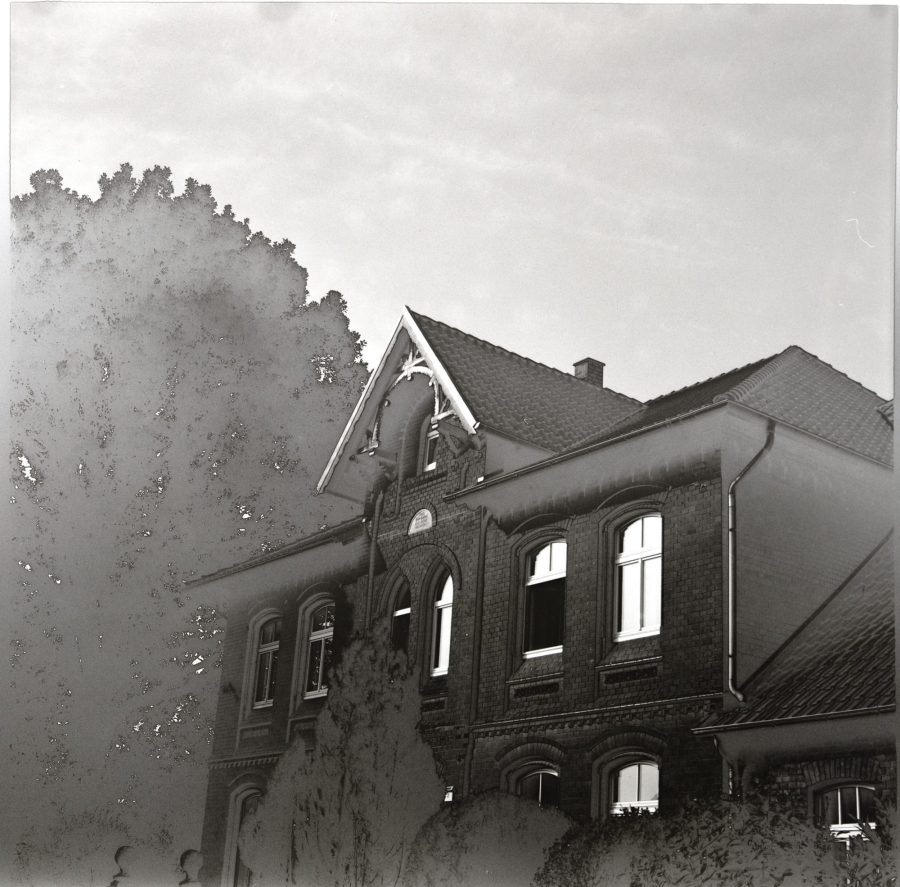
Opening the Dev tank…

In October 2026 I attended an analog photography workshop hosted by Chris and Moni in their „Viewfinder Villa“ that was dedicated to „experiments with film“ and „wild chemistry“. The topic was unconventional methods, extreme pushes and pulls, caffenol, cyanotypes and so forth.

Two weeks previously, I had shot a lovecraftian LARP and had briefly toyed with the idea of creating a „solarisation“ effect on the negatives to create an eerie atmosphere but didn’t dare to for fear of ruining film from an actual shoot.
What better opportunity to try something new and wild than a „film extreme“ workshop?
I ran the idea past Moni and Chris on the first day of the workshop and was assigned the task to do some research on specific methods or recipes as a prepoeration for day two.

The first thing I found out during my search was that „solarisation“ is not the proper term but that I was thinking of pseudo-solarisation aka the Sabattier effect. Finding specific recipes or instructiuons turned out not to be an easy task because while all descriptions of the effect mention the possibility of working on the negative, apparently the effect is usually applied while printing and not on the negative.
This is perfectly reasonably, of course, because this way you only ruin a print and can start over, while you ruin the unique original when working on the negative.
But Hey! Wild chemistry, right?

Of the few detailed descriptions I did find, one dealt with dry plates in one case and another creates contour images by combining several sheet film negatives. Both approaches were not really feasible with the material and time at hand in the workshop.
But the general gist of several less detailed descriptions was that you basically underexpose the film slightly, start developing, expose the film to light one third to two thirds into the dev time and reduce the dev time slightly.
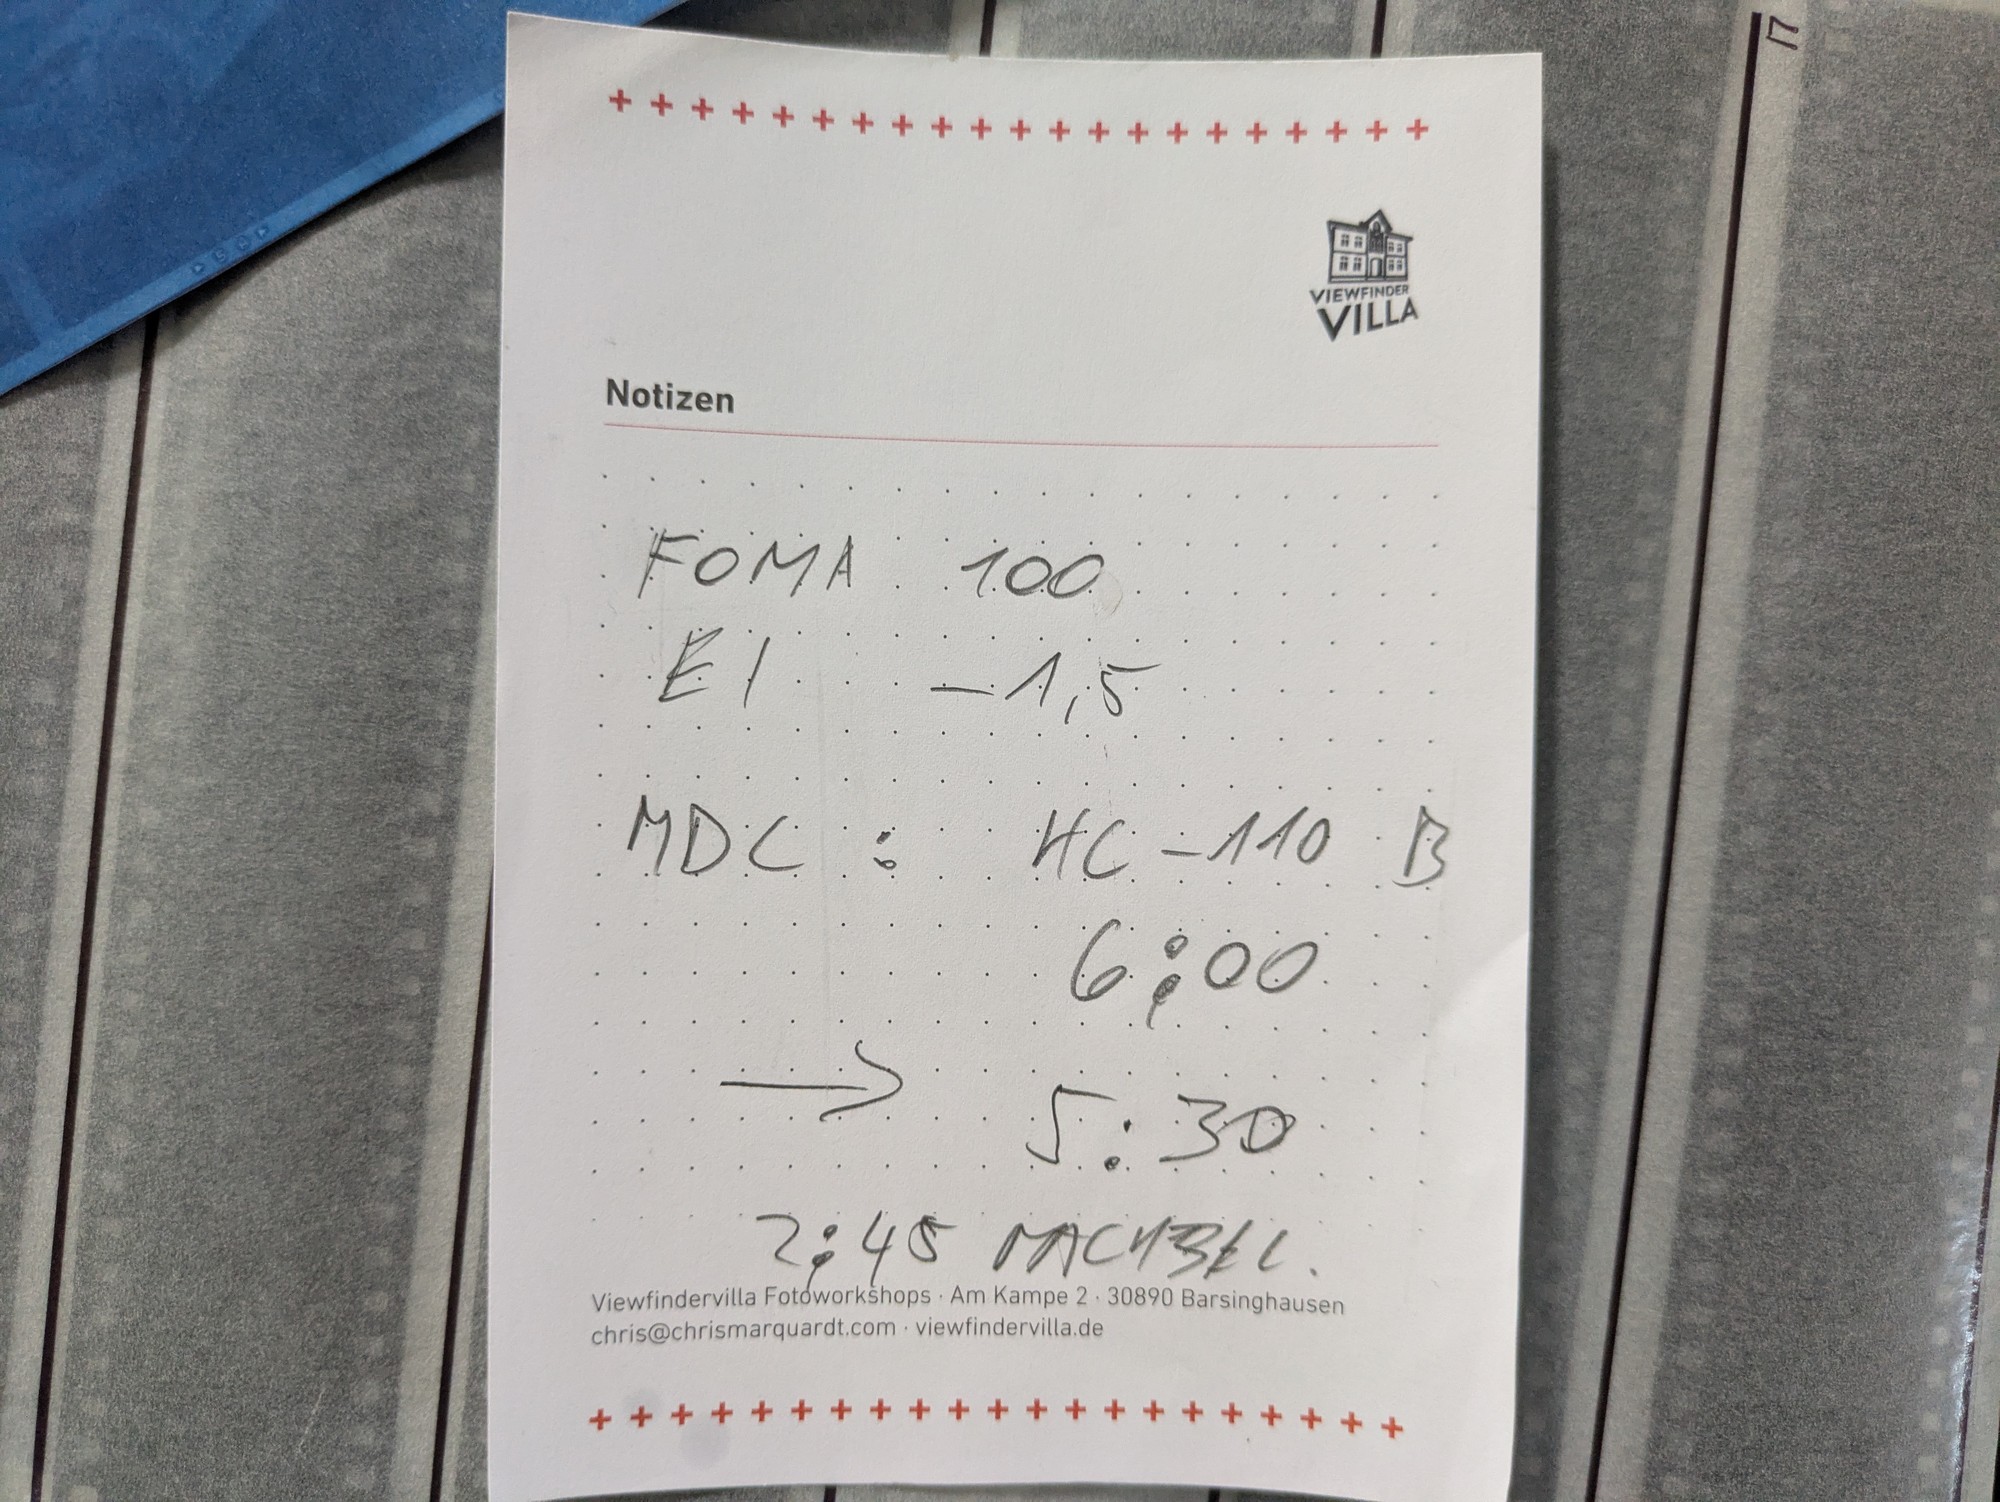
So I started day two of the workshop with a plan:

  • Shoot a roll of Fomapan 100 in my Pentacon six
  • Use box speed – 1.5 EV
  • Massive dev chart suggests 6 Minutes in HC-110 (B), so we’ll do 5:30.
  • at approximately 2:45 we open the tank for about a second

I was fairly certain that we would probably ruin the film entirely. Most descriptions of the process on the Web suggest extensive testing, trial runs, exposure series and so forth, all of which was not feasible with 120 film during the workshop.

I shot a roll of film around the villa and started development as described above. At about 2:45, I opened the tank just long enough to take a photo.
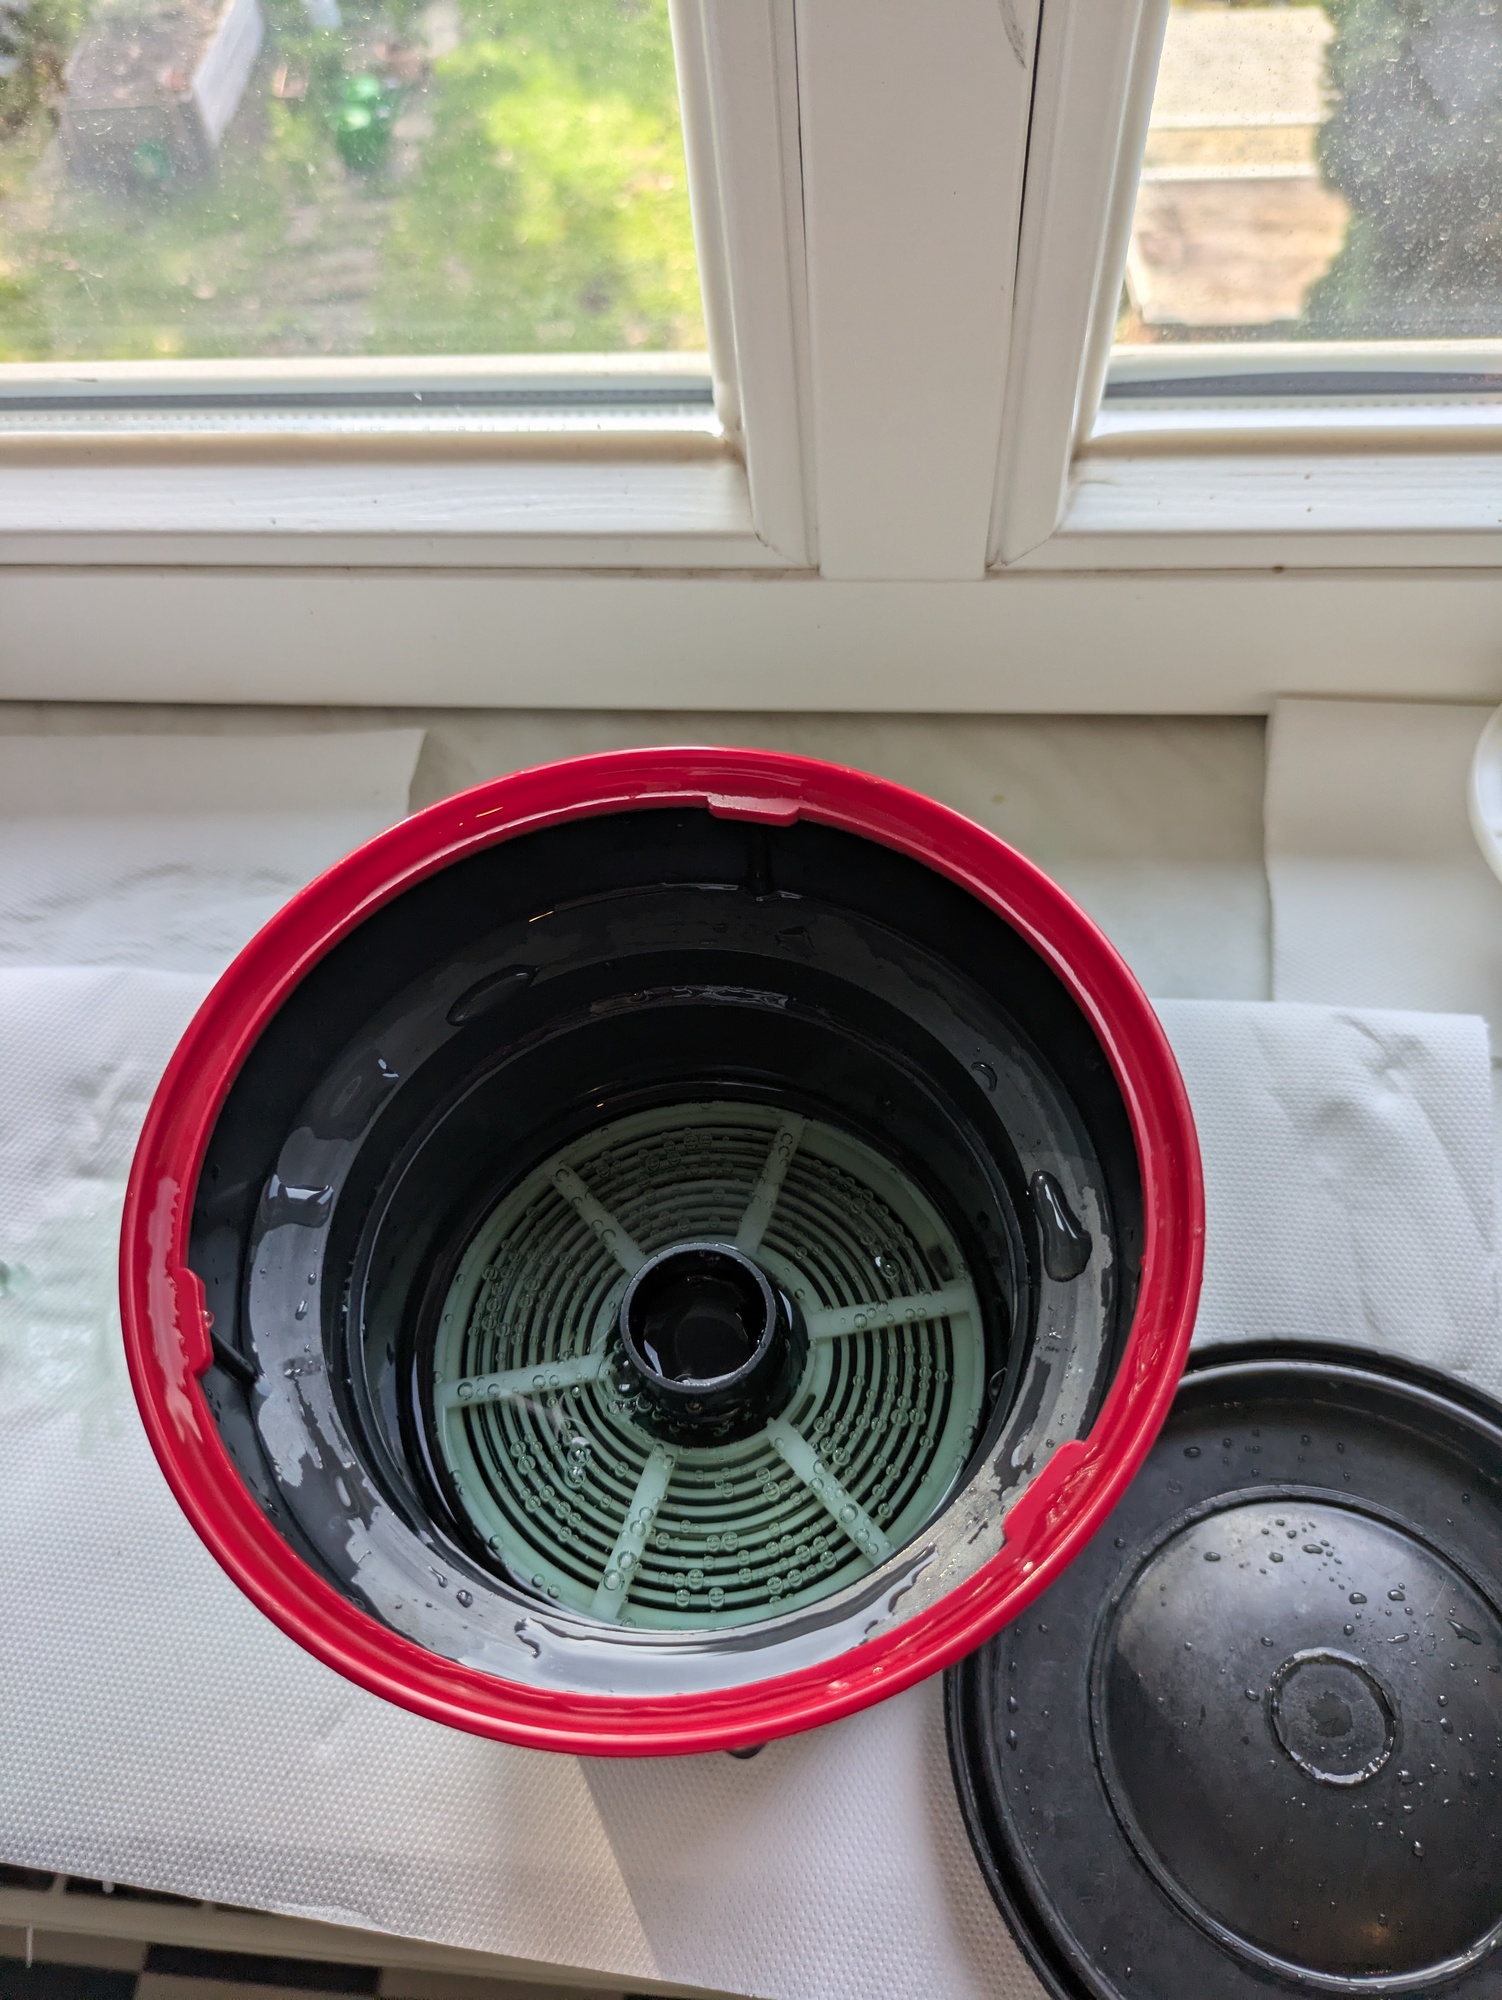
I did not time the exposure precisely but I would guess that it was between one and two seconds. I did not remove the reel from the tank. I considered the possibility of this resulting in an uneven exposure to be a good thing, because that might show passable result in some areas, even if others were ruined.

The best thing in analog photography is always the moment when you take a film from the tank and see bright and dark areas and this is especially true when wou just tried something weird.
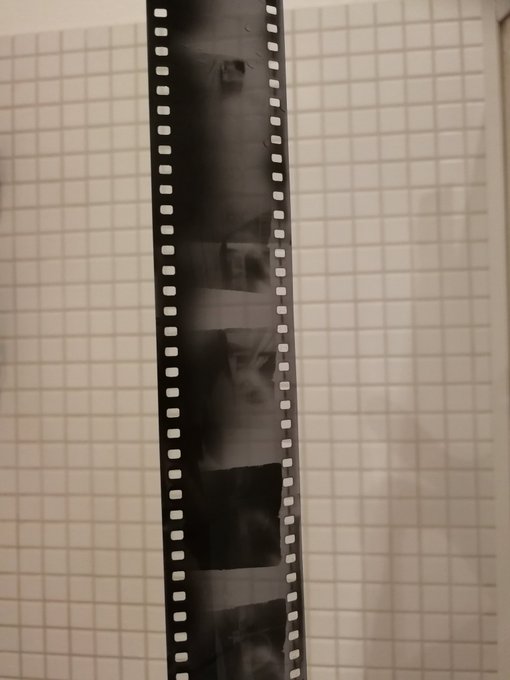
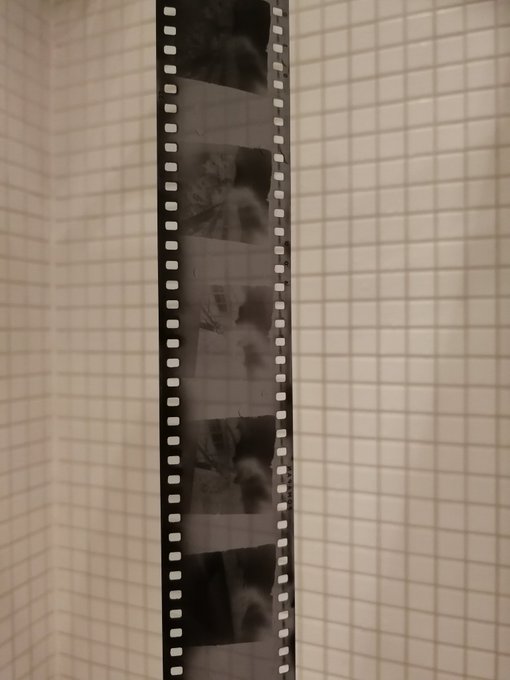
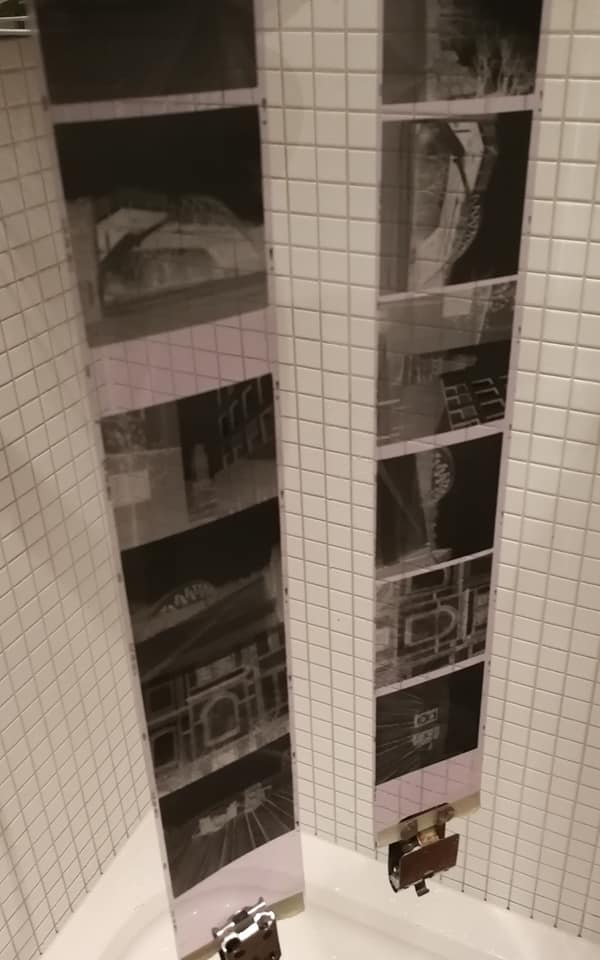
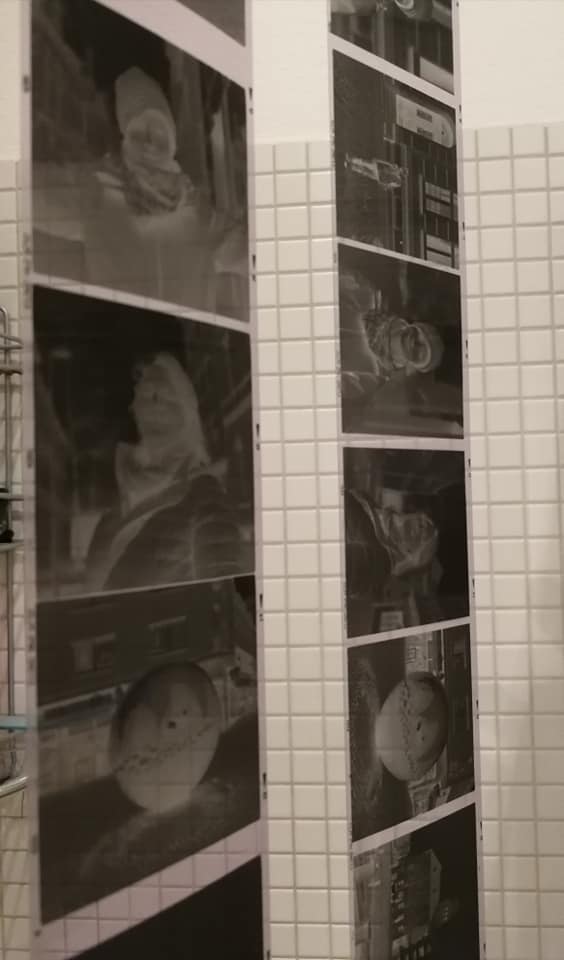
At first I wasn’t sure what the actual effect was but on closer inspection of the negatives, the blackened margins and the haloing around the film markings showed that we actually achieved a Sabattier effect at least in part of the images.
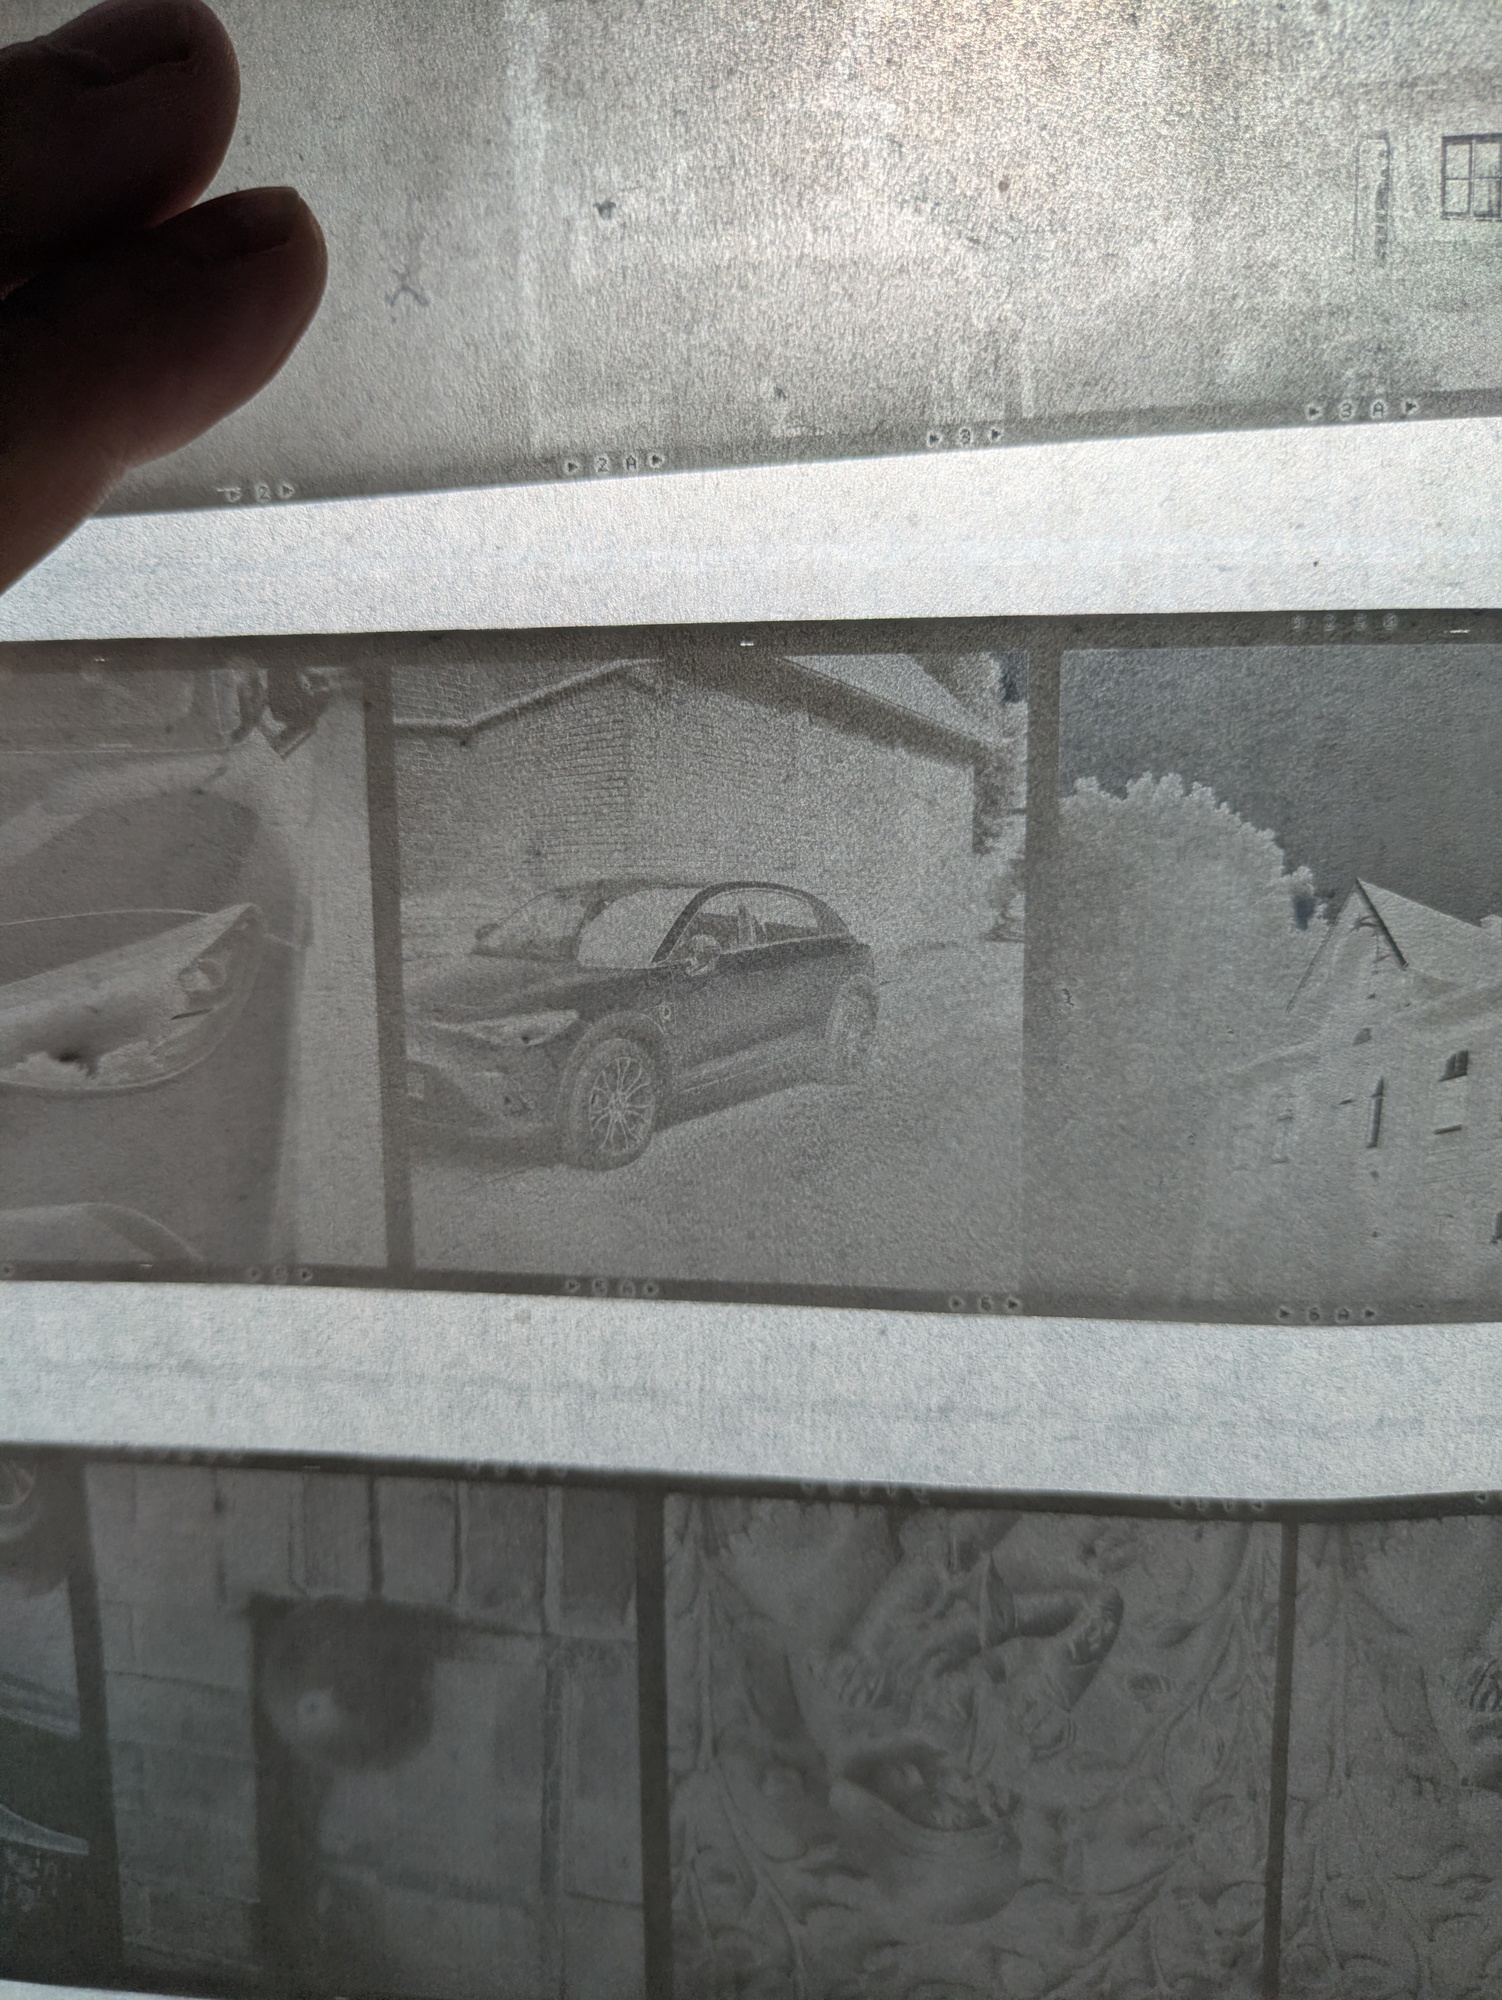
Chris made some preliminary scans and much fun was had reviewing the results. Interestingly, two of the photos seem to have been almost completely inverted. The results depend heavily on the original exposure.
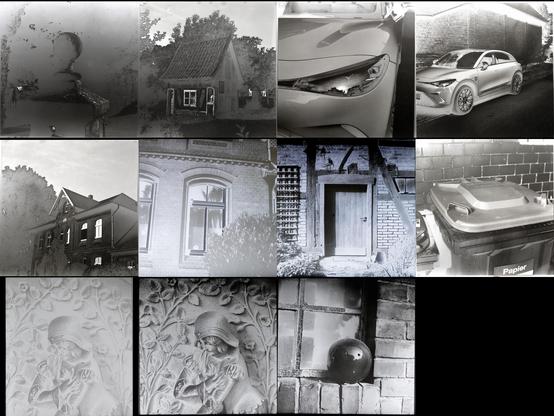
My scans of the images are in my gallery. Thanks to Moni and Chris for a fun and educational weekend.
Taking Photos with a Matchbox

Several times a year, Twitter user Jason Avery tweets challenges that are related to film photography using the hashtag #camerachallenge. In late July 2020 the challenge was to build and use your own pinhole camera.

I’ve always been fascinated with the idea (as seen on the internet) of building a pinhole camera from a matchbox. Google soon found an instruction page at matchboxpinhole.com.

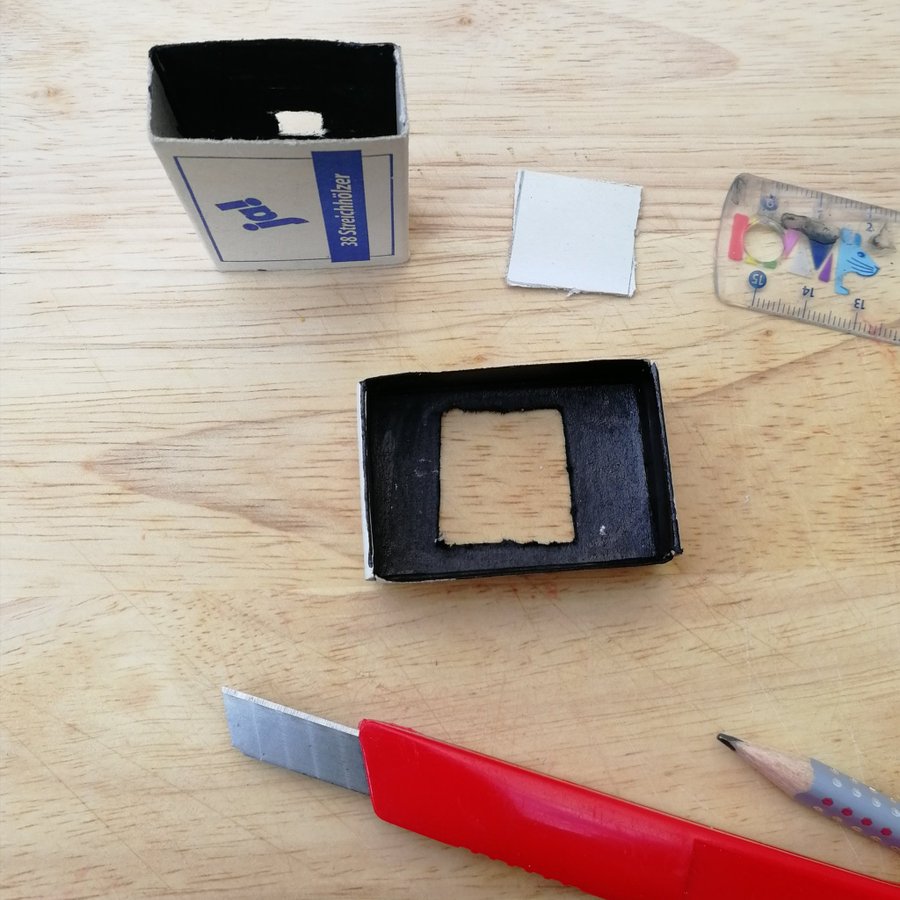
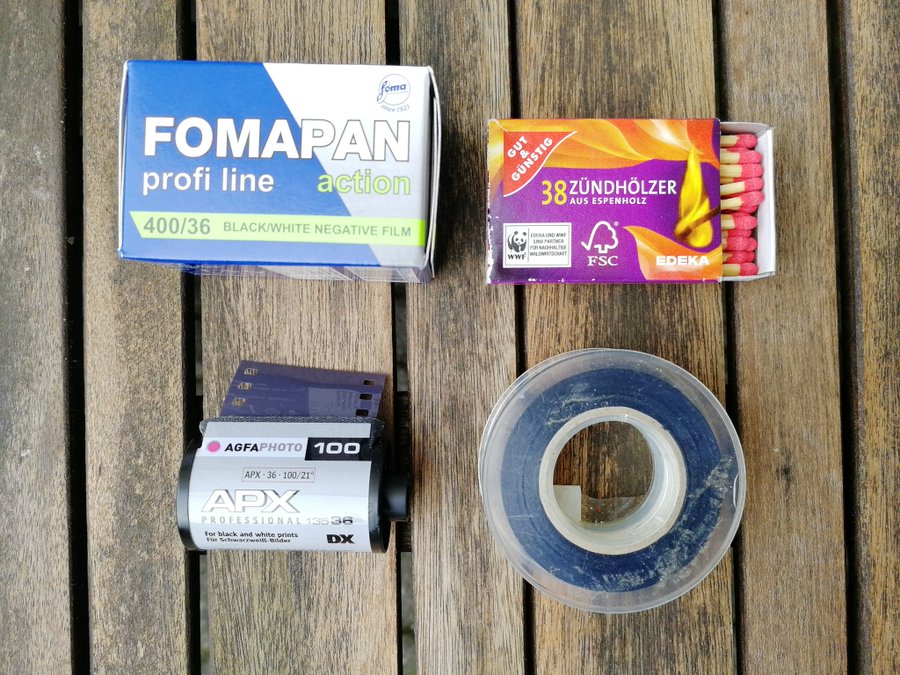
Here’s some of the materials I used.
The matchbox shown above was slightly too narrow to accomodate 35mm film so I actually used a different one. Cutting square…ish holes into the new matchbox.
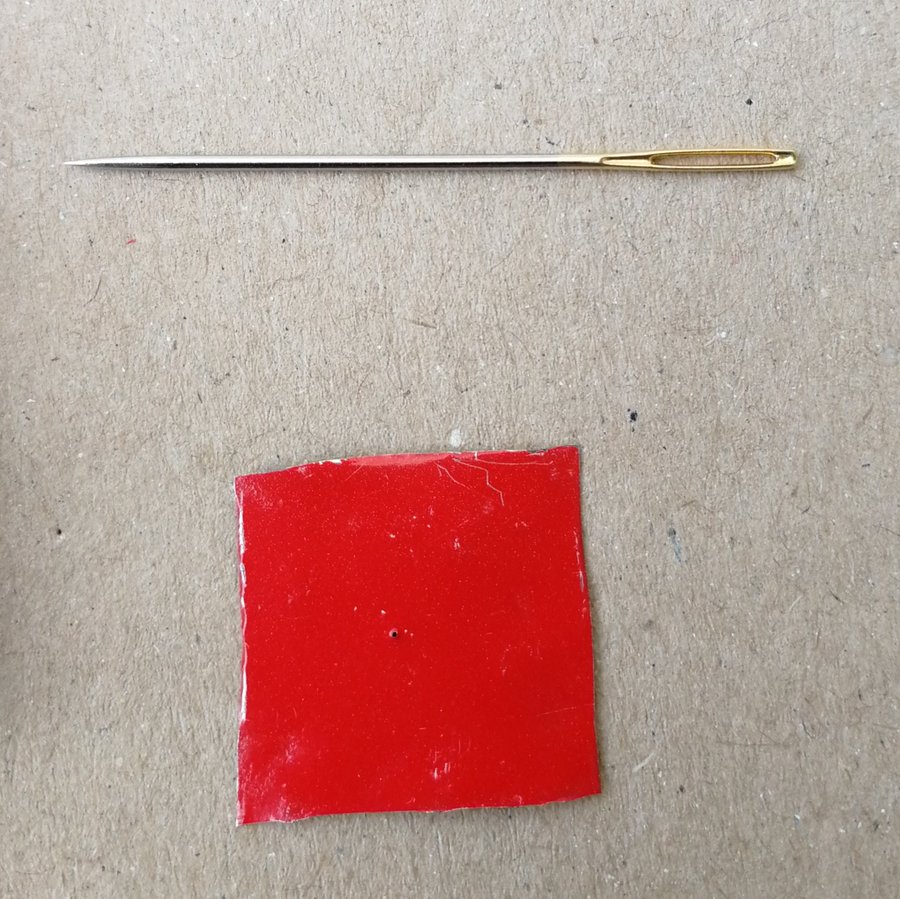
Pin –> hole
Yeah, I know. But there’s only one word in German for pins and needles, so there. (Actually, theres „Stecknadeln“/“pinning needles“ and „Nähnadeln“/“sewing needles“ but they’re both „Nadeln“)

I didn’t make any more WIP photos. If you want those, you’ll find them in detail (and with better craftsmanship) at matchboxpinhole.com.

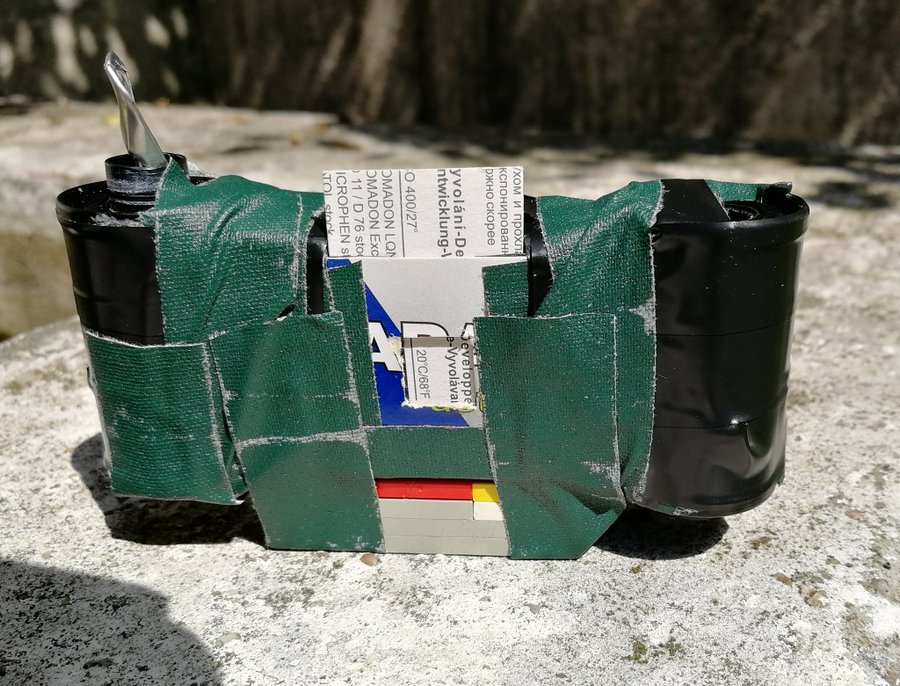
Instead, cut to: the finished Camera. It sure is an ugly little thing. Crafting was never my forte. Even in Kindergarten I was the kid who had to declare all his crafting projects gifts to his mother. At this point I wondered if it would take any pictures at all.

The bottom was uneven so I built a support from my son’s Lego. Still the construction seemed a bit too wobbly to prevent shake. Also the day I tried it was very sunny for Fomapan 400. At least the film transport appeared to be working fine.

The focal length is about 14-15mm. I can’t really measure the size of the pinhole but I guess it’s between .1mm and .2mm. That would put the Aperture somewhere between F/70 and F/150.

I used the F/90 estimate from matchboxpinhole.com but readings from my light metering app in bright sunlight were too fast for the manual cardboard shutter. So I used times from…say… 1/2s to three or four seconds and hoped that a stand dev would save the day.

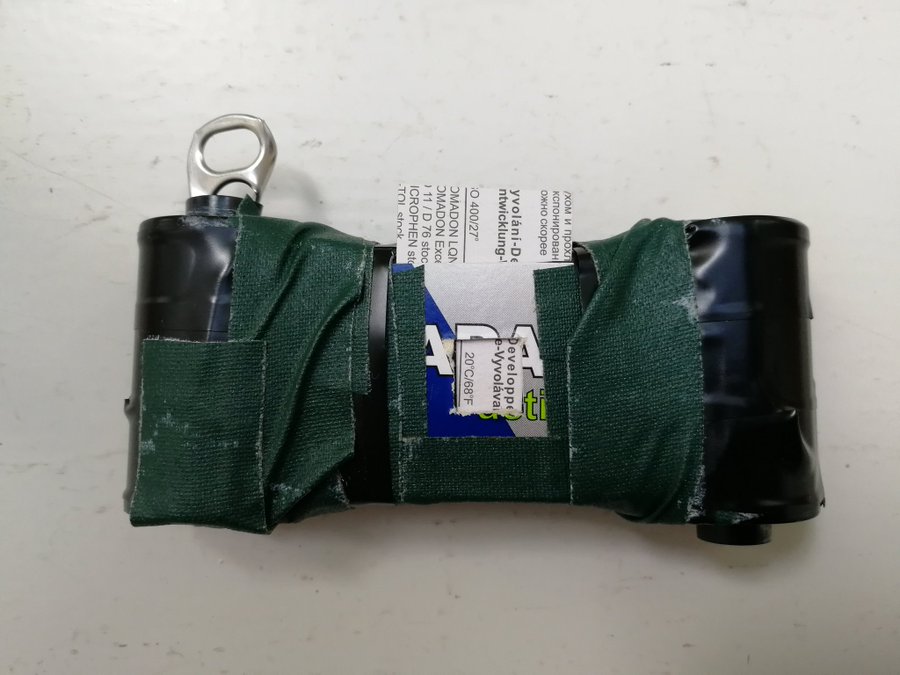
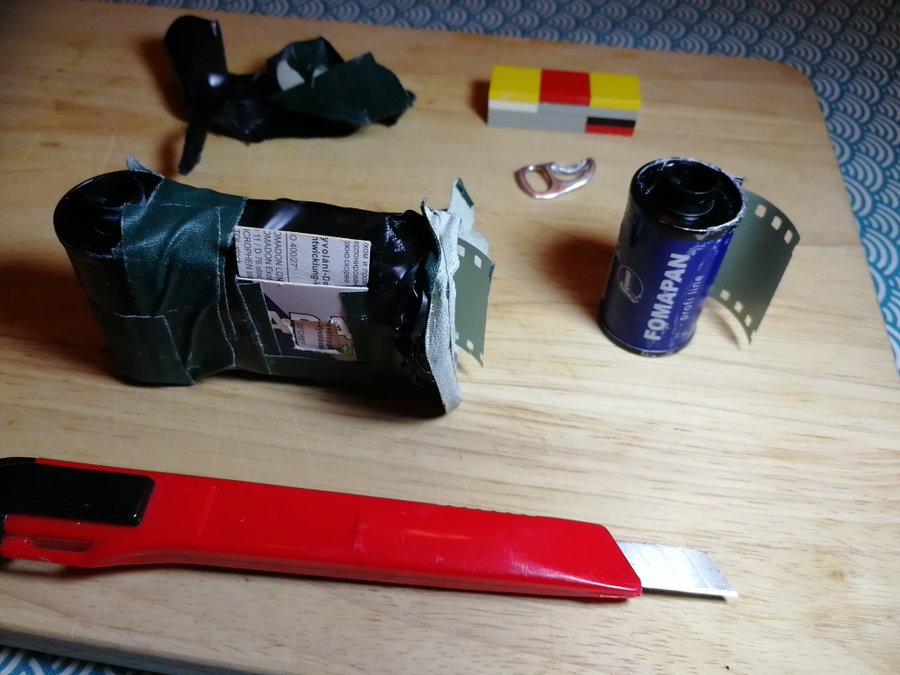
After a walk through my hometown, I had to dismantle the camera to get at the film.

I have only the rough estimate what my aperture is and my exposure times were all over the place. So I played it safe and did a stand development in Adonal/Rodinal 1:100. This equalizes exposure because the developer exhausts itself in areas which require greater development while remaining active in less-exposed areas. So it’s a great method to salvage found film, film that you’ve forgotten exposure details about or, as in this case, film where exposure was dodgy in the first place.

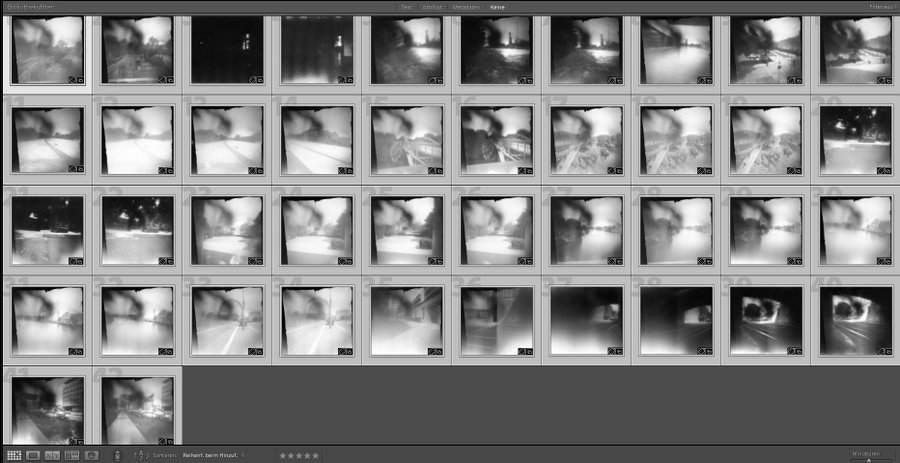
The first look at the negative shows that there were some light leaks but also discernable frames. And those frames aren’t just white. There seems to be some contrast there. Not bad for a matchbox and a bit of soda can.

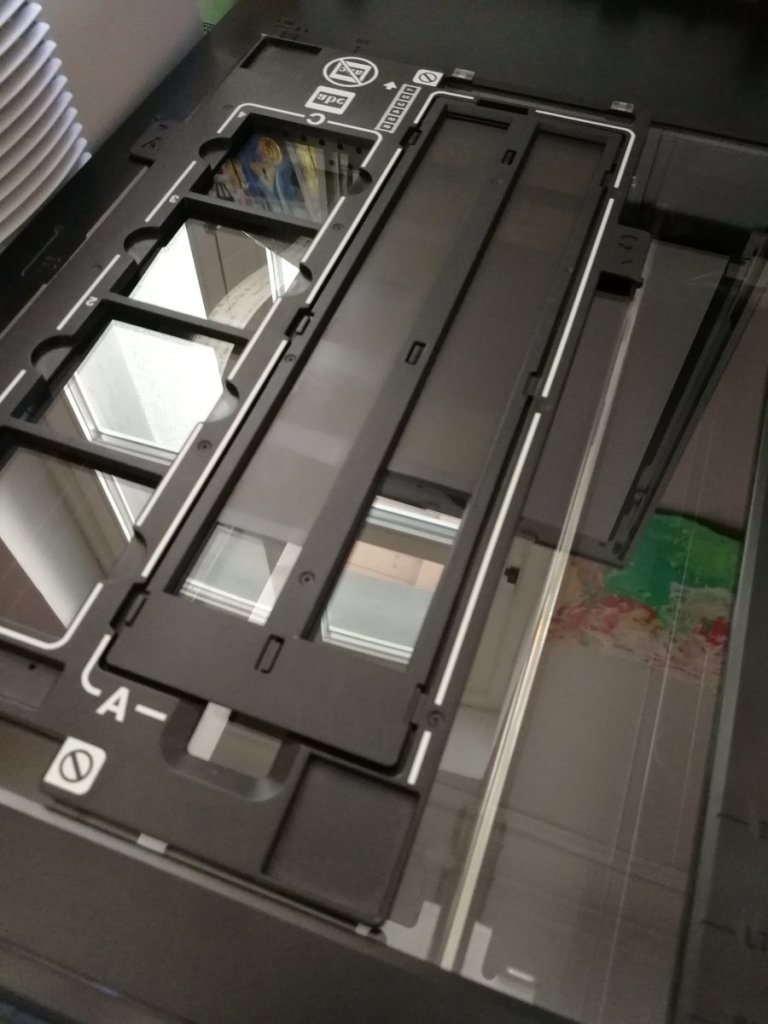
Now followed what is possibly the most tedious part of digital age film photography. Especially when the auto frame detect doesn’t detect your oddly shaped matchbox pinhole frames.

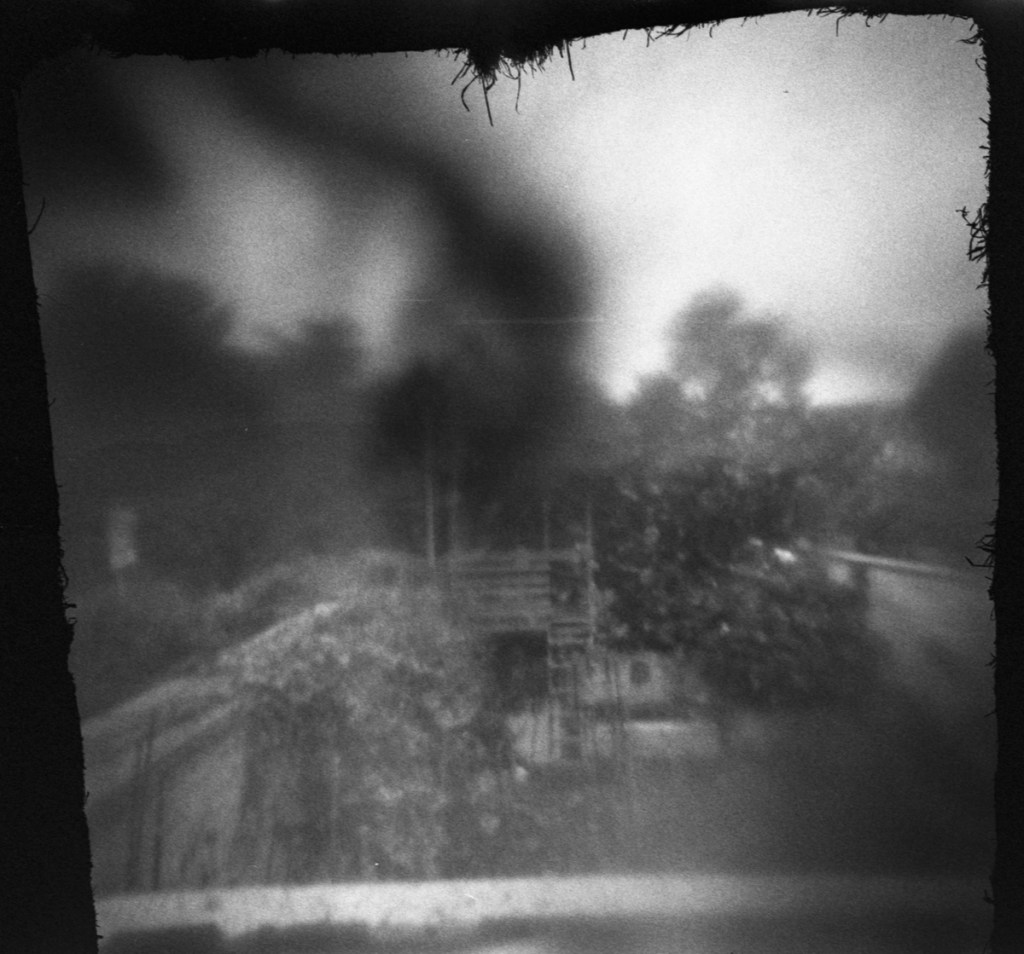
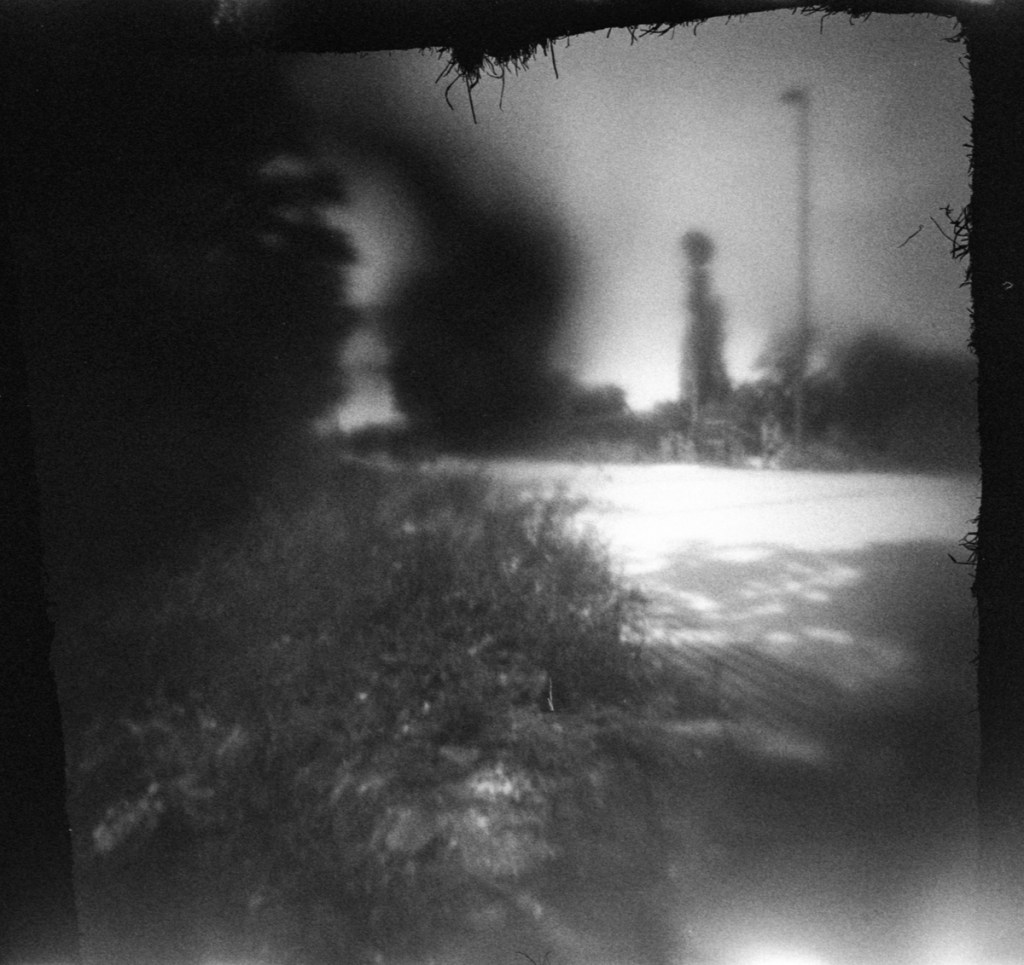
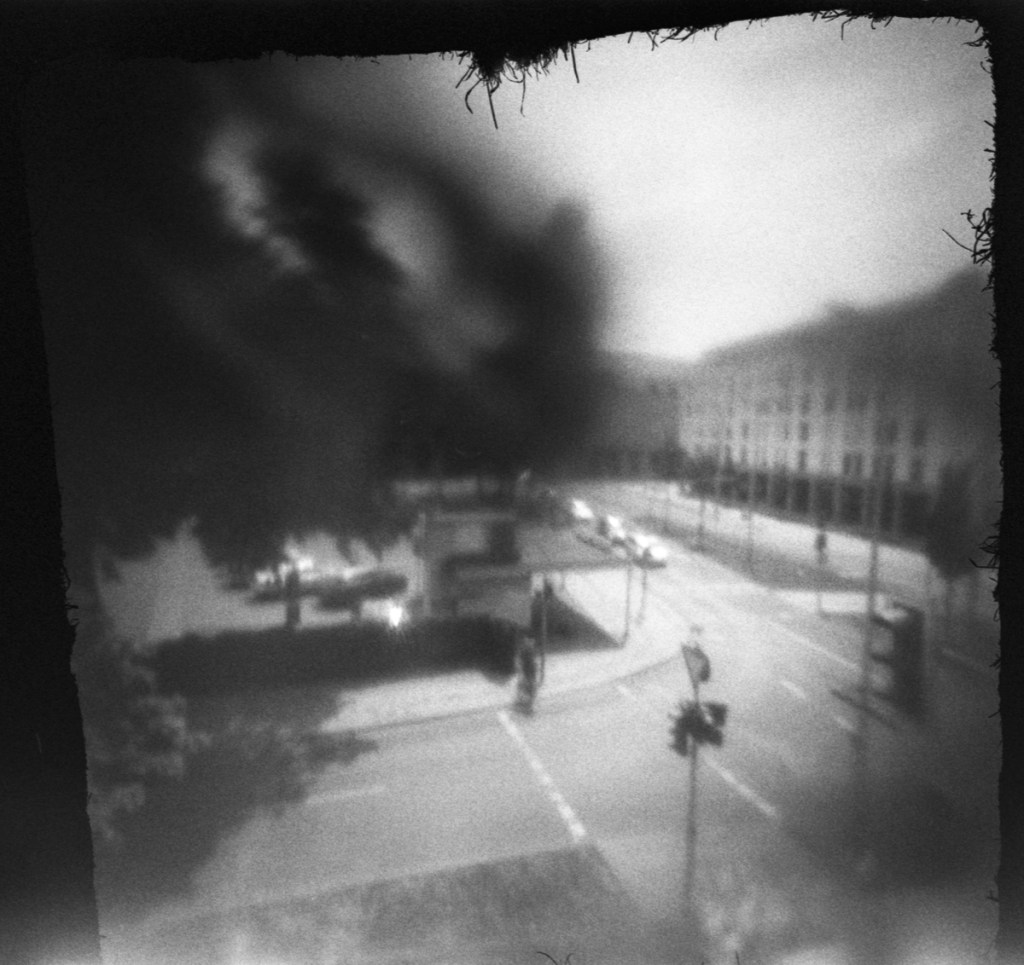
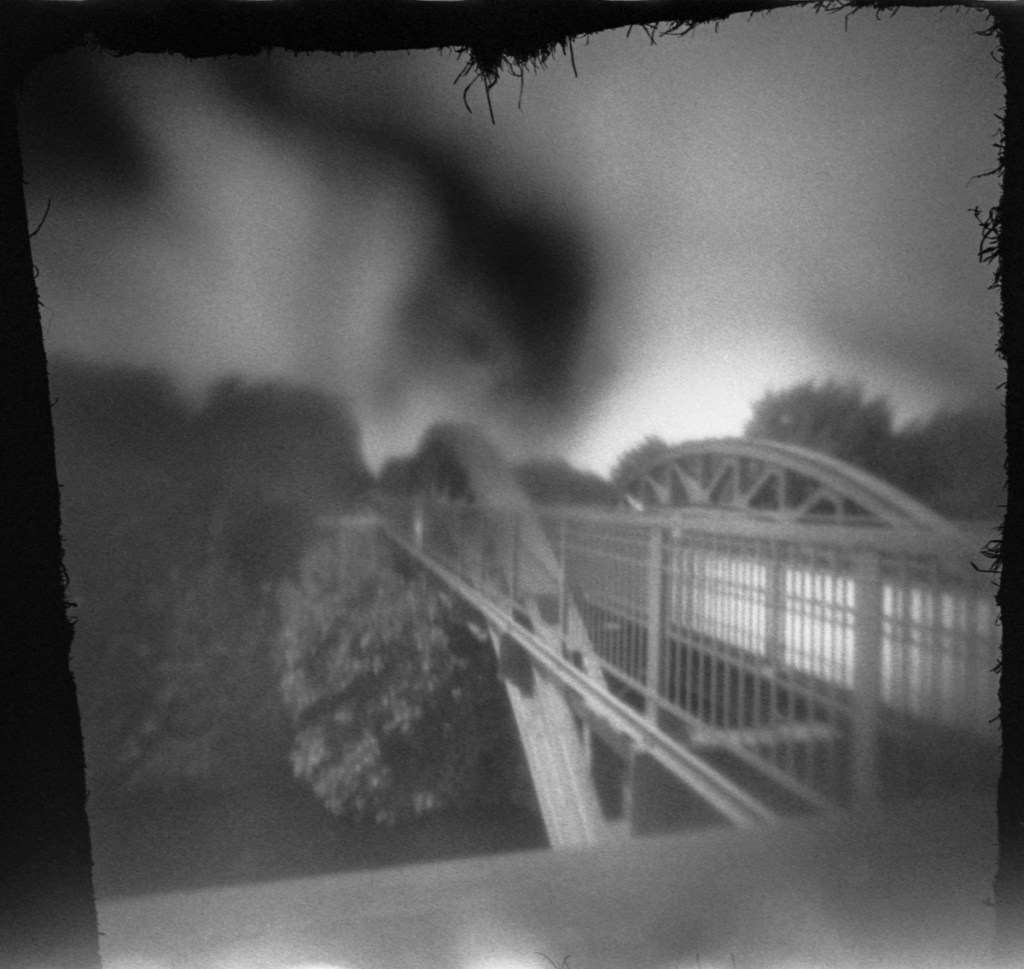
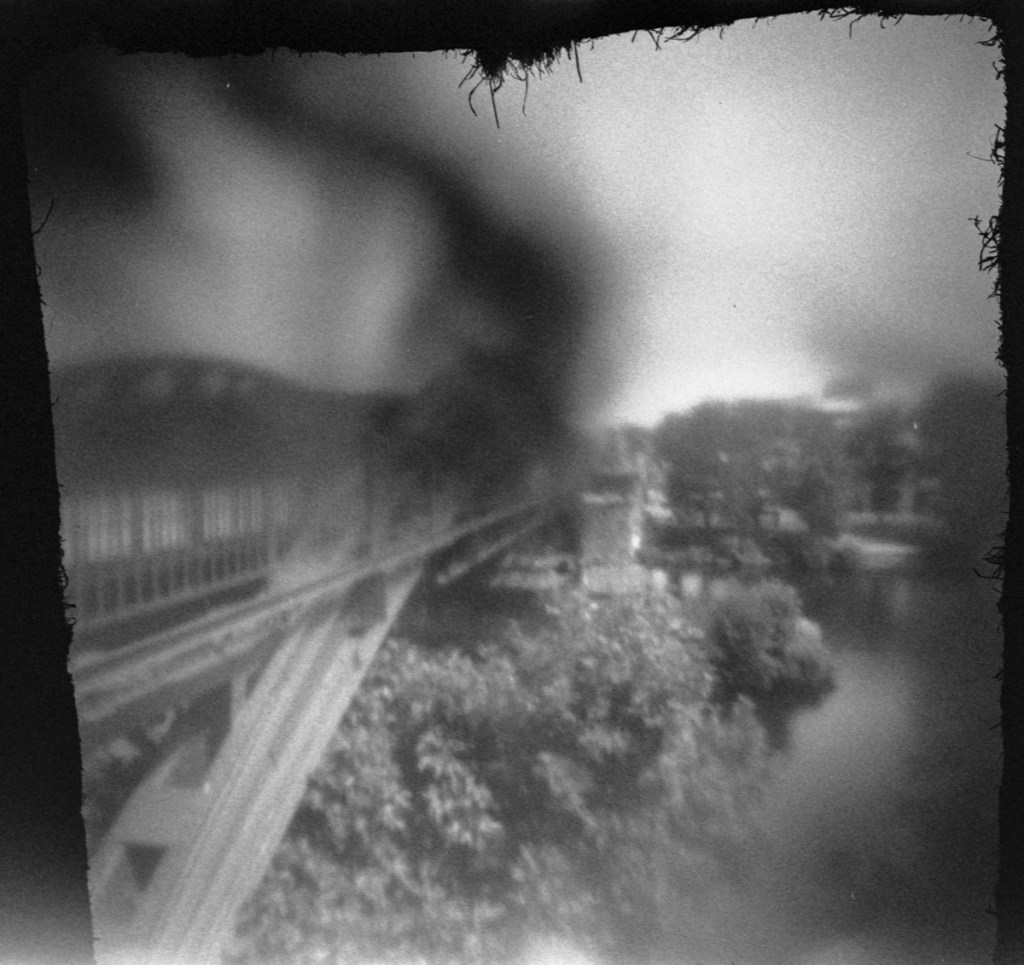
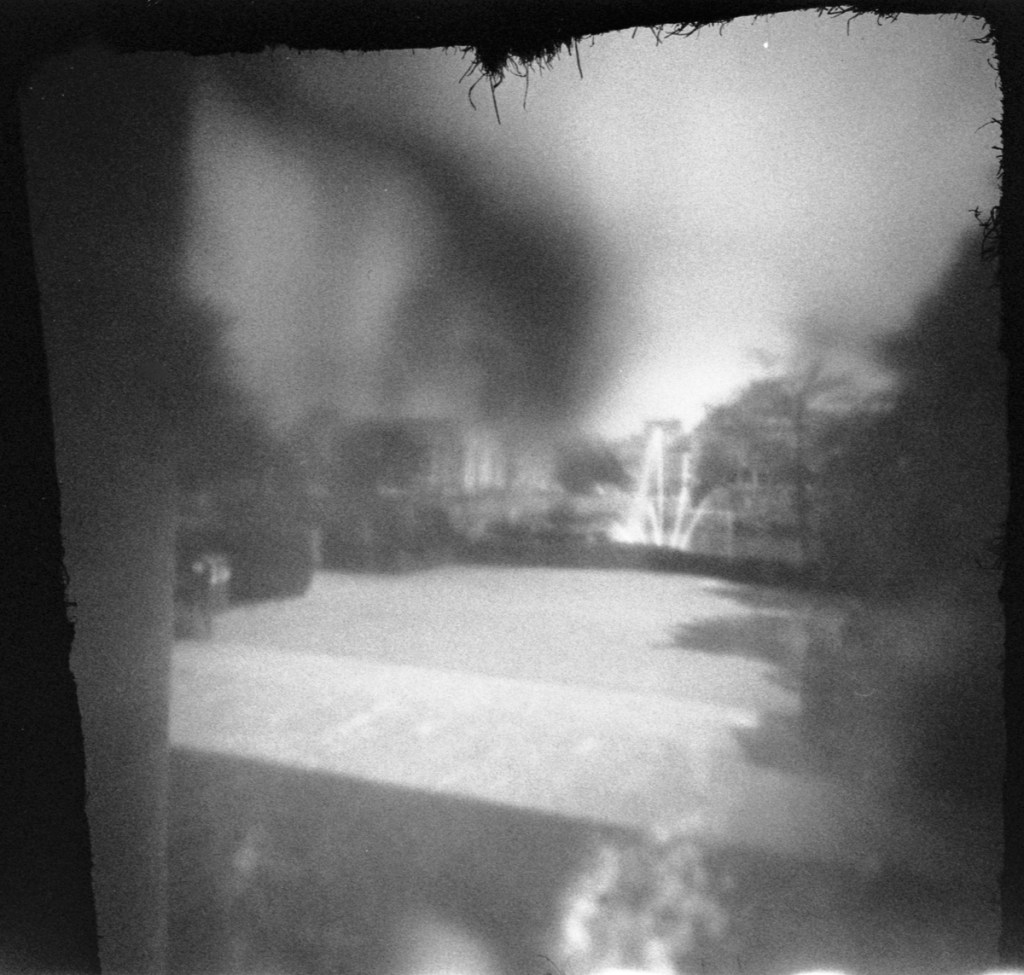
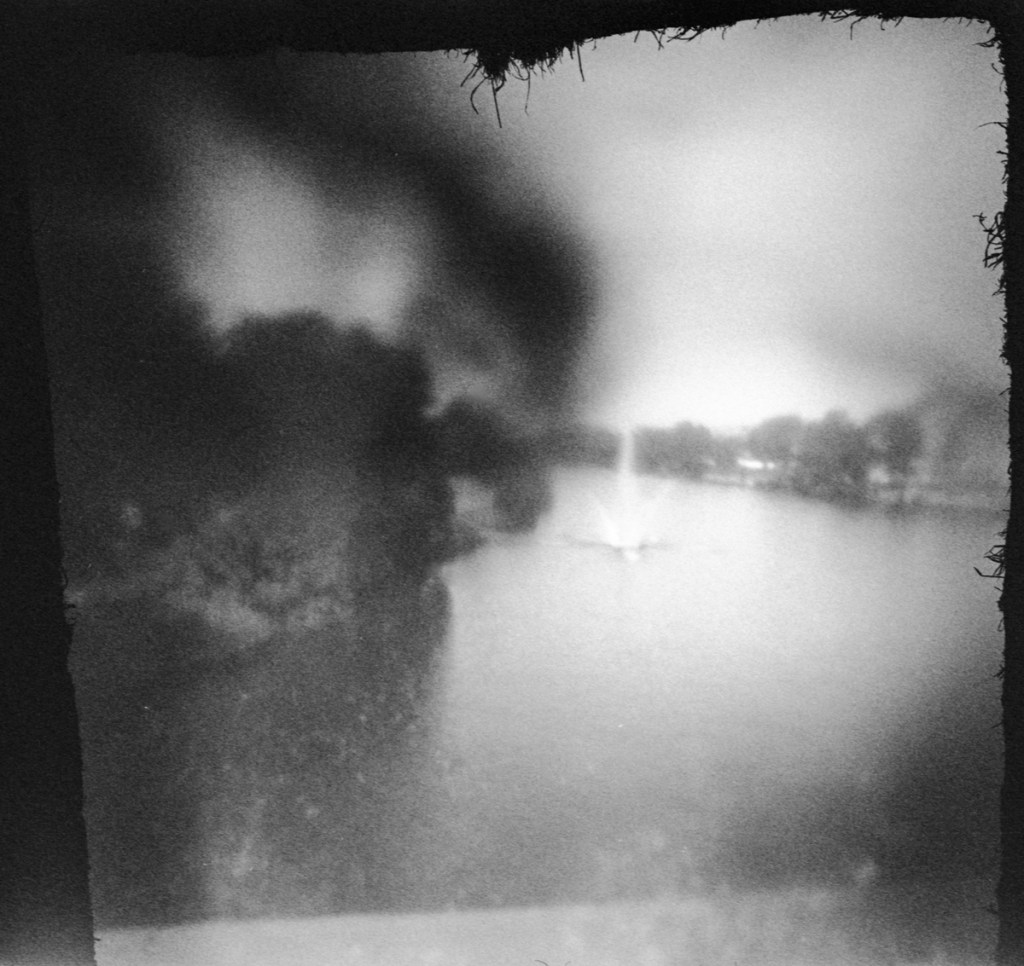
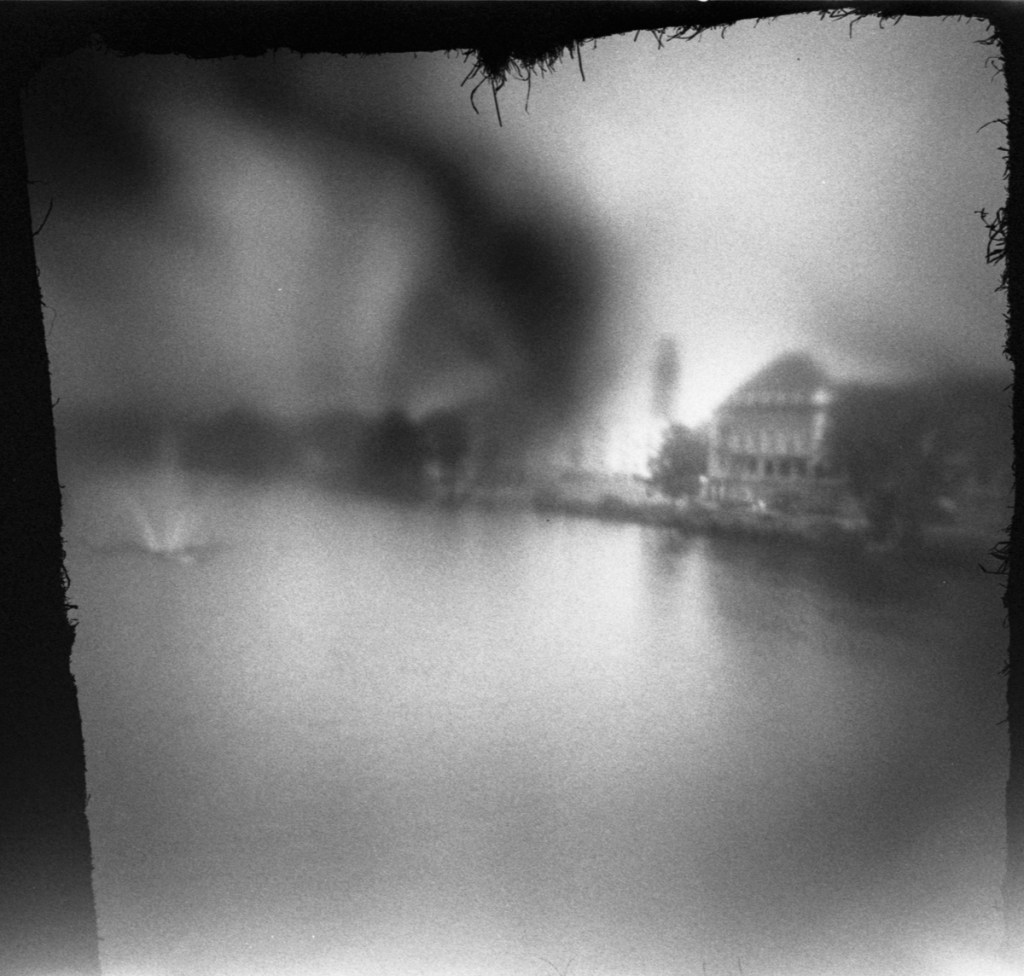
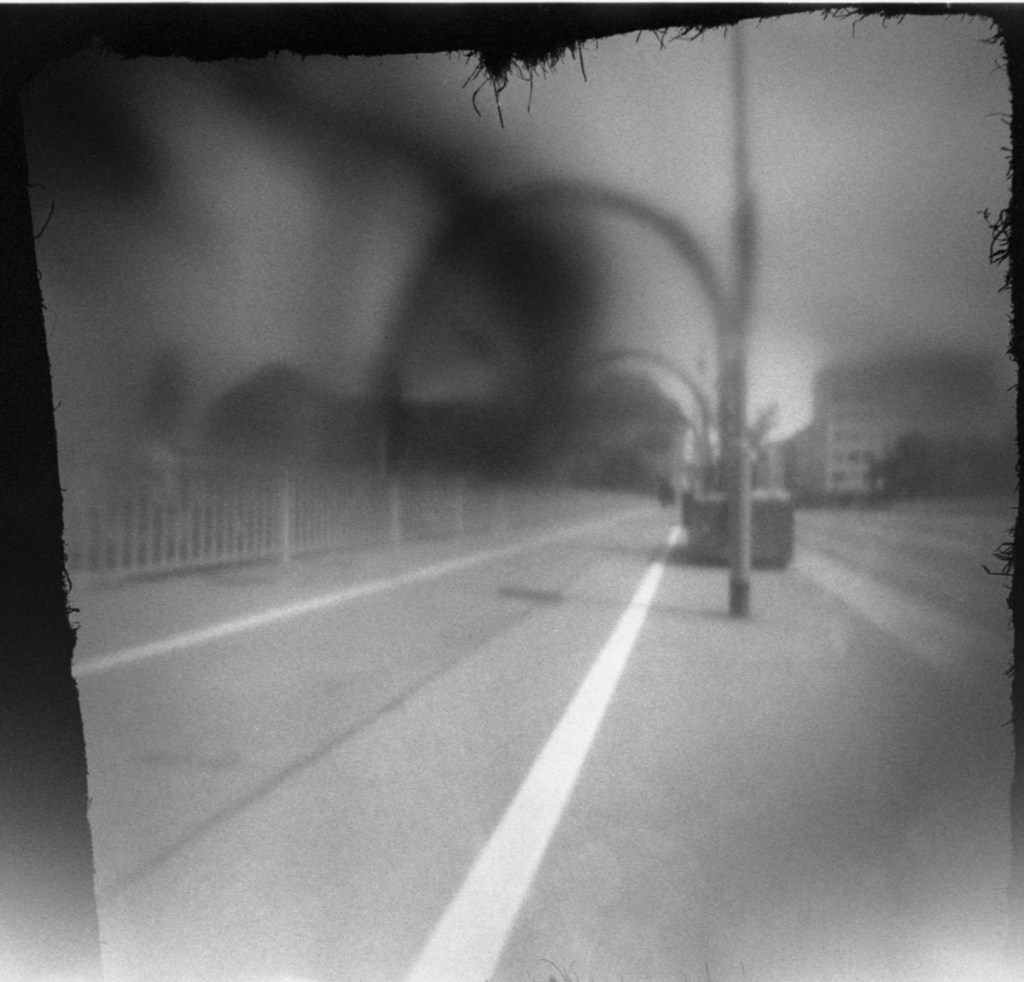
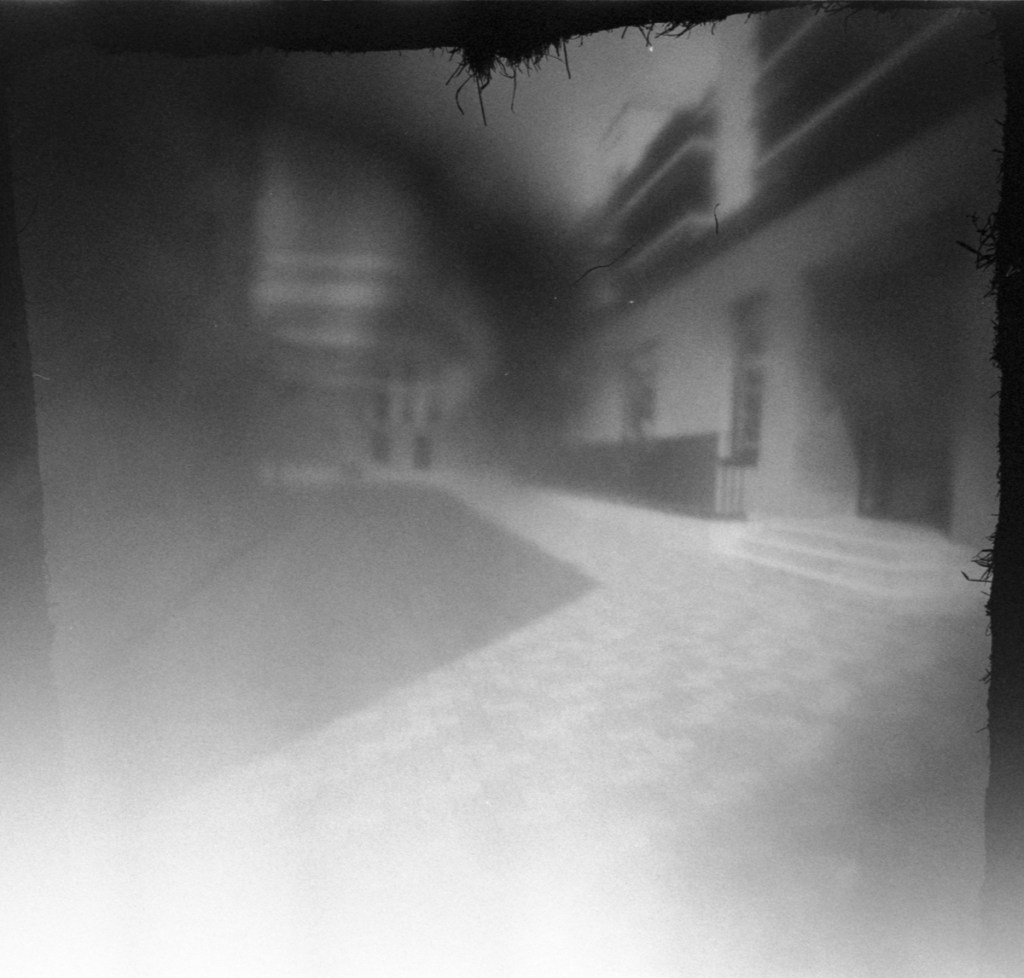
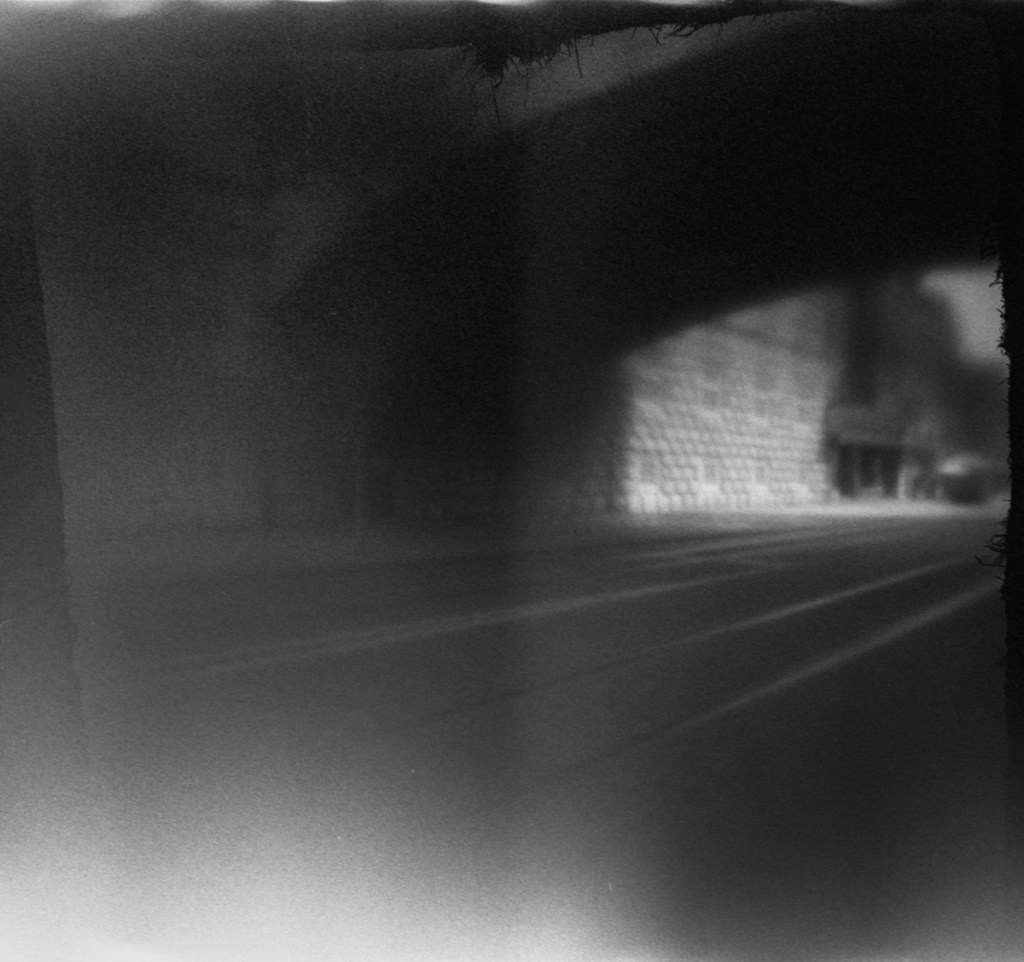
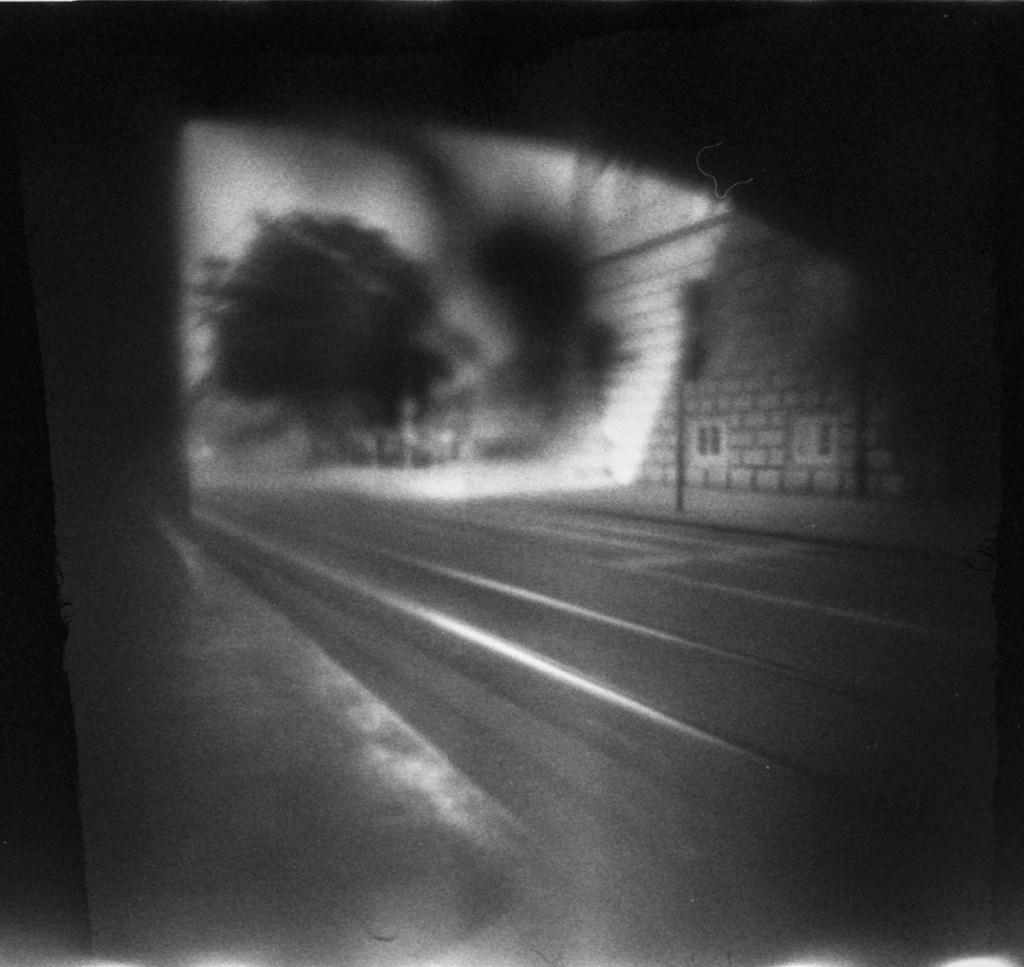
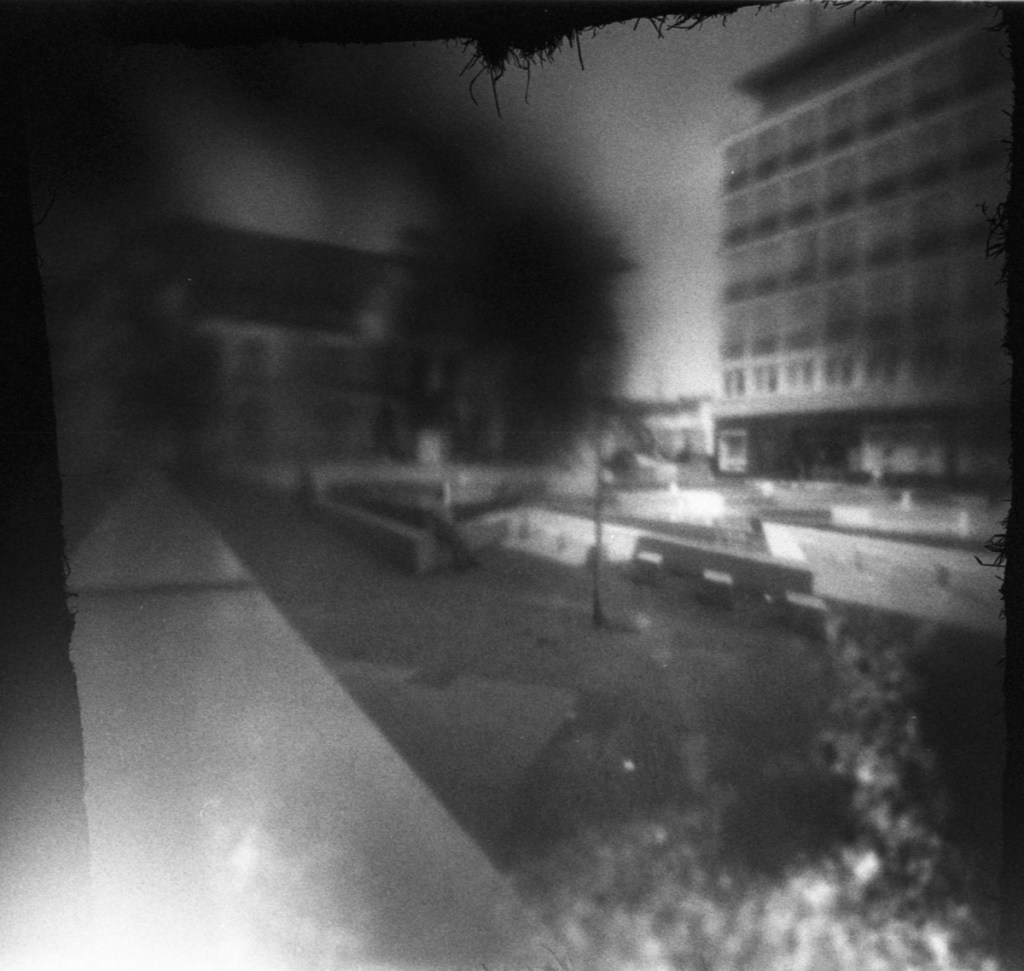
After scanning was complete it turned out that there was some obstruction in the Camera. Some dust in the pinhole or some shavings from punching the hole. All pictures have that dark smudge top left to center. Still the results are better than I expected.

I shortlisted my 42 exposures to 15 pictures that are shown below. Did some tweaking of tone values and dust removal.

And here are some digital photos of the same locations, for reference. These were taken a few days later. The lighting conditions were firly similar but shadows indicate that it was a few hours later in the day. Obviously, the field of view of the camera is very different.

All in all I’m quite pleased with the result. Despite the dark smudge the images are more than I expected from a bit of cardboard and tape.

From now on, whenever the technocrats debate about what camera or lens is best, my answer will be „Ah bah, all you really need is a matchbox!“

Addendum (2020-08-22)

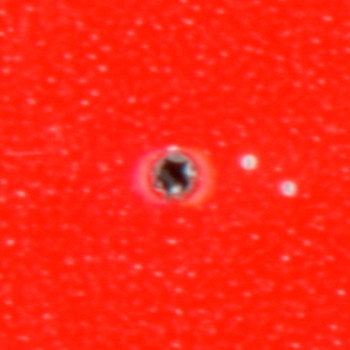
A few days after I wrote this blog post, Karin Lizana tweeted about scanning the pinhole, so I did just that. I found out that my pinhole is not very round, is in fact roughly .2mm in size and you can clearly see the obstruction that made the dark smudge.

Comparing three Medium Format Cameras

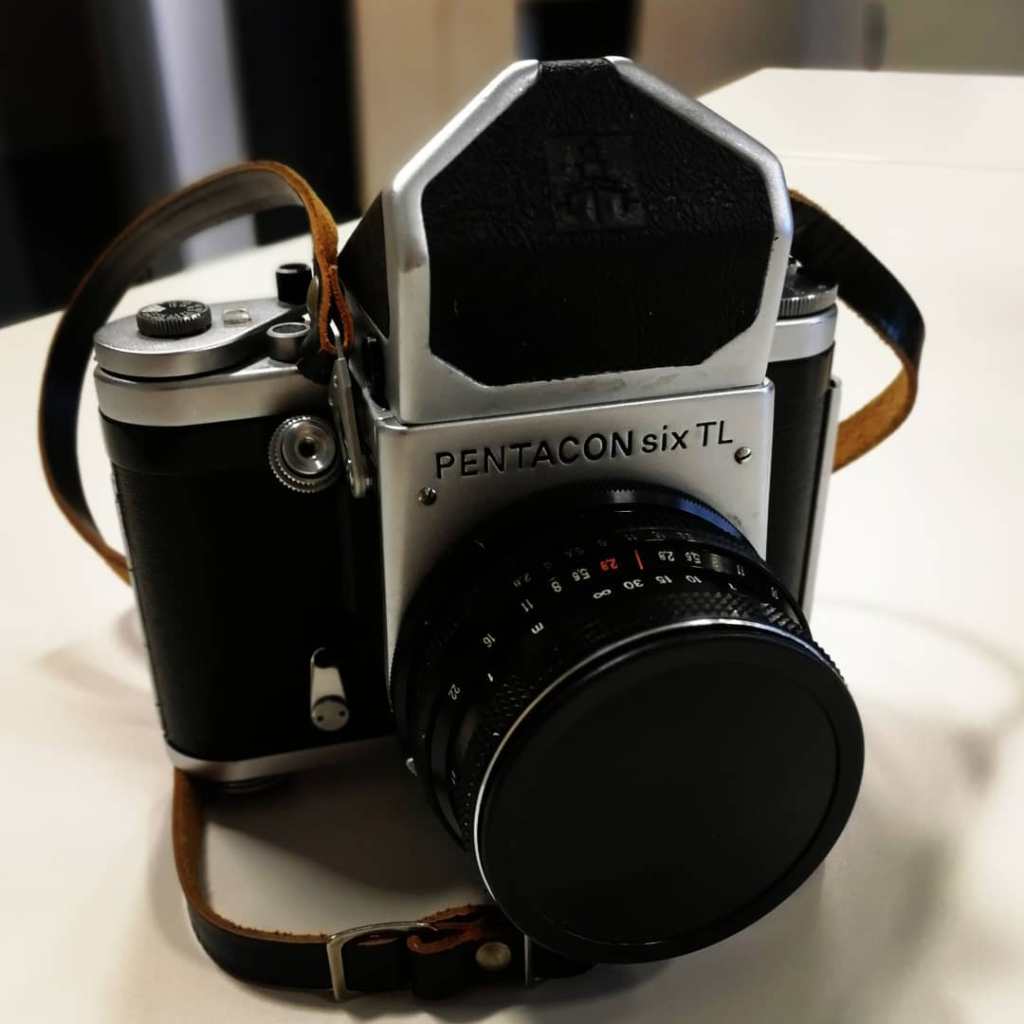
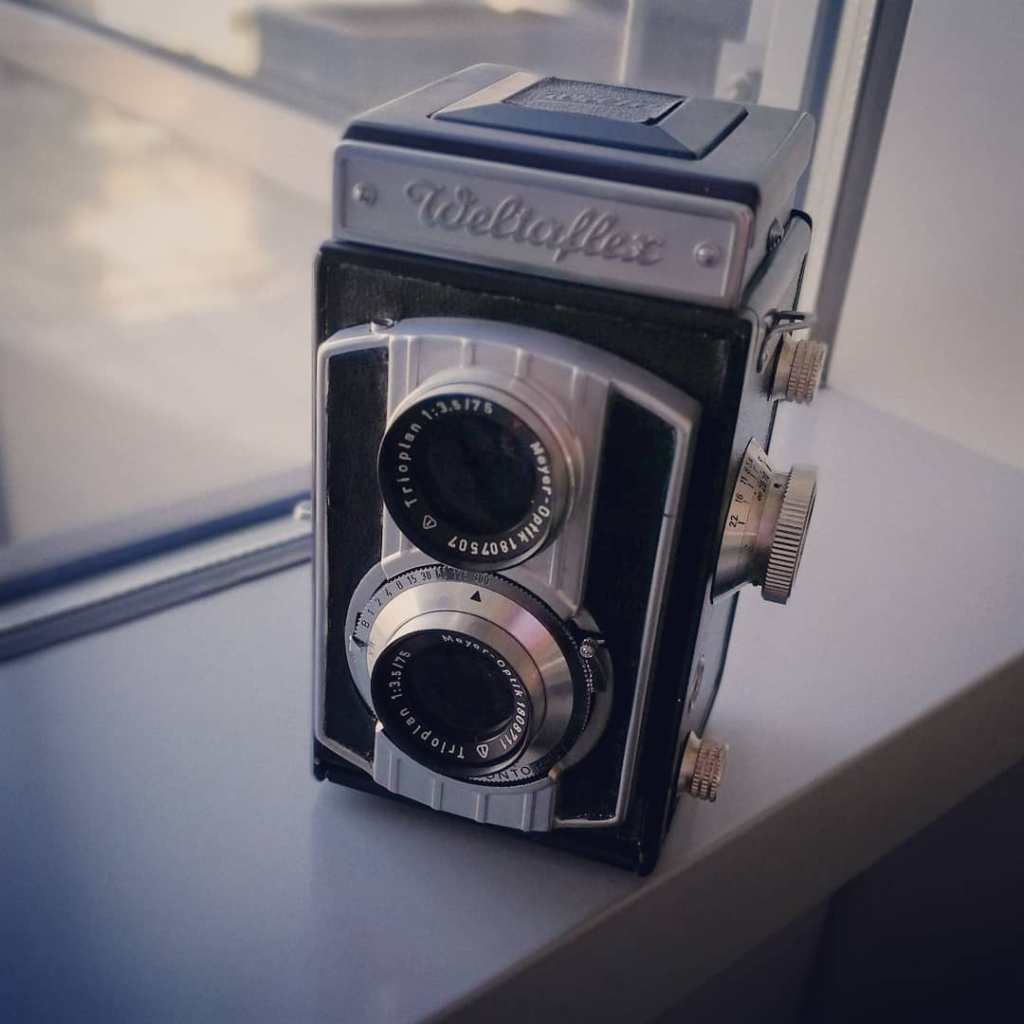
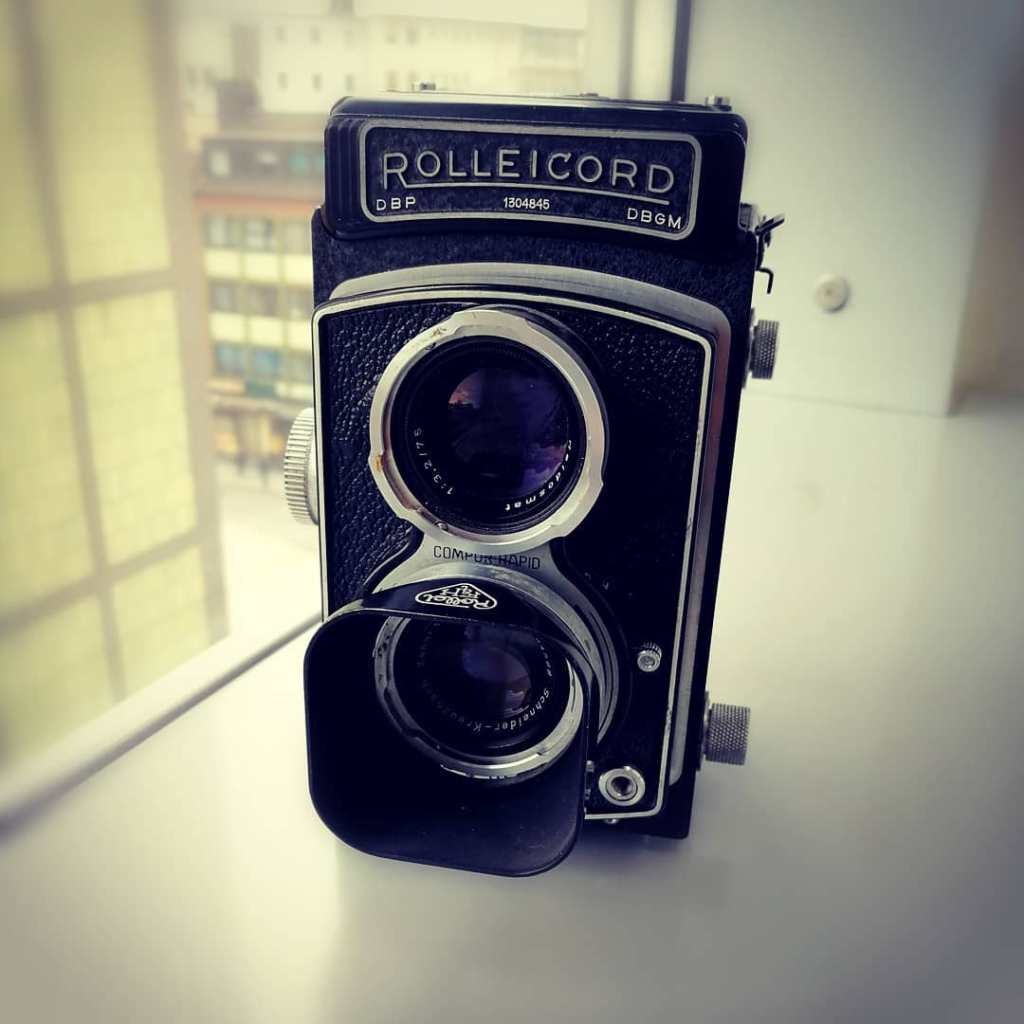
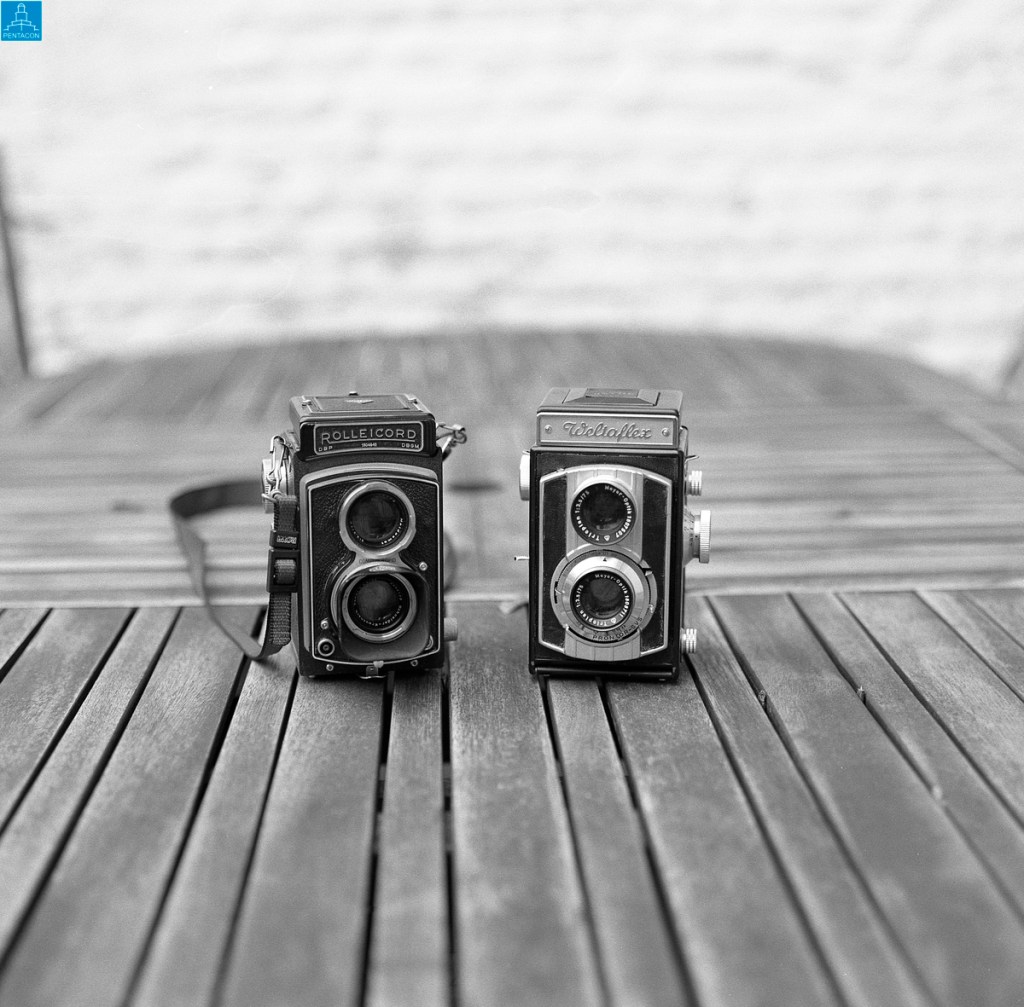
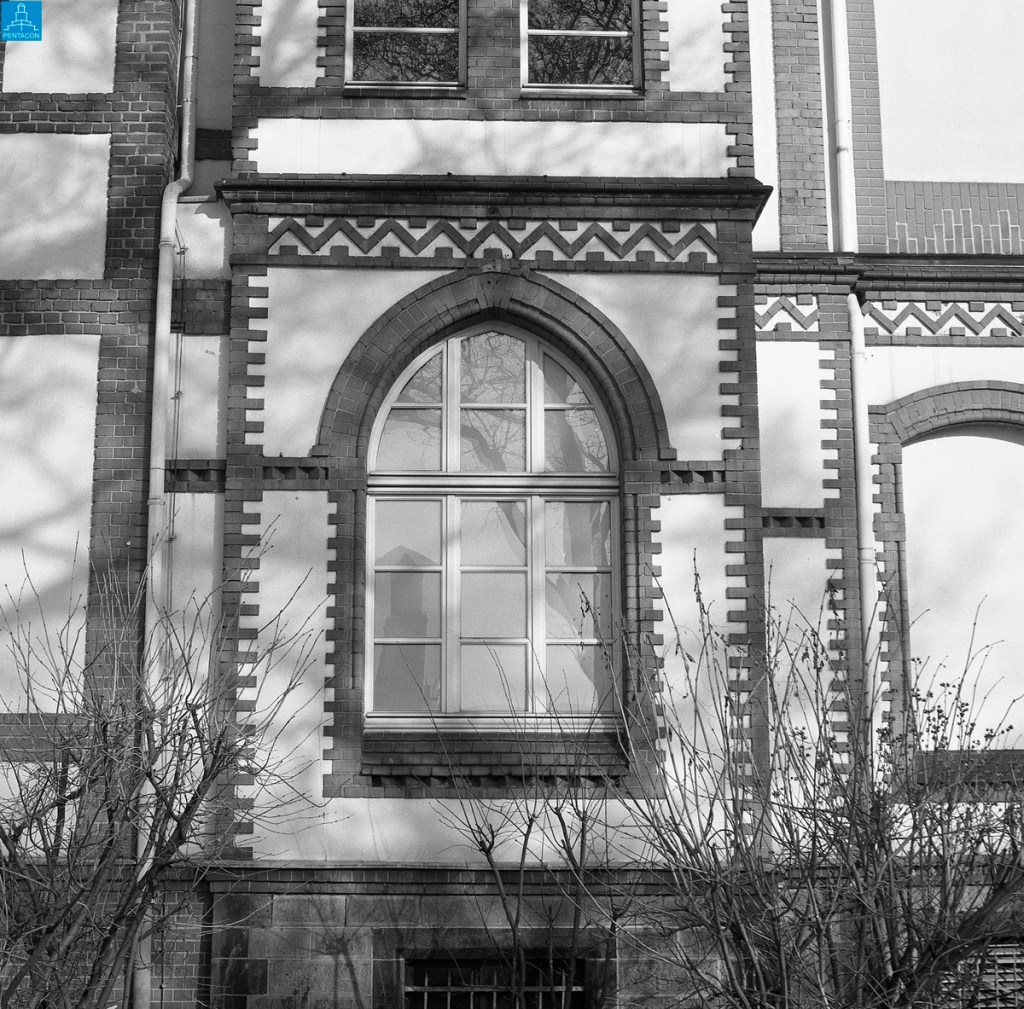
For most of 2019 my go-to medium format cameras were a Weltaflex and a Pentacon six TL. Then in November, I found a Rolleicord III at a very reasonable price. Having shot 15 rolls of film with the Pentacon, 7 with the Weltaflex (and 31 with a previous Weltaflex until that died) and only three with the Rollei, I decedided to run a quick test to see how they compare in mostly identical situations. Now, I’m not one for methodically running „proper“ equipment tests under precisely controlled conditions. I just loaded up all three cameras with a roll each of Ilford HP5+, went on a little walk around my home town and took several similar shots with each camera. I then processed the films with the same recipe.
Weather conditions, framing the shots, exposure settings, and some choices while scanning and editing all contribute to the fact that this is not in any way a „scientific“ comparison. It’s just a personal experiment to find out which camera I’m most comfortable with in terms of handling and results. The results are presented „as is“ and with no claim to generality whatsoever.

My initial plan was to use exactly the same settings on each camera but while the Pentacon and the Weltaflex use a 1/125 setting, the Rolleicord has a 1/100 shutter speed. I decided that that’s close enough for my purposes.
All three cameras have measuring film advance mechanisms. Pentacons are notorious for bad film advancement but I have never had any problems. Apparently, the vendor gave this one a good CLA. This Weltaflex’s mechanism doesn’t stop for the fourth frame but I usually try to take the shot anyway by stopping the spool when the number 4 is in the frame counter. It’s a bit hit-and-miss, though.
The Pentacon has the brightest, sharpest viewfinder, the Weltaflex the darkest. I used the Pentacon with the optional waist-level finder.
The Pentacon cocks the shutter when advancing the film. The Weltaflex has a separate lever for cocking the shutter. The Rolleicord cocks and releases the shutter with the same lever. The Rolleicord doesn’t have a double exposure lock.
Even before looking at the results, I noticed that I forgot to advance the film on one frame of the Rolleicord. Also, I accidentally turned the aperture ring on the Pentacon once.

All films were developed in HC-110, dilution B for five minutes. The films from the Pentacon and the Weltaflex were processed in the same tank, the film from the Rollei in another session. The negatives appeared to have pretty much the same density. But the Weltaflex seems to have had some trouble with film advancement and not only on frame 4. This is the first time this has happened. Maybe I didn’t load the film carefully enough.

I usually scan my negatives with auto exposure. I considered using manual settings for this test but seeing as the negatives seemed fairly evenly exposed between cameras, I decided that using auto wouldn’t invalidate the results I was hoping to get.
The vertical line in some photos isn’t actually in the negative but is a problem with my scanner. I actually know how to prevent this, but this time, I forgot.

I did made some adjustment to brightness and contrast. In each case, I made the adjustments on one of the images and copied the adjustments to the other two versions of that image so results should be more or less comparable. There was some dust removal done individually for each image.

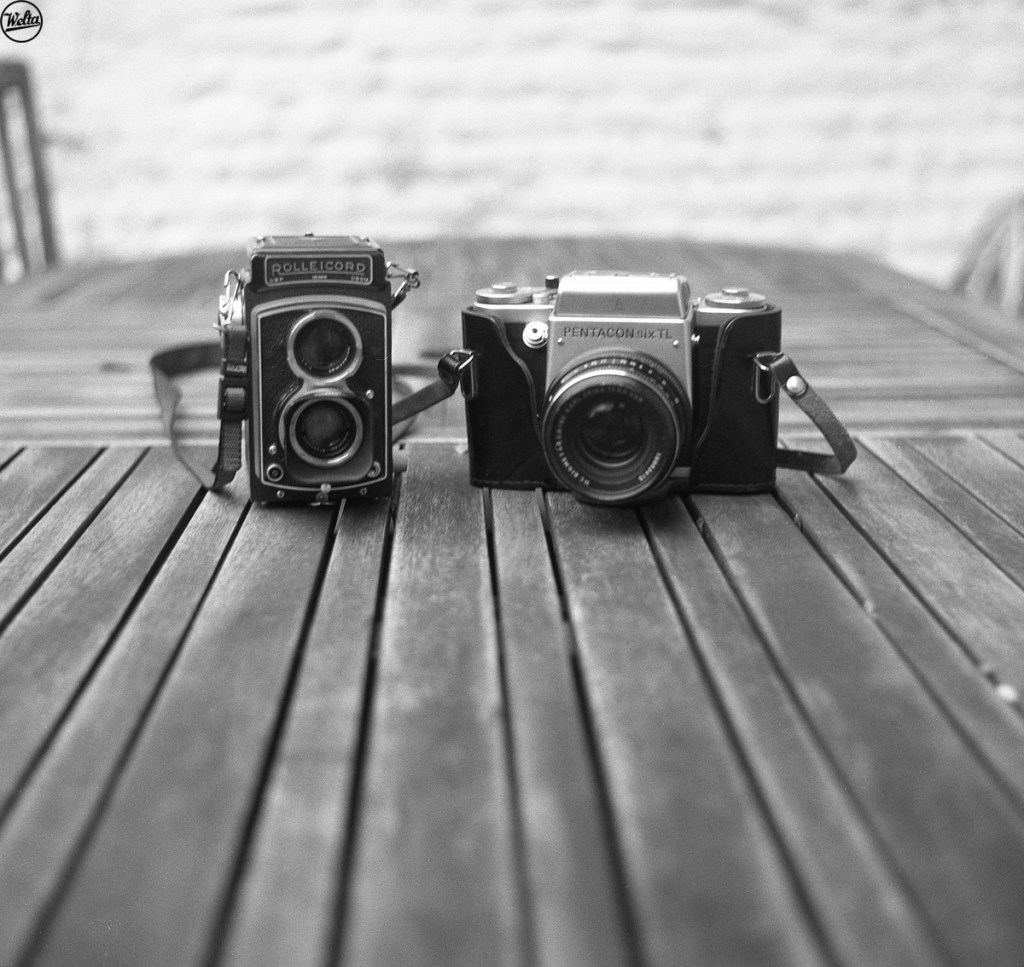
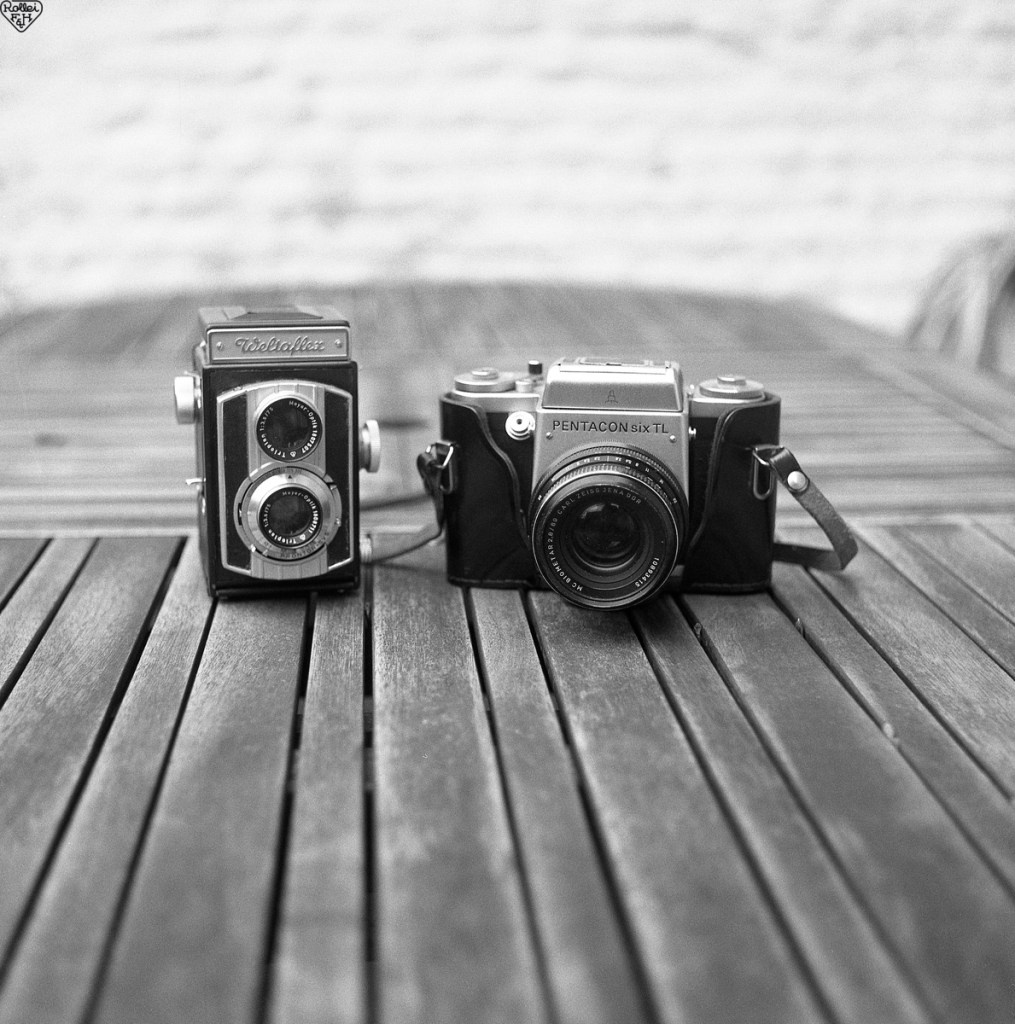
First I took some shots to make sure I remember which roll is from which camera. Obviously it’s the one not shown in the shot 😉

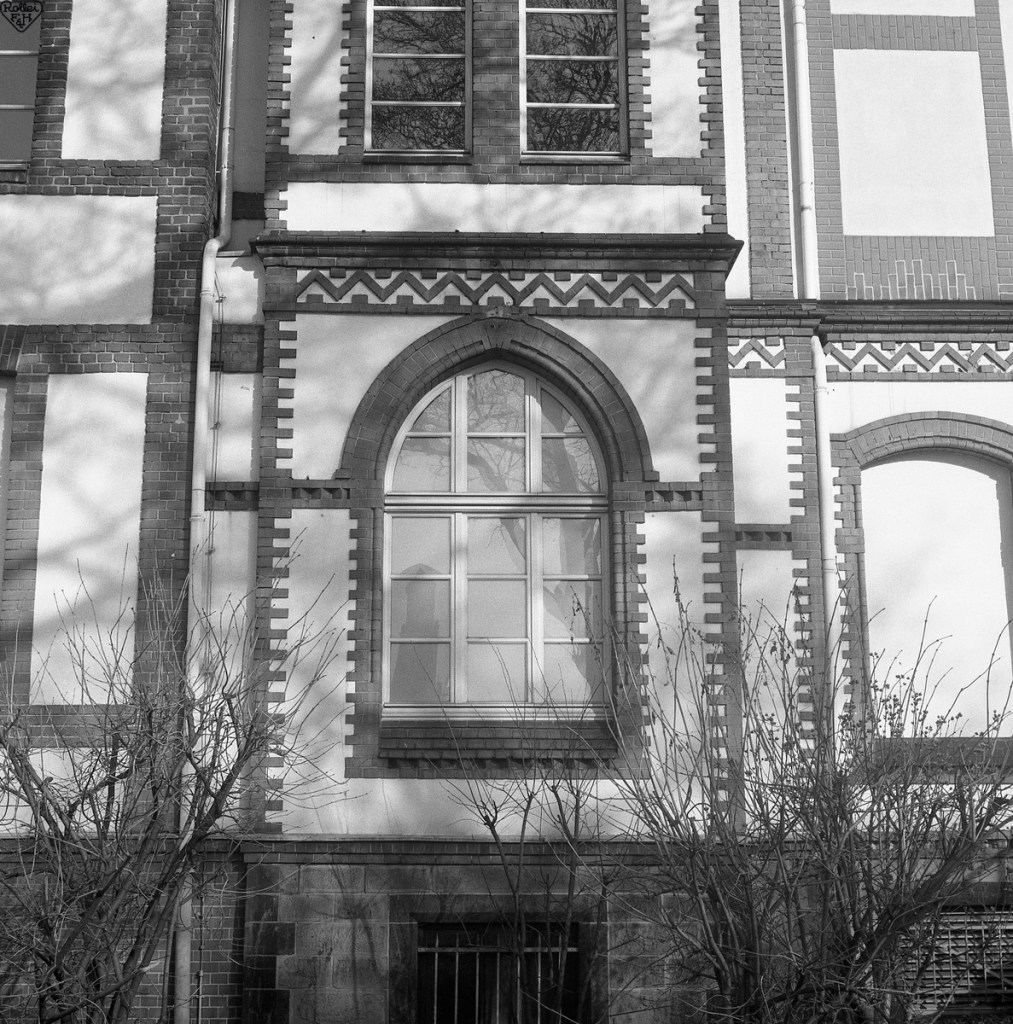
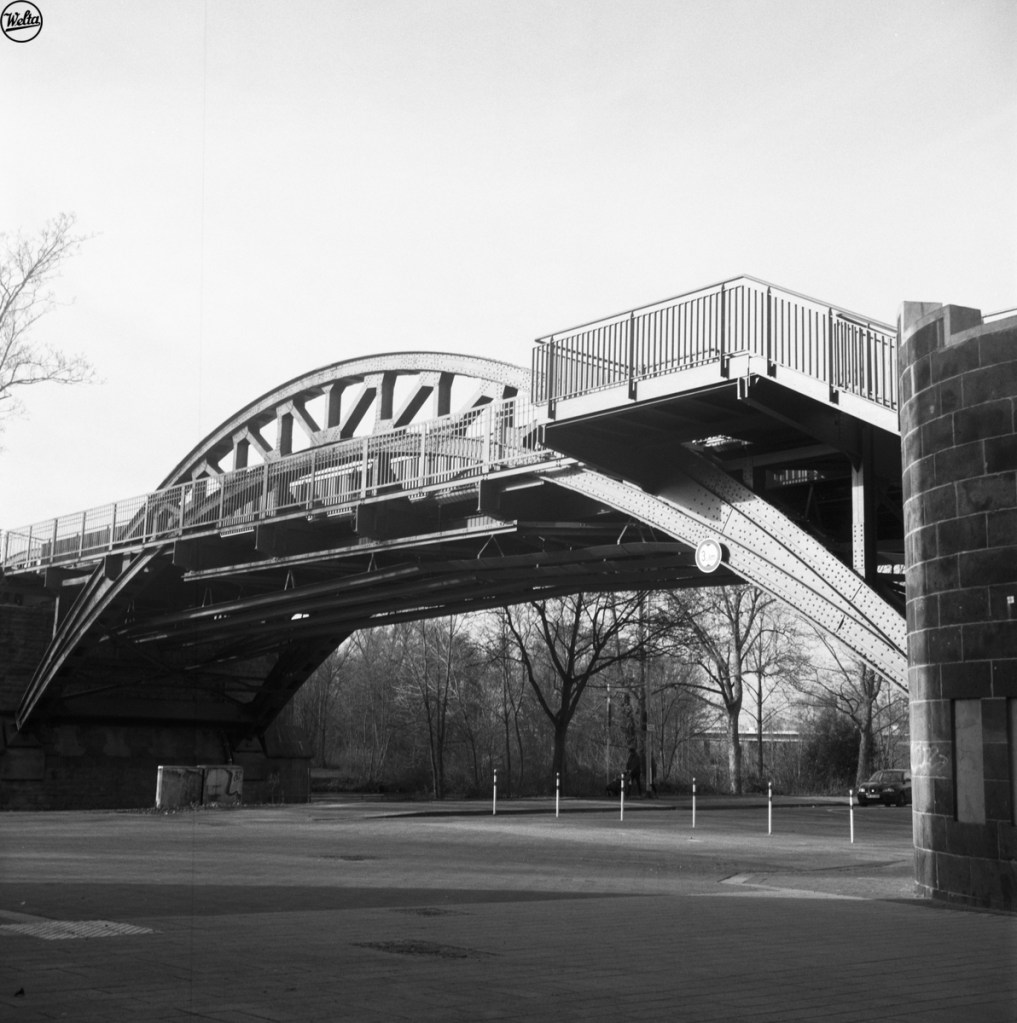
Next, some architecture, tricky lights and shadows, lots of detail. The Weltaflex is not transporting the film properly.

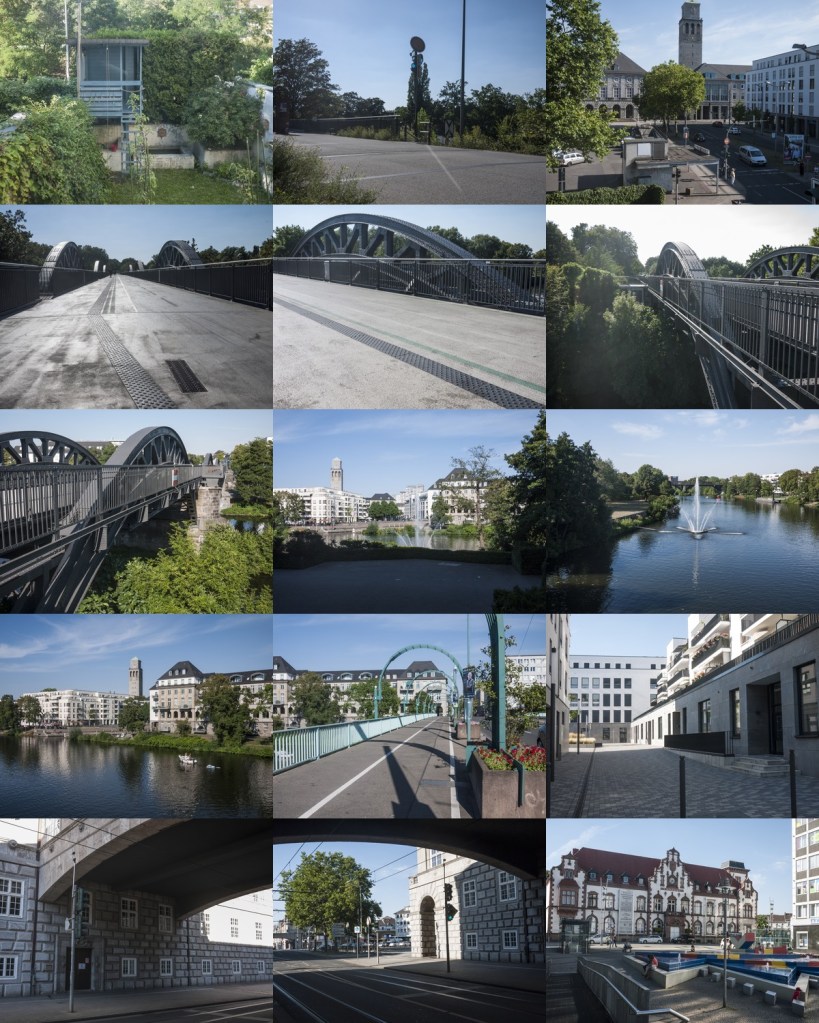
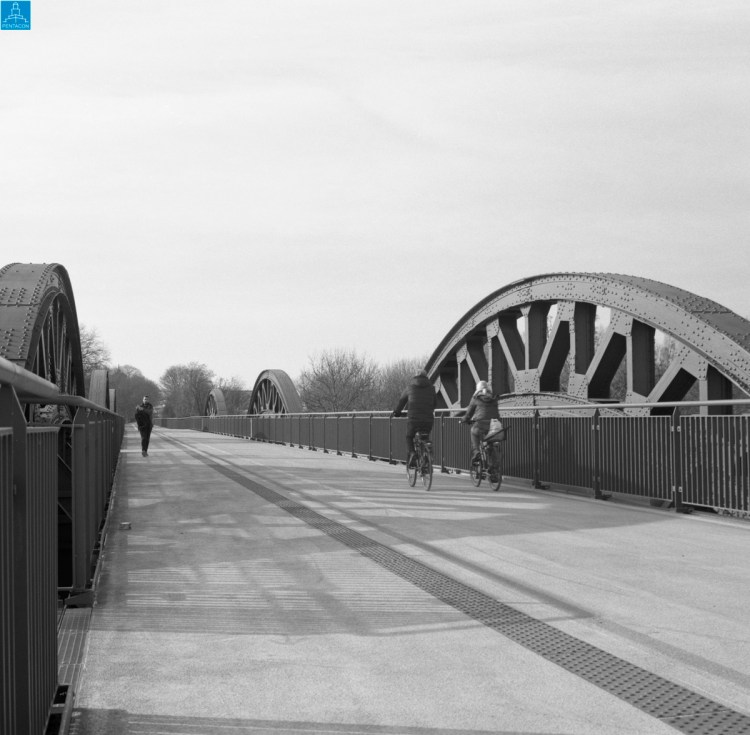
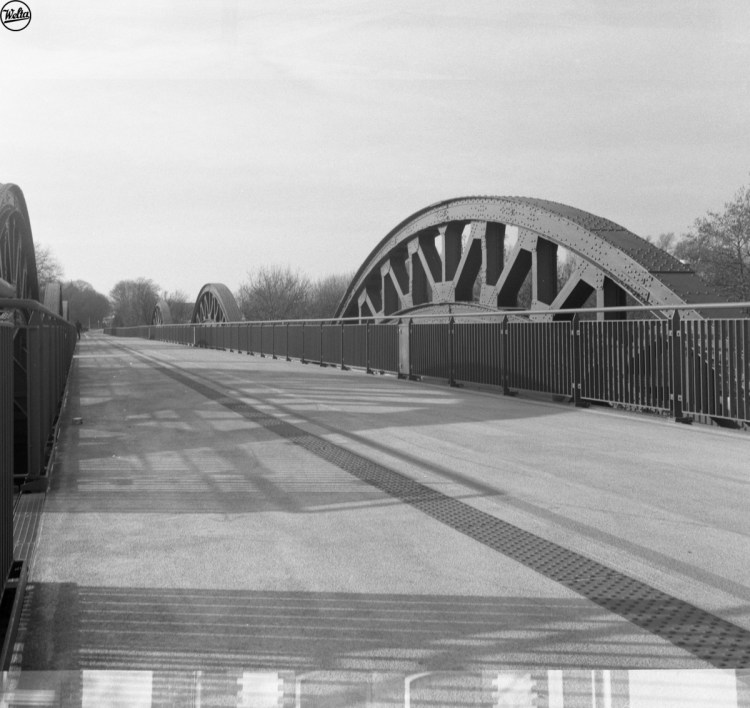
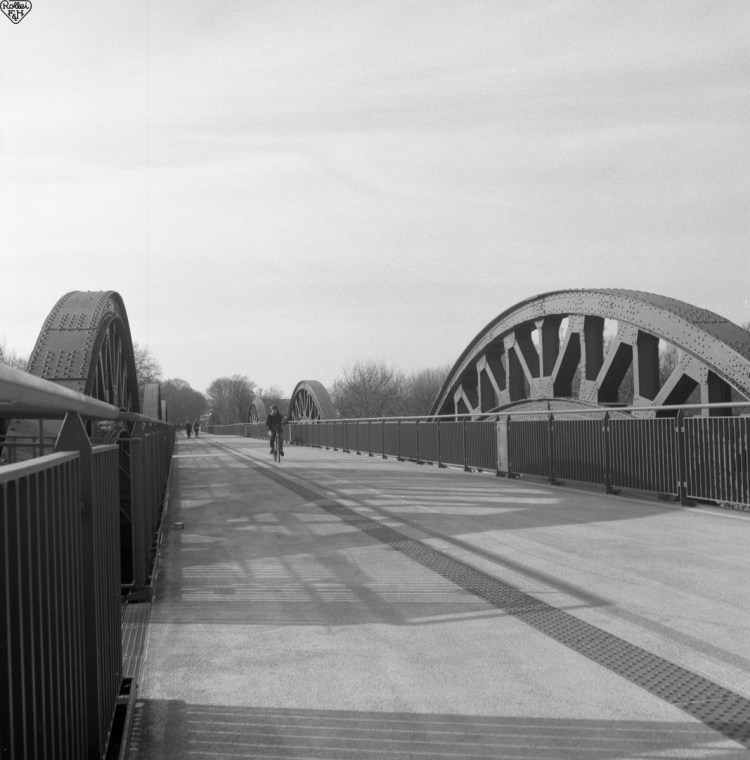
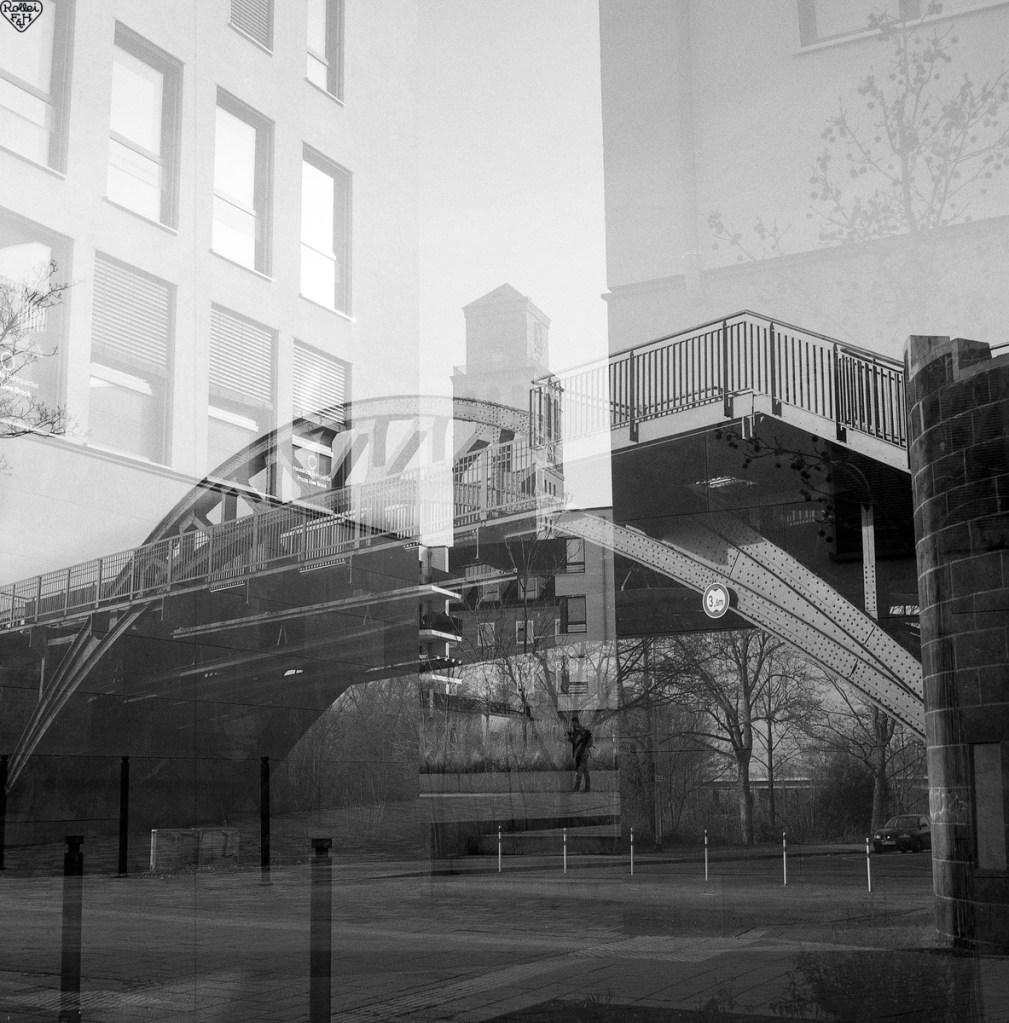
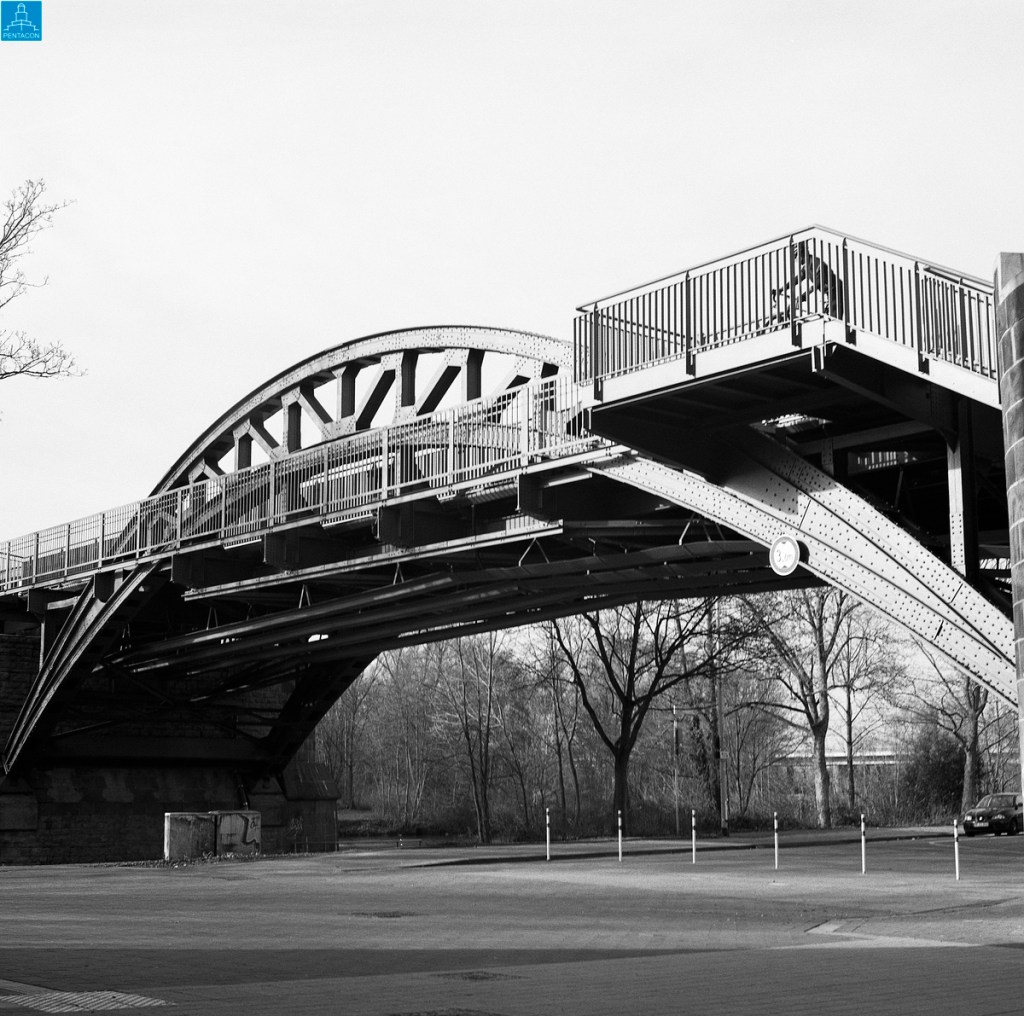
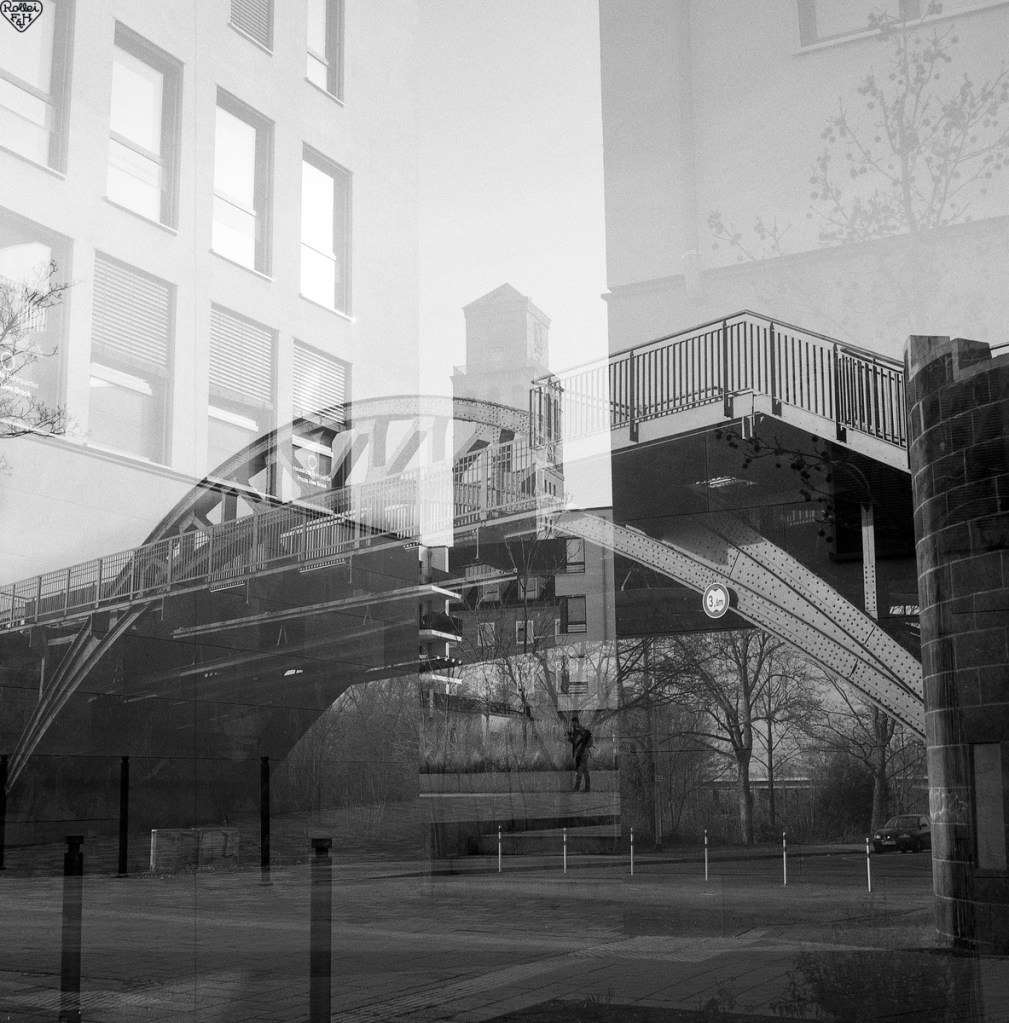
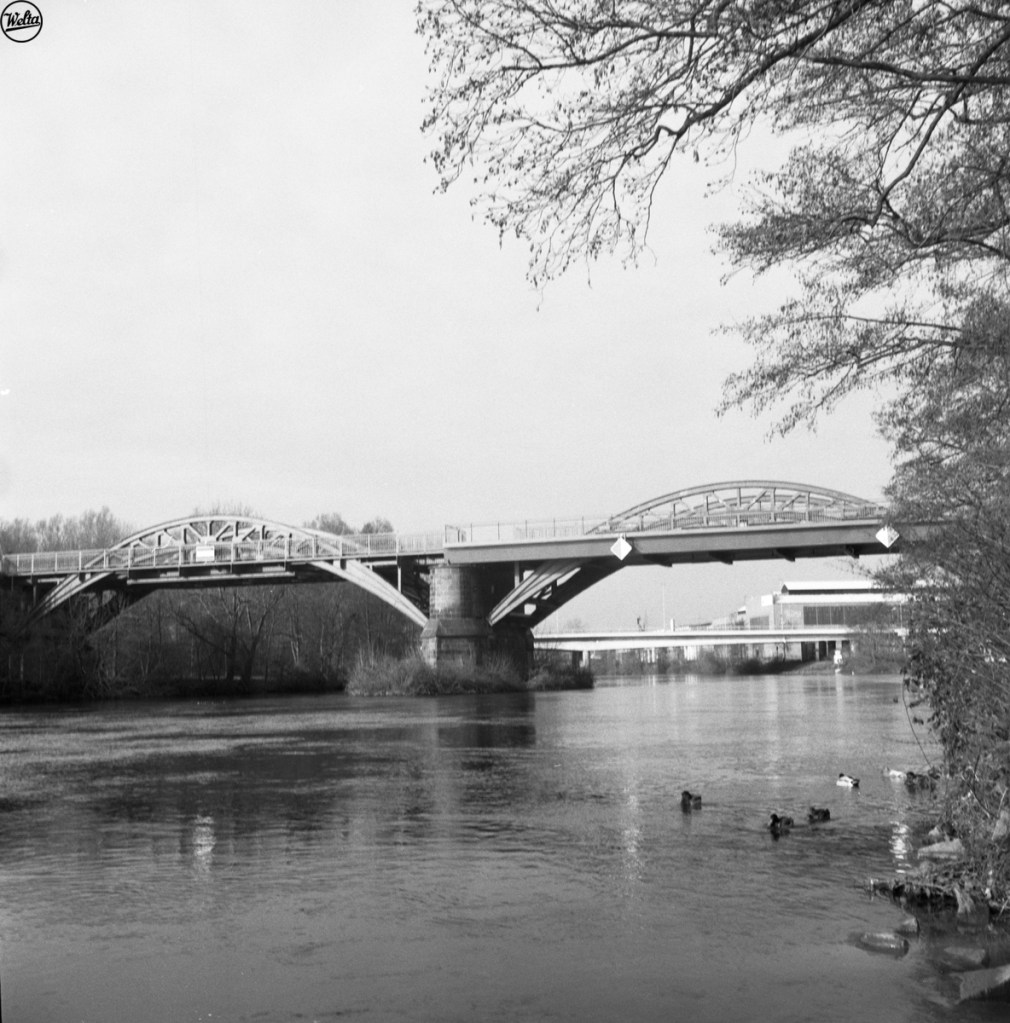
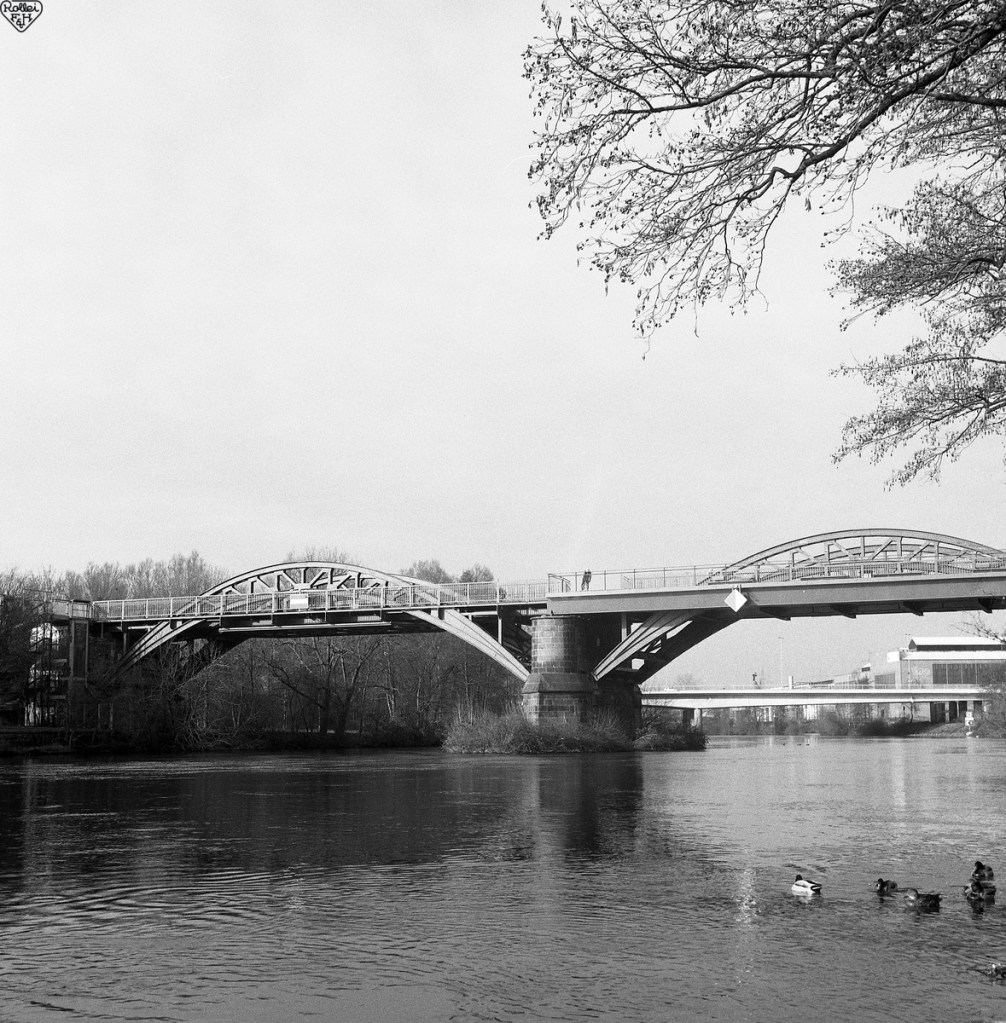
The old railway bridge, now a bikeway. Weltaflex having trouble.

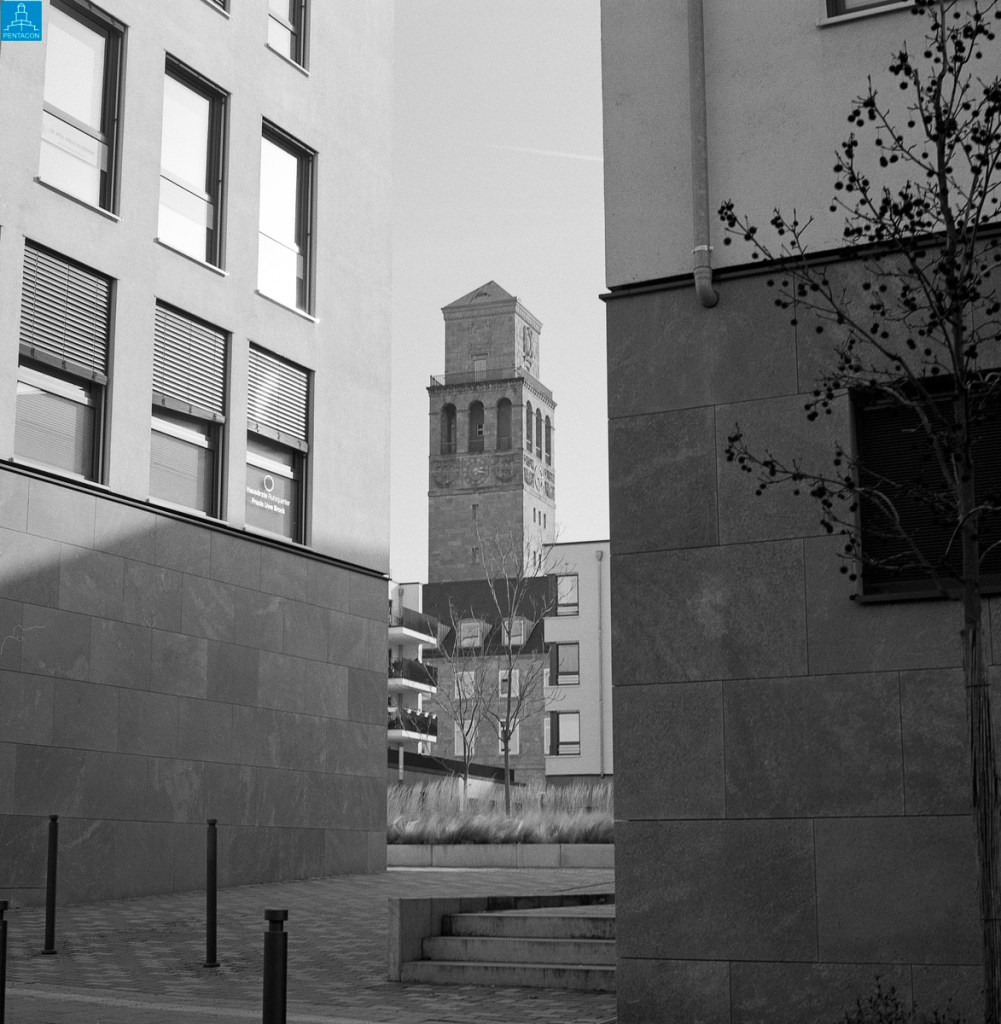
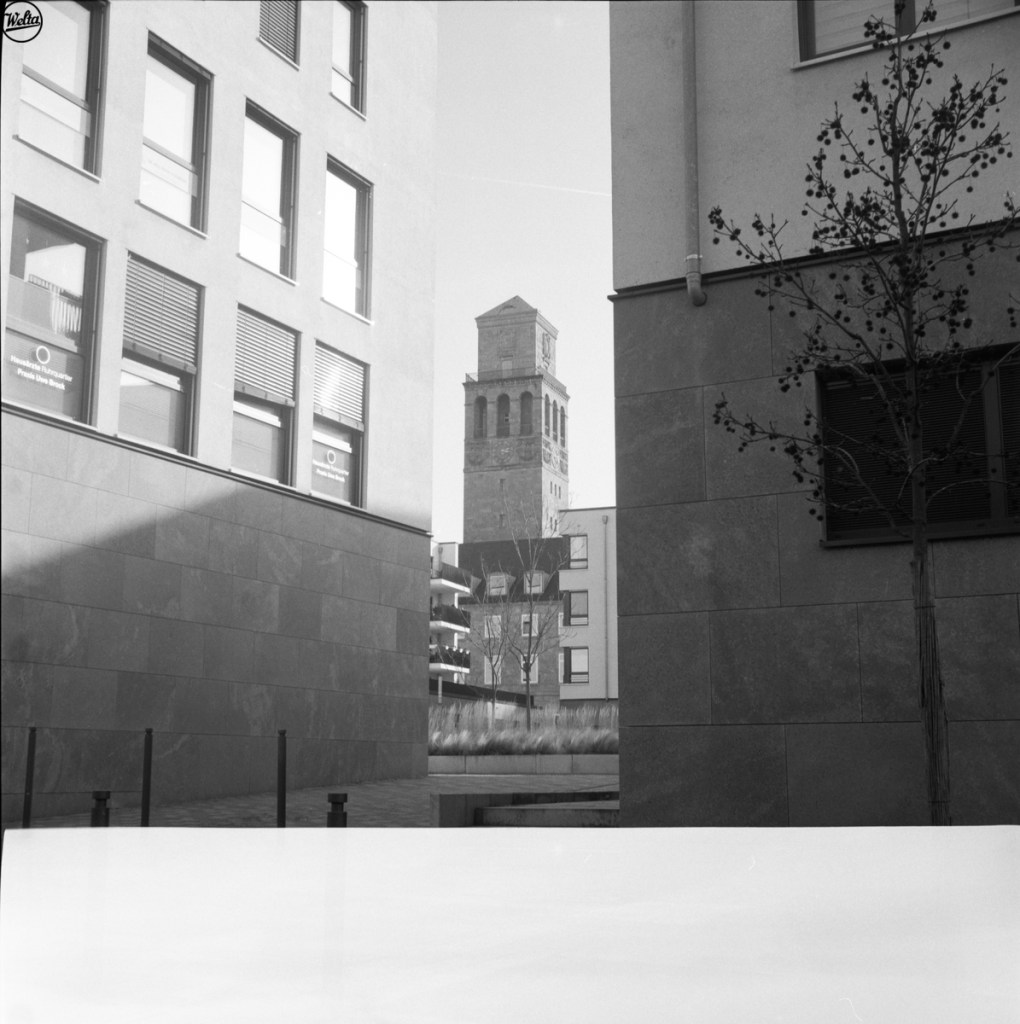
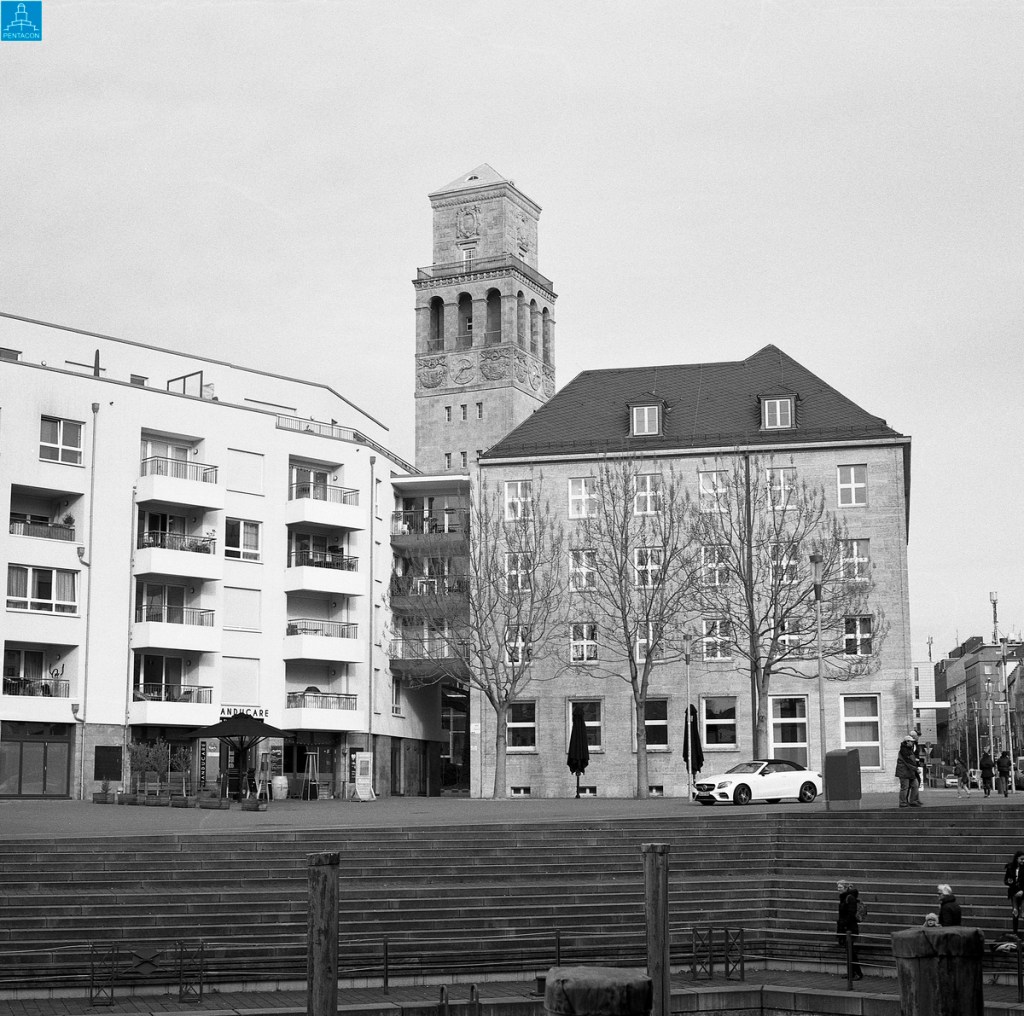
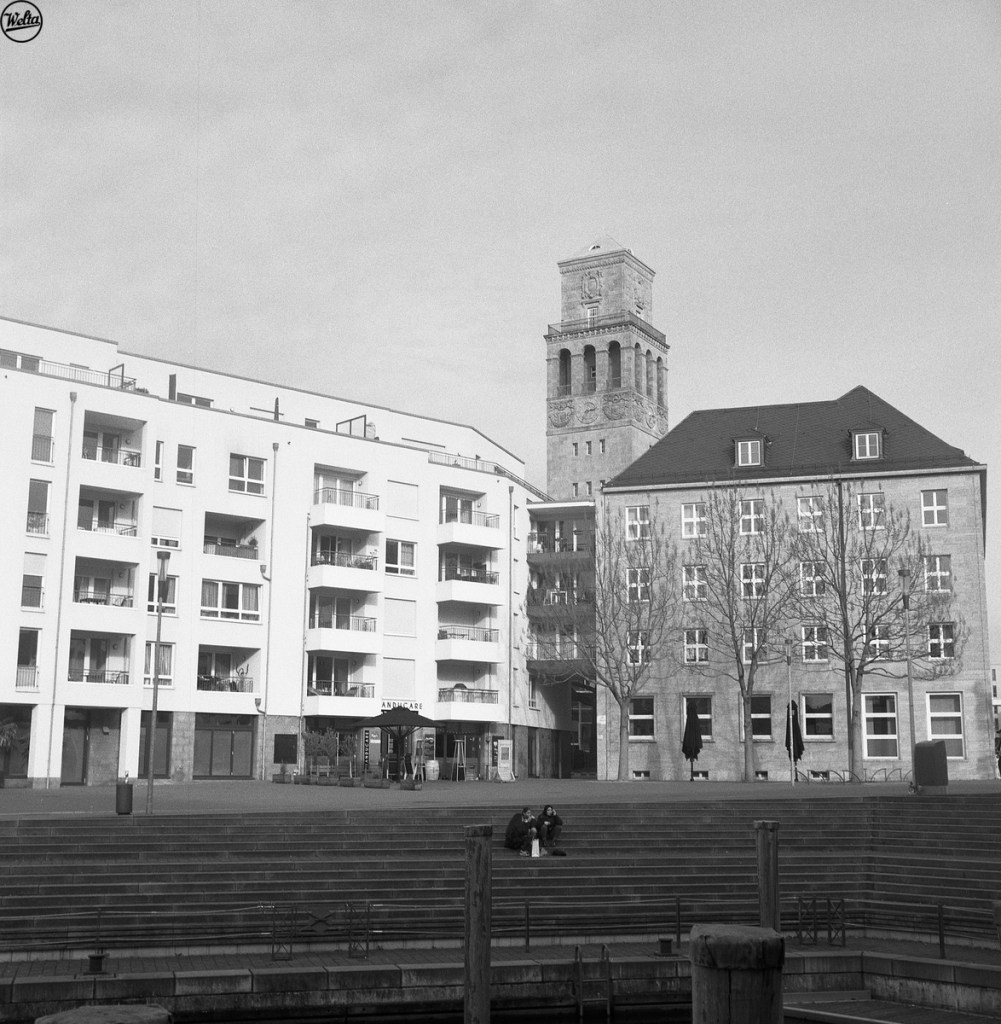
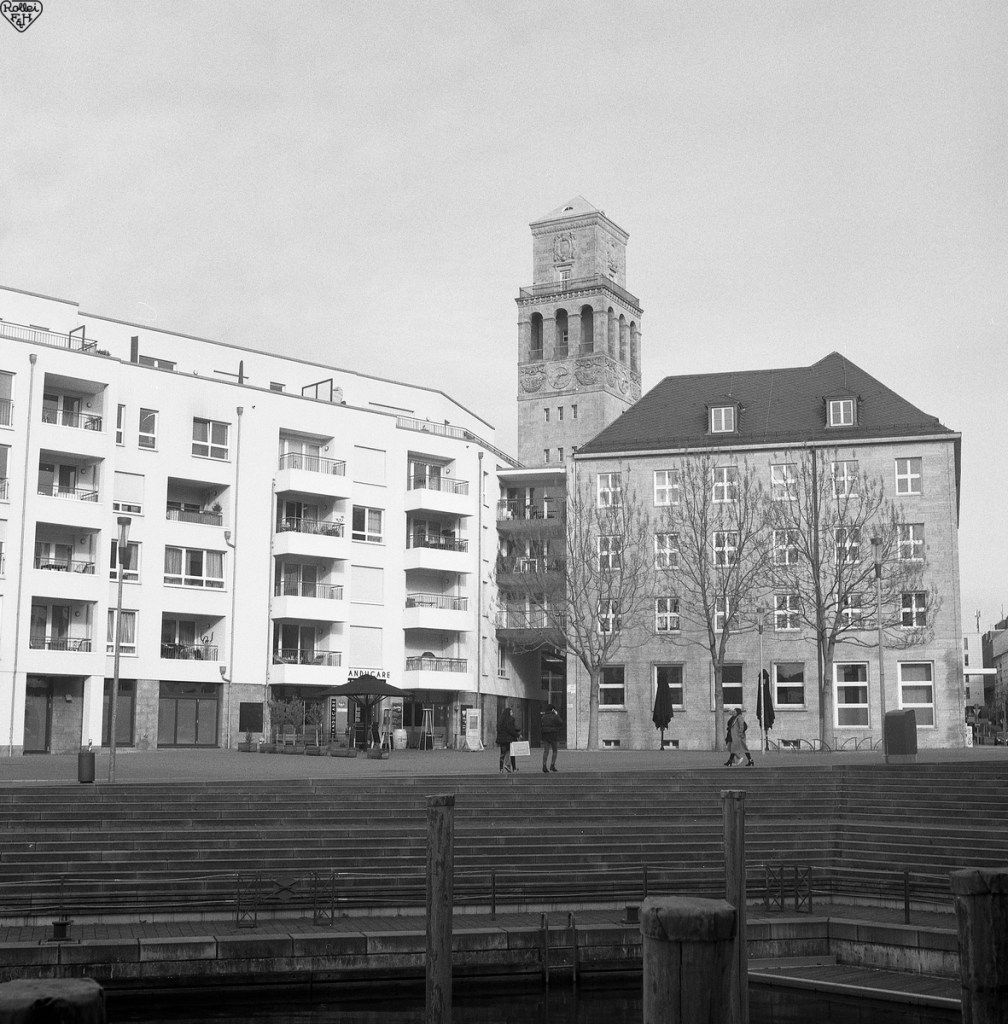
Town hall tower. The frame I have to manually position on the Weltaflex. I was a bit off. also, this is the shot I double exposed on the Rolleicord.

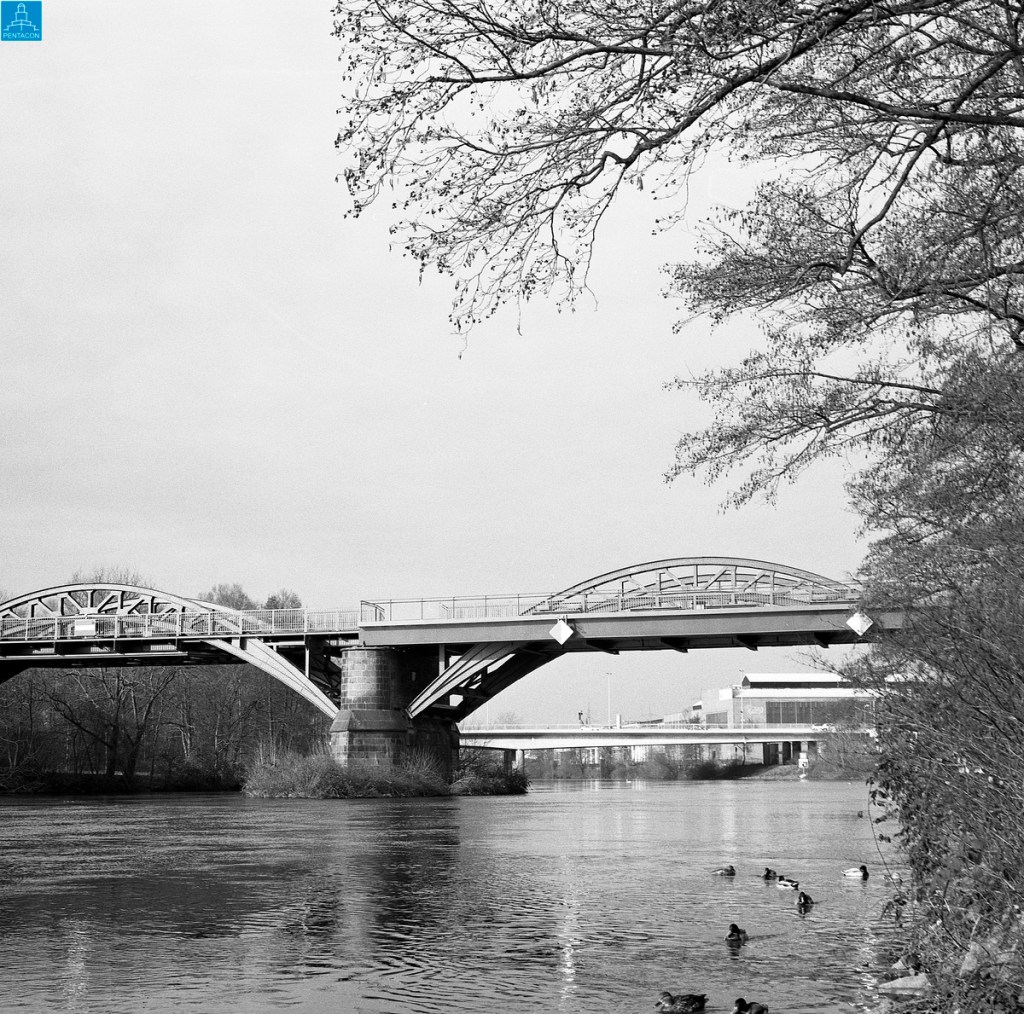
Railway bridge from a different angle. Aperture is 22 on the Pentacon, 16 on the others.

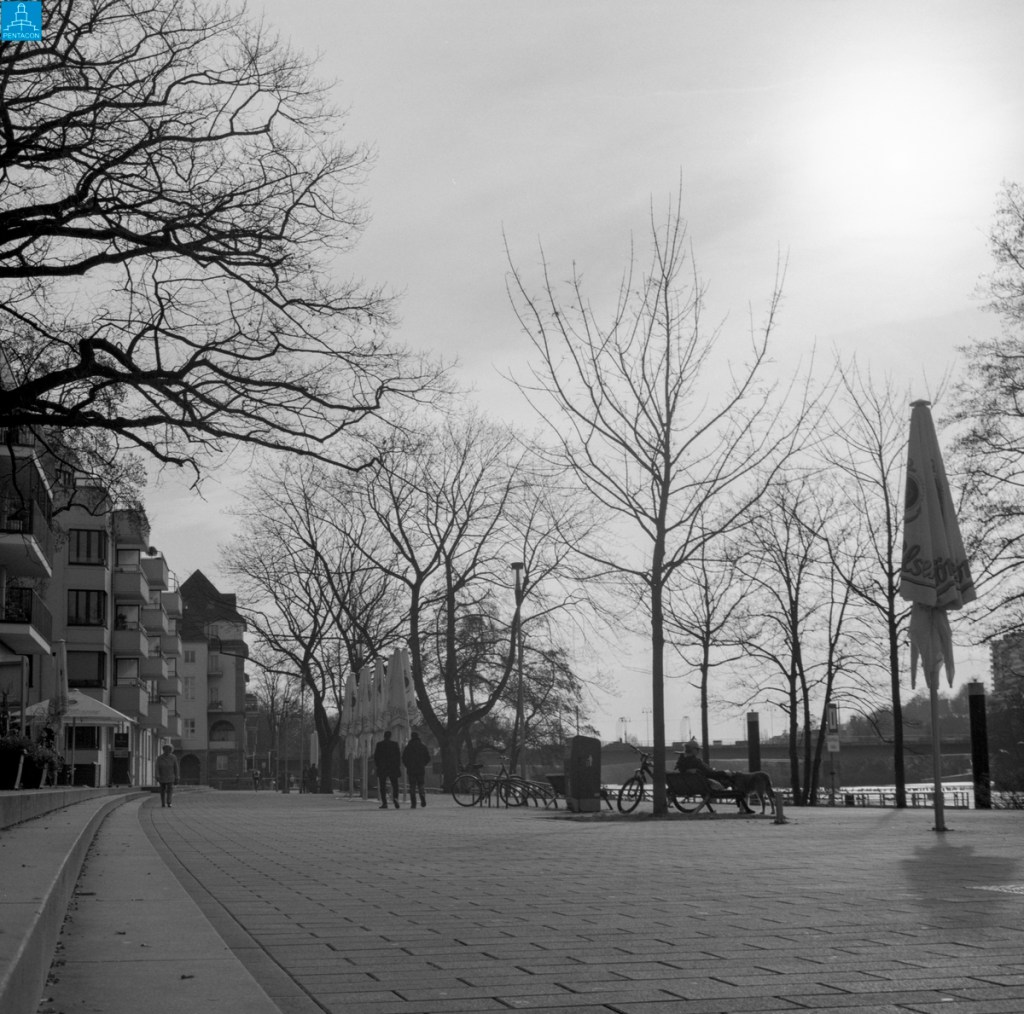
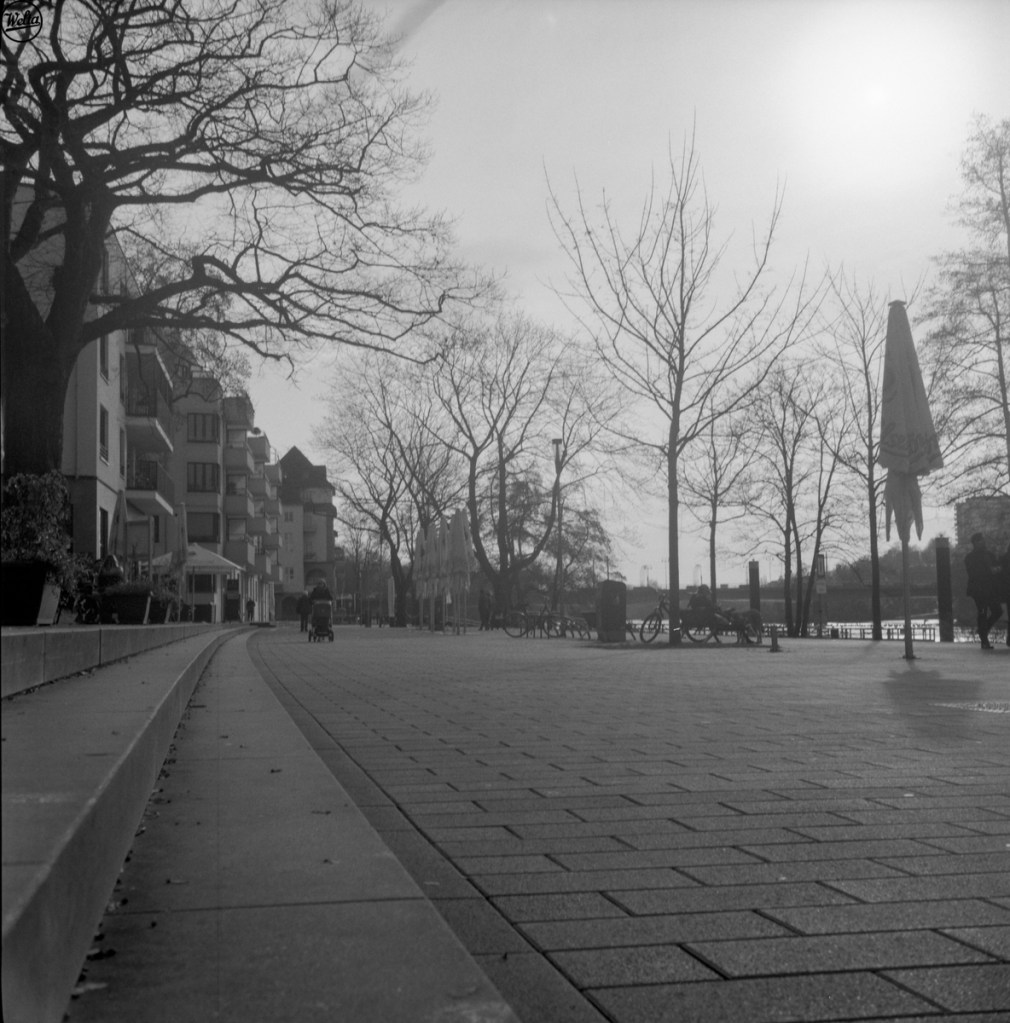
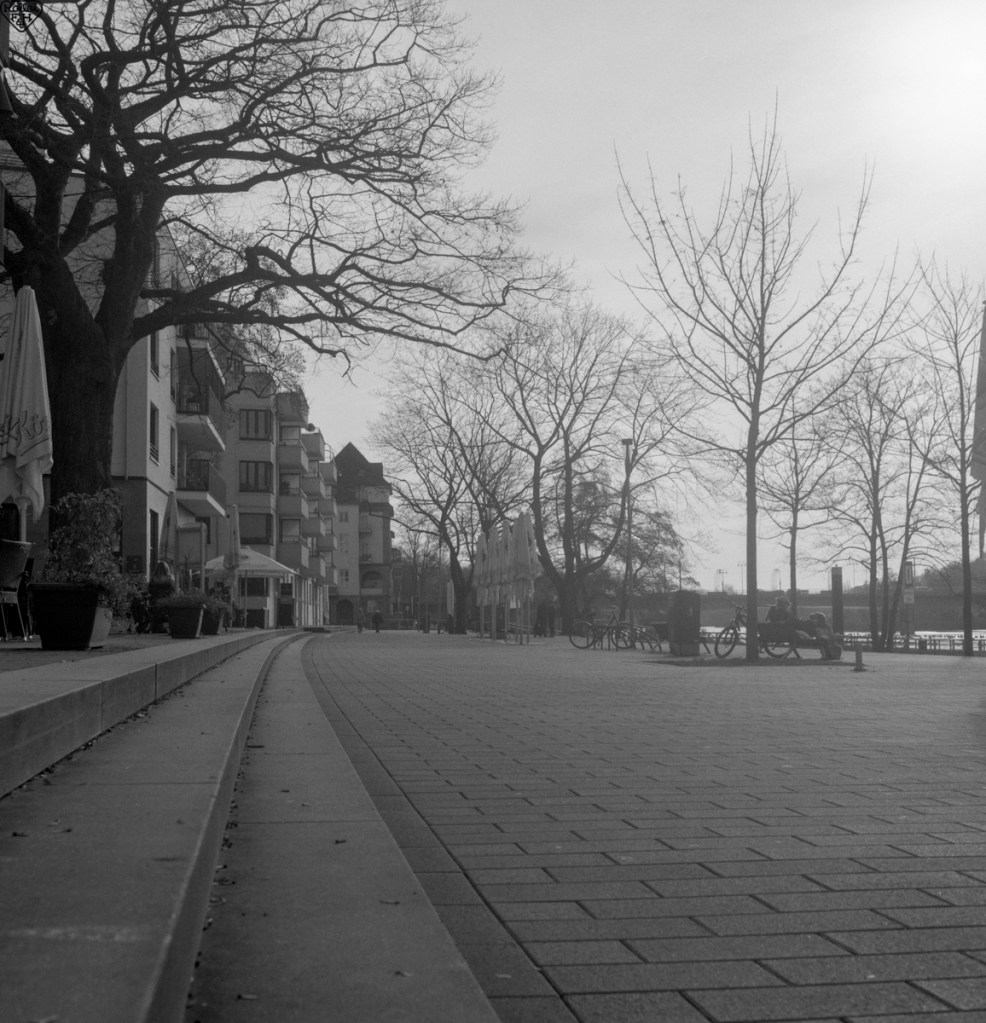
The promenade, backlit. Sunlight changing slightly between shots.

Railway bridge yet again. And the river Ruhr.

Town hall, from the river.

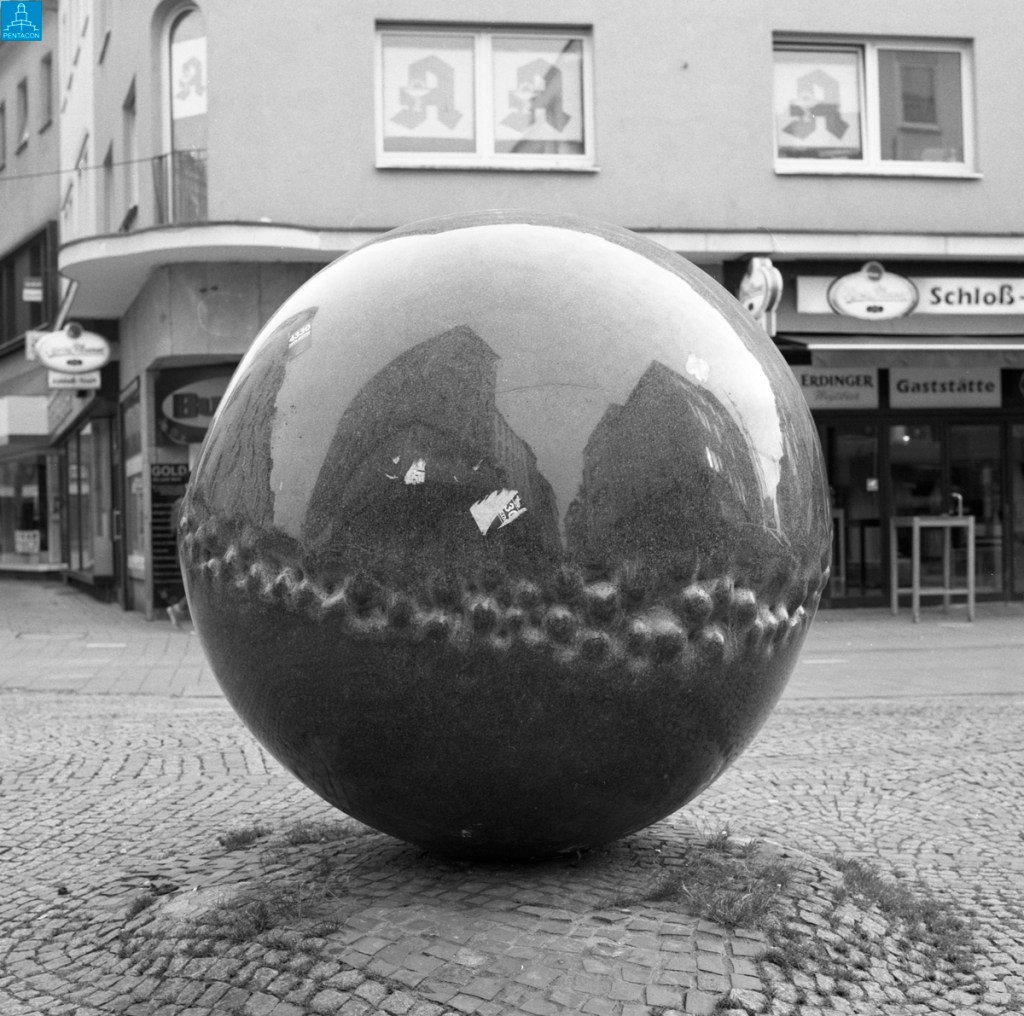
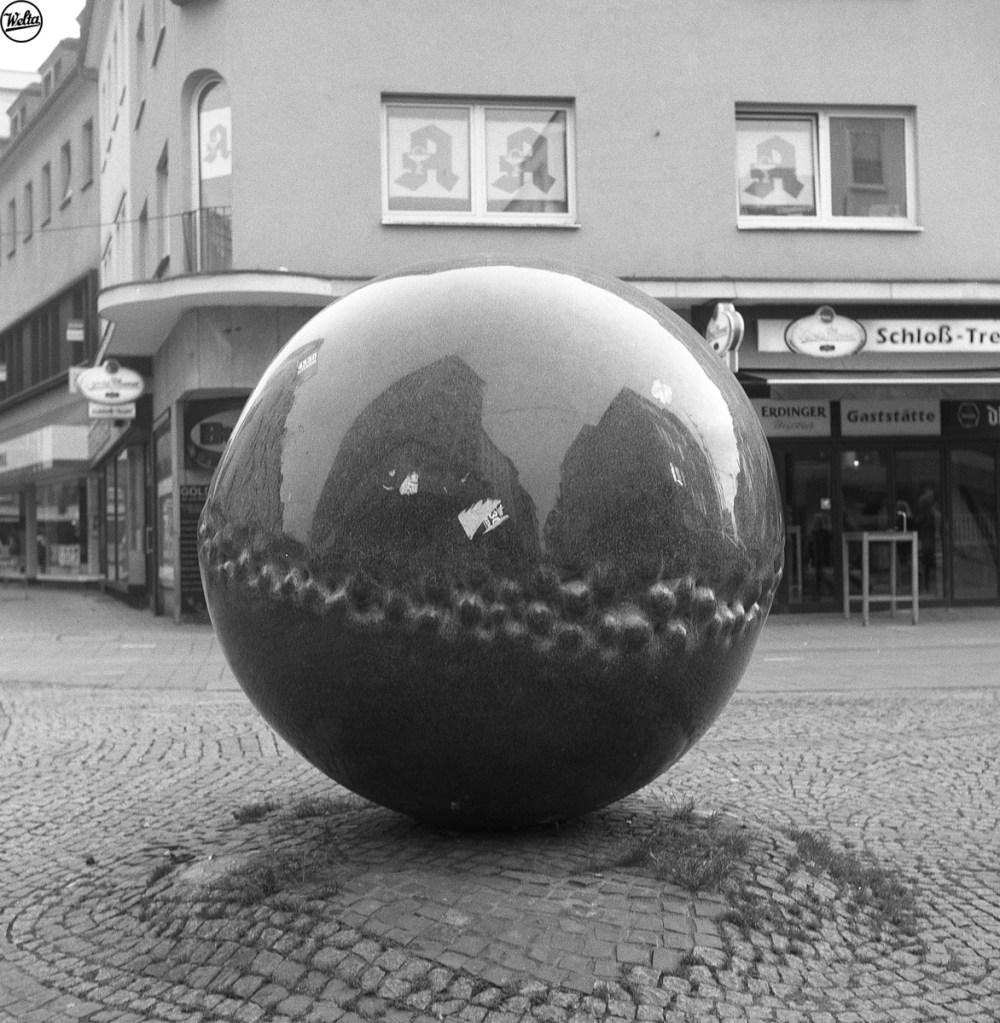
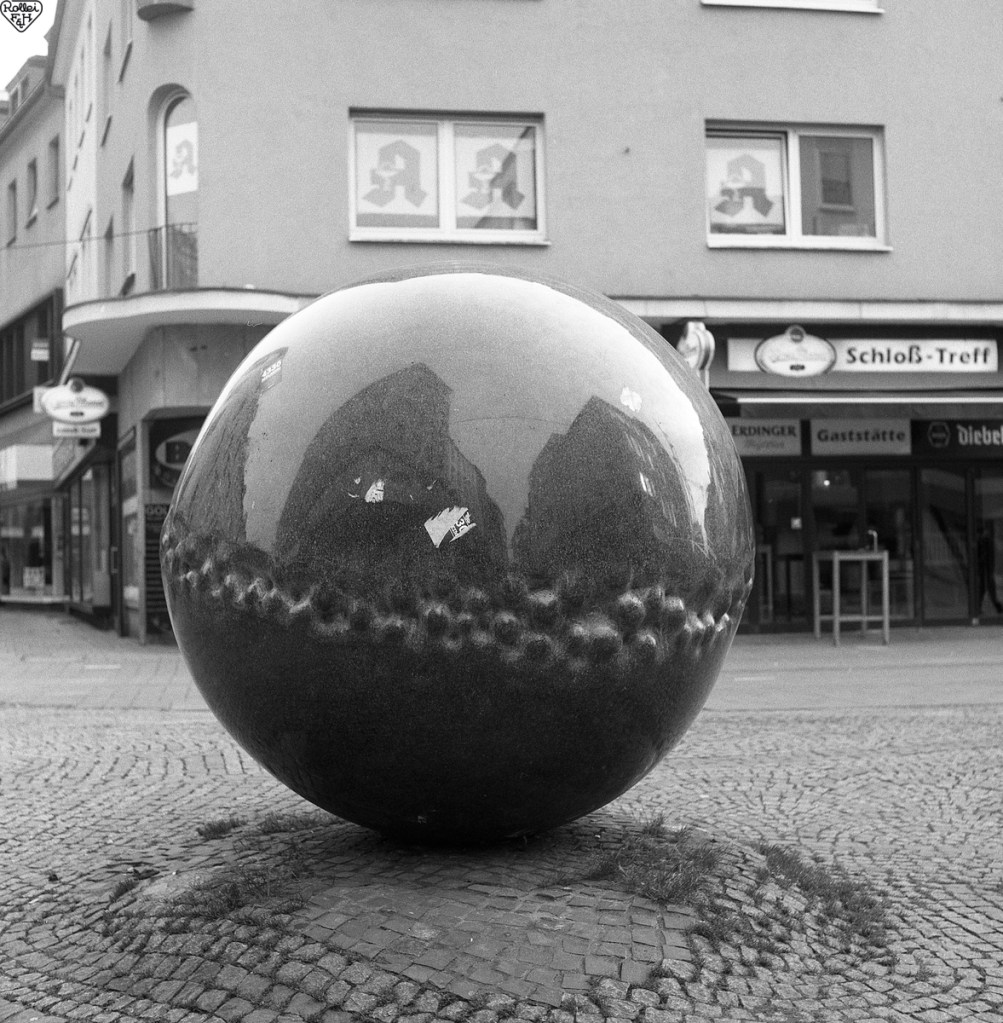
Rasche’s sphere.

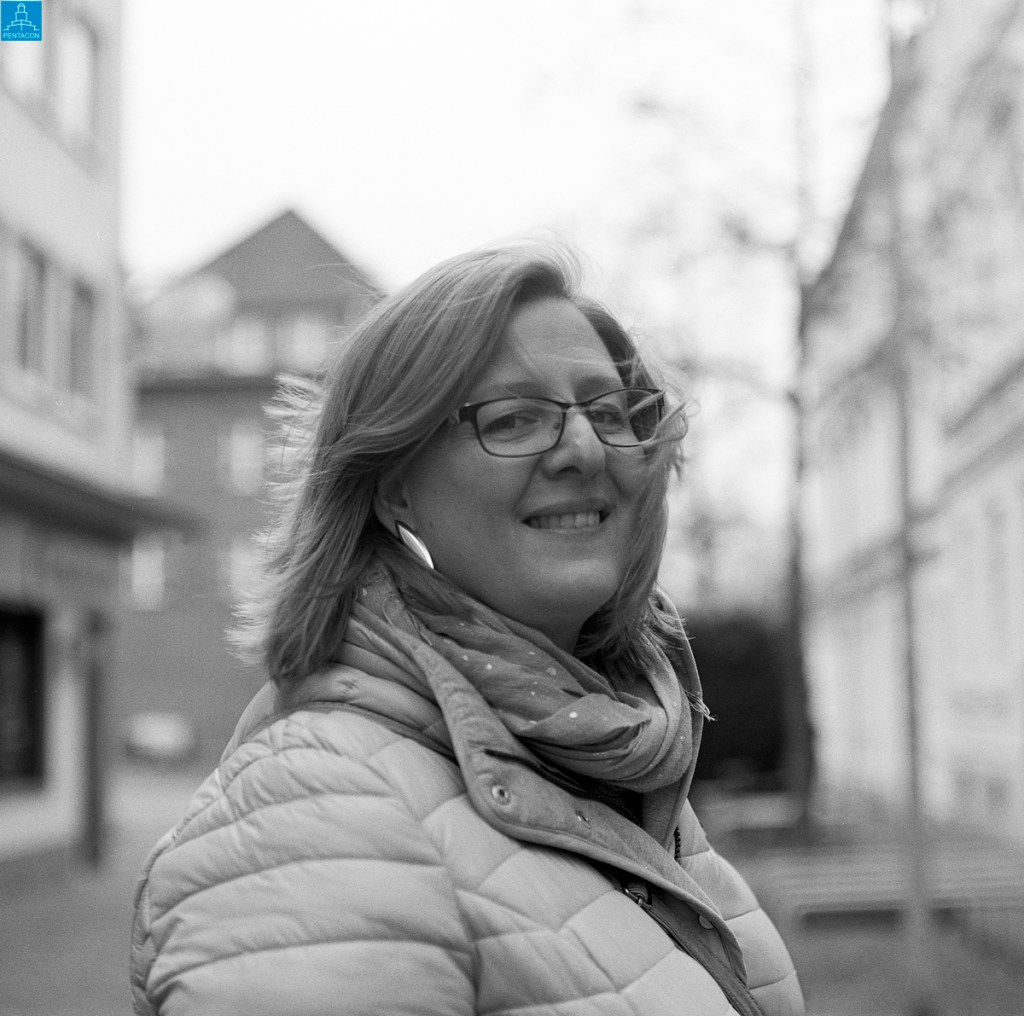
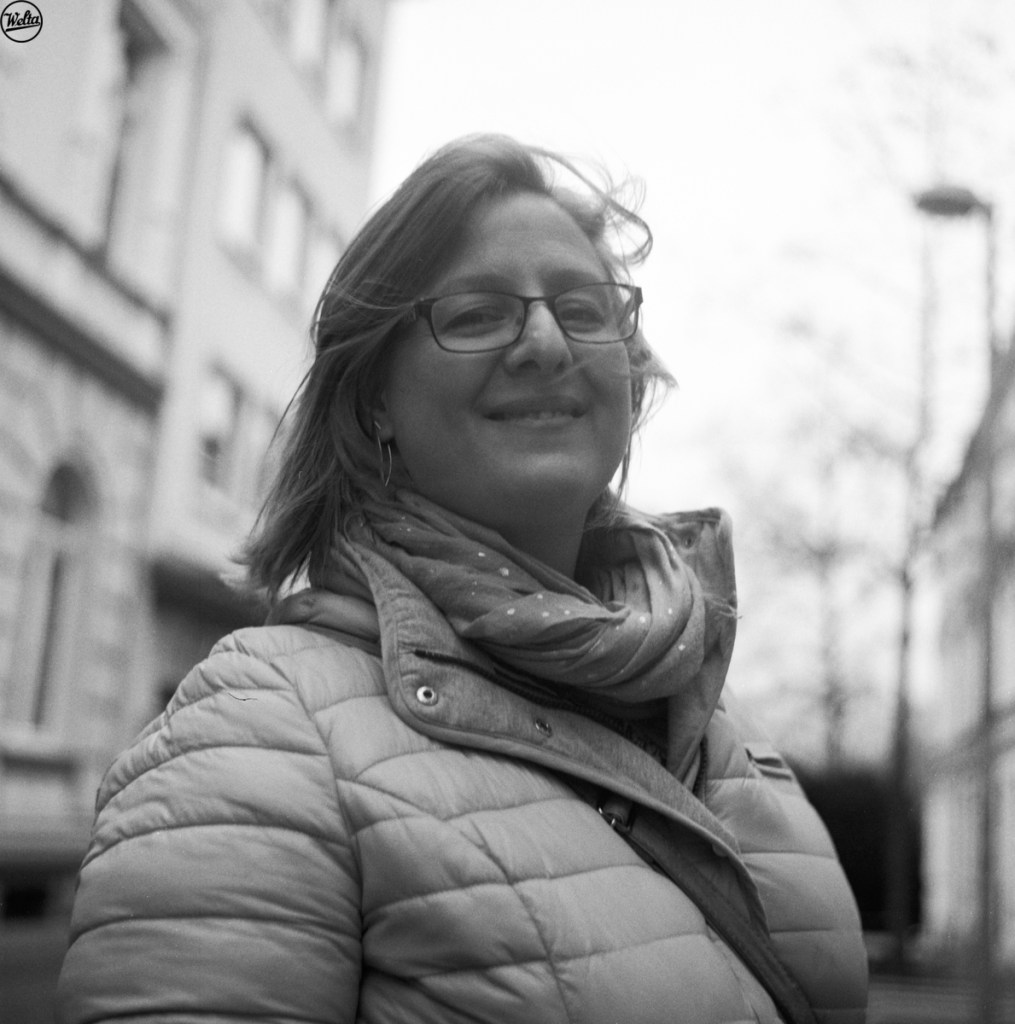
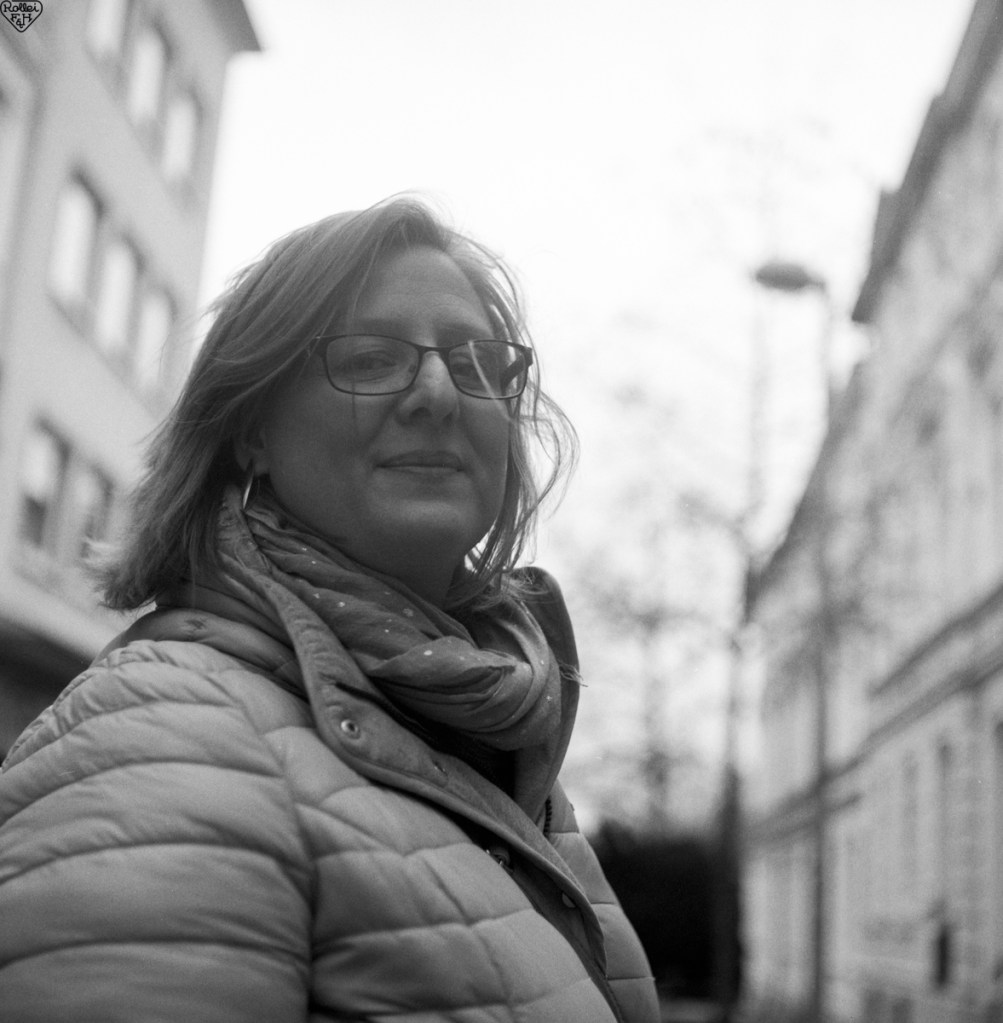
Sandra. Didn’t pay enough attention to the light.

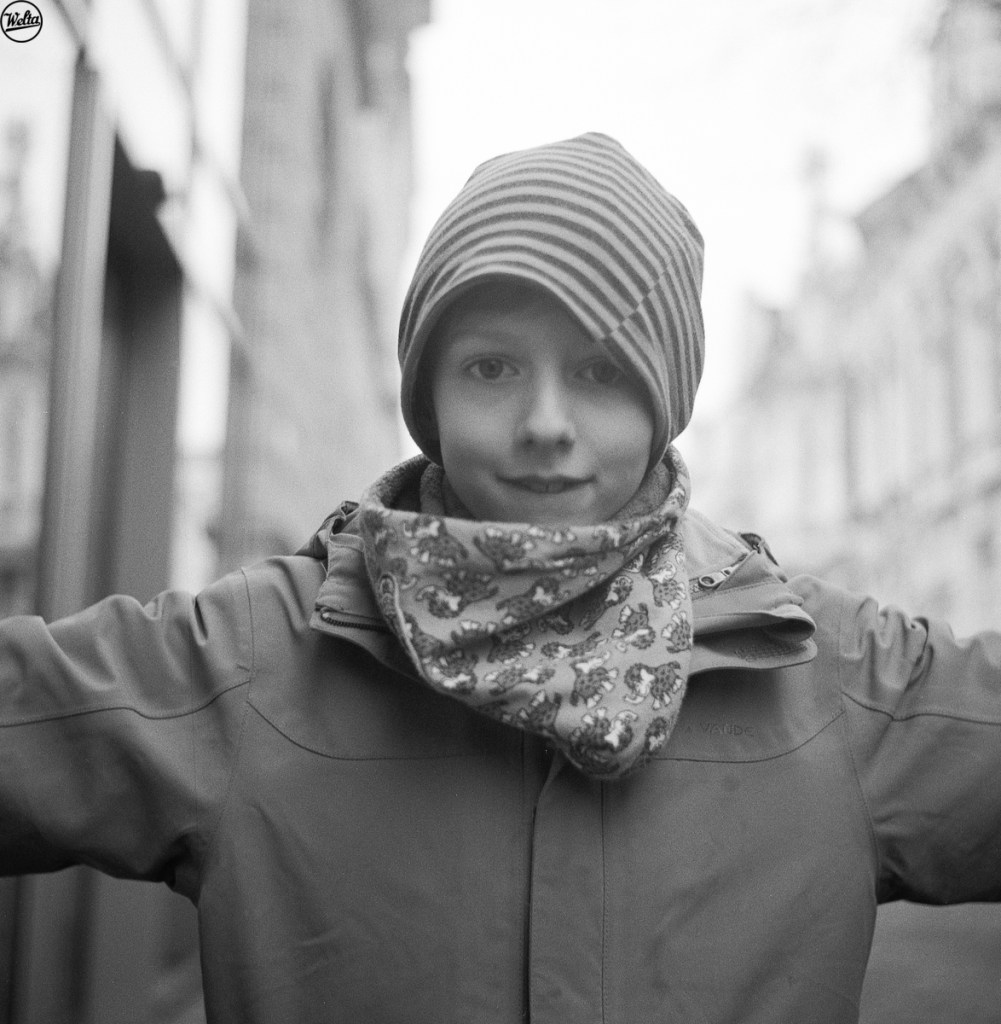
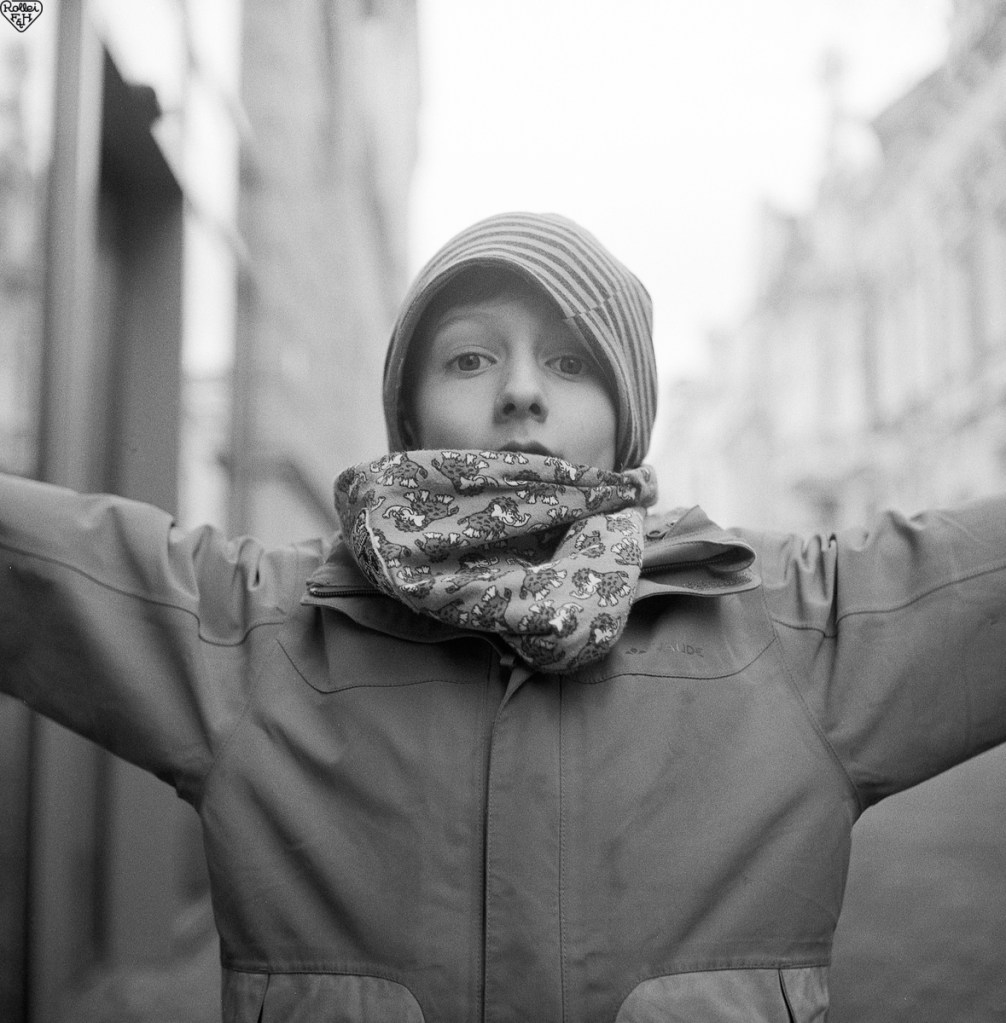
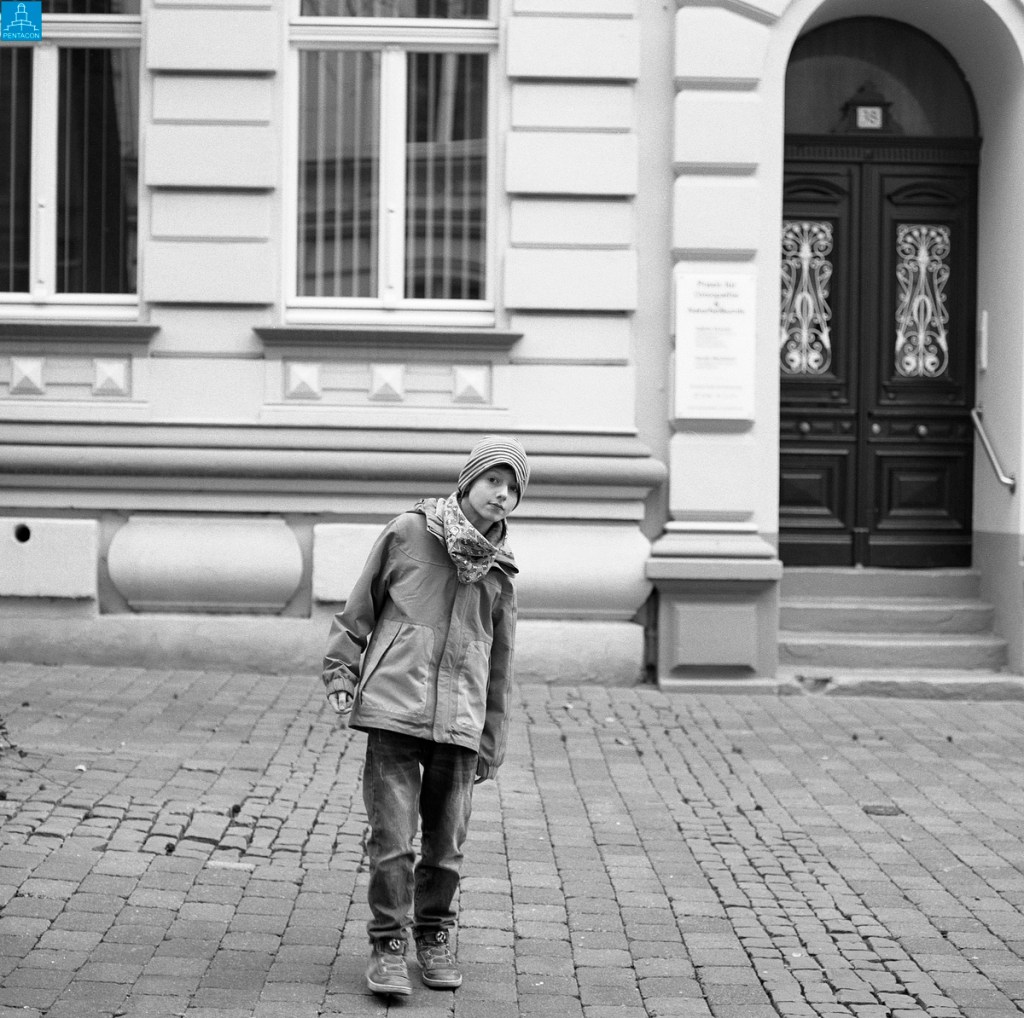
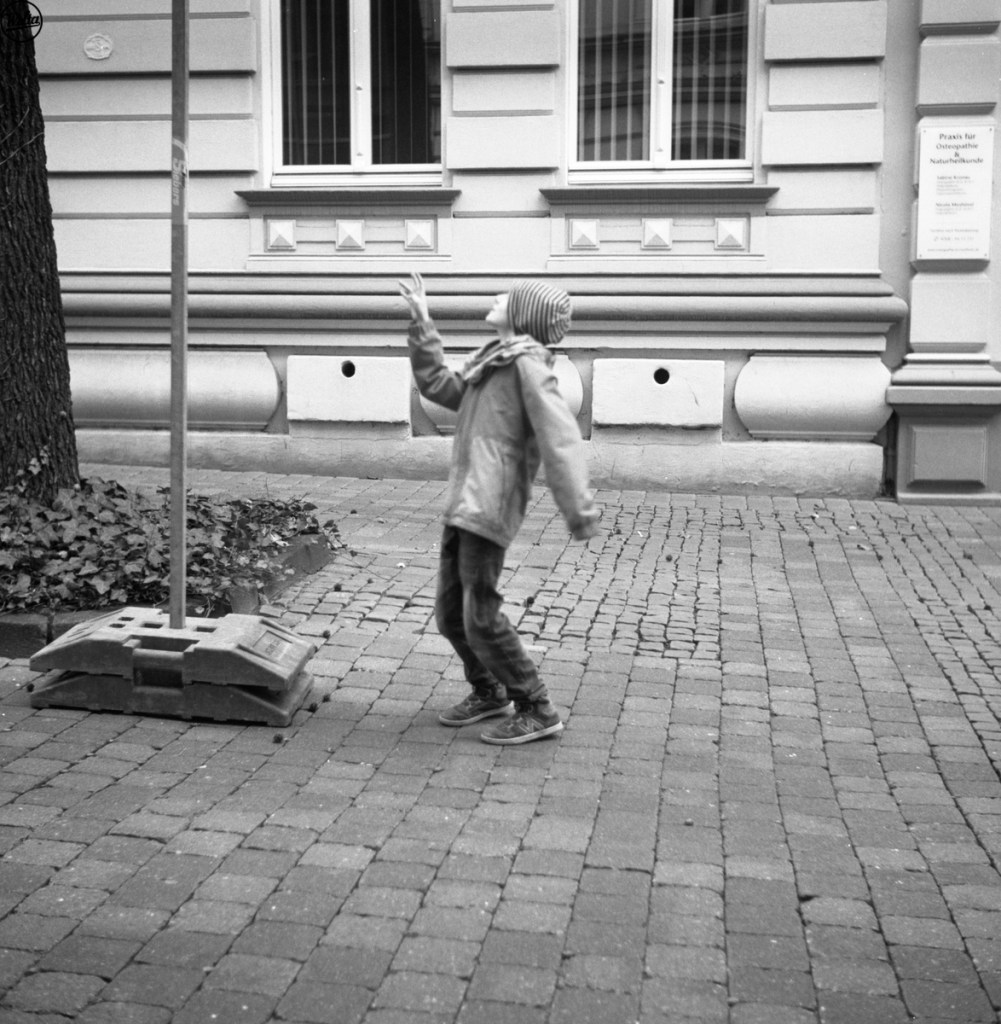
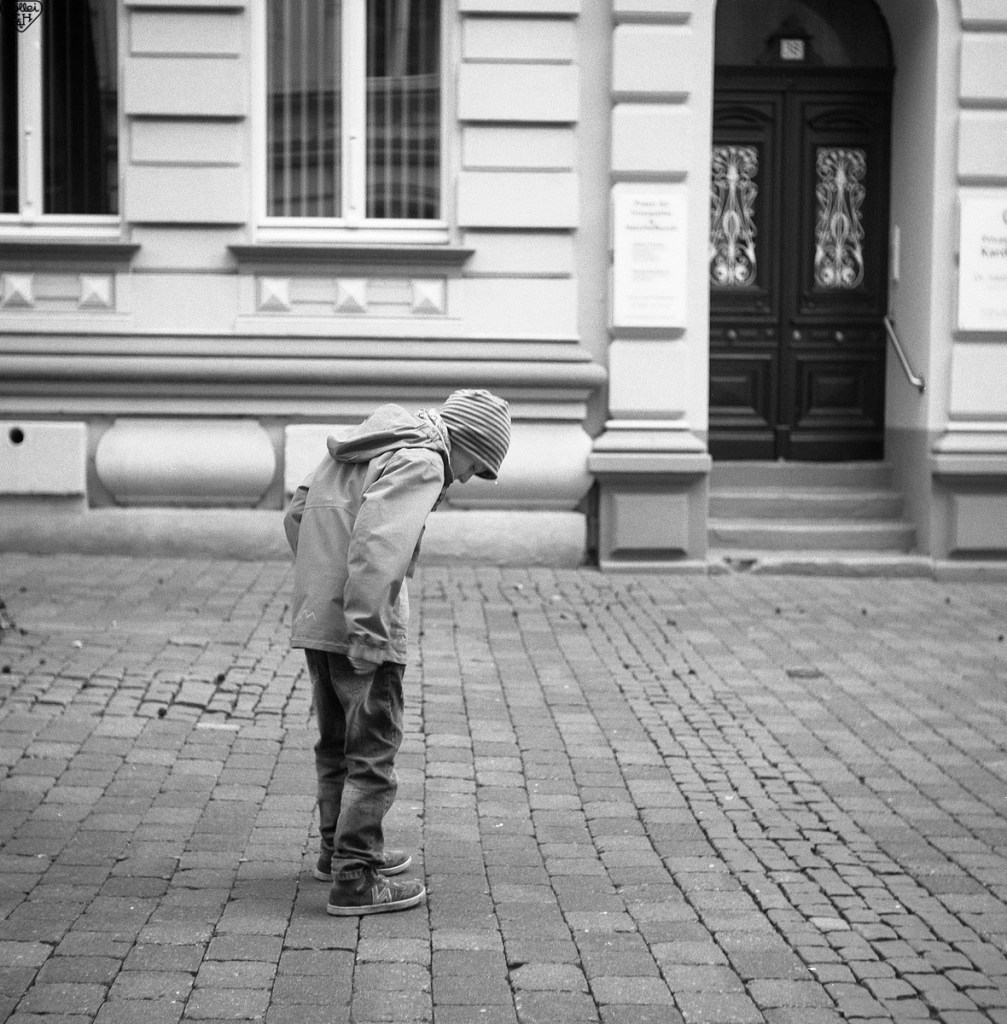
J.

J. again.

The Pentacon yields the sharpest images and the best contrast. This hardly comes as a surprise as it has the most modern and sophisticated lens. The Rollei holds up pretty well. The Weltaflex is noticably soft.
Both TLRs seem to have some trouble with stray light in certain situations.

With its SLR-style film advance lever and working double exposure lock, the Pentacon six was hassle-free to handle (Yes, they are notorious for being error-prone but so far, mine works like a charm). The Rollei is easy to handle but I really need to adopt a stricter regime of advancing the film after each shot.
Even before this test I was annoyed with the Weltaflex and its problem with the fourth frame. The results of this test confirm my decision to sell it.

Erstelle eine Website wie diese mit WordPress.com
Jetzt starten